Having trouble with your Kindle not showing up on your PC? Here’s how to fix it.
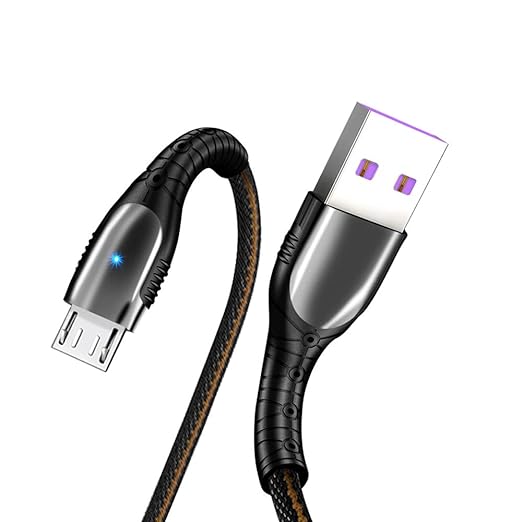
Selecting a Functional USB Cable or Port
Try using a different USB cable to connect your Kindle to your PC. Make sure the cable is not damaged or faulty.
If changing the cable does not work, try connecting your Kindle to a different USB port on your computer. Sometimes, the port itself may be causing the issue.
Make sure the USB port you are using is functional by connecting another device to it.
If your Kindle still does not show up on your PC after trying different cables and ports, there may be an issue with the device itself. In this case, consider rebooting your Kindle or performing a factory reset as a last resort.
Establishing Connection to an Alternate Computer
- Check USB Cable and Ports
- Ensure the USB cable is securely connected to both the Kindle and the computer.
- Try using a different USB cable to rule out any issues with the current cable.
- Plug the USB cable into different USB ports on the computer to see if the issue is with a specific port.
- Restart Devices
- Restart both the Kindle and the computer to refresh their connection.
- Unplug the USB cable, restart both devices, and then reconnect the cable to establish a new connection.
- Update Kindle Drivers
- Open Device Manager on the computer.
- Locate the Kindle device under Portable Devices.
- Right-click on the Kindle device and select Update Driver.
- Follow the on-screen instructions to update the drivers and establish a connection.
Extending Kindle Charging Duration
To extend your Kindle’s charging duration, consider using a different USB hardware or charging cable. Sometimes, the issue may lie with the cable rather than the device itself.
Another solution is to properly shut down your Kindle before charging. Press and hold the power button, then select “Shut Down” from the menu that appears.
Additionally, avoid charging your Kindle from a computer’s USB port as it may not provide enough power. Instead, use a wall outlet or a dedicated charging station for faster and more efficient charging.
Lastly, consider turning off Wi-Fi and closing any running apps on your Kindle while charging to conserve battery life.
Implementing these tips can help you maximize your Kindle’s battery life and ensure it stays charged for longer periods of time.
Executing a Hard Reset

One solution to fix a Kindle not showing up on a PC is to perform a hard reset on the device.
A hard reset can help to resolve any software glitches or connectivity issues that may be causing the problem. To execute a hard reset on your Kindle, follow these steps:
1. Press and hold the power button on your Kindle for at least 40 seconds.
2. Release the power button after 40 seconds and wait for the device to restart.
3. Once the device has restarted, check if it is now recognized by your PC.
If the Kindle still does not show up on your PC after performing a hard reset, you may need to try other troubleshooting steps such as checking the USB connection, updating device drivers, or restarting your PC.
By performing a hard reset, you can potentially resolve the issue of your Kindle not showing up on your PC and regain access to your e-books and other content.
Activating Kindle as a Camera or MTP Device

To fix the issue of your Kindle not showing up on your PC, you may need to activate it as a camera or MTP device. Here’s how to do it:
1. Connect your Kindle to your PC using a USB cable.
2. On your Kindle device, swipe down from the top of the screen to open the menu.
3. Select “More” and then “Device” and tap on “Enable ADB” to activate your Kindle as a camera or MTP device.
This should allow your Kindle to show up on your PC and you can access the files on your device. If you are still facing issues, try restarting both your Kindle and your PC, or updating the device drivers on your computer.
Adjusting Kindle Settings and Drivers
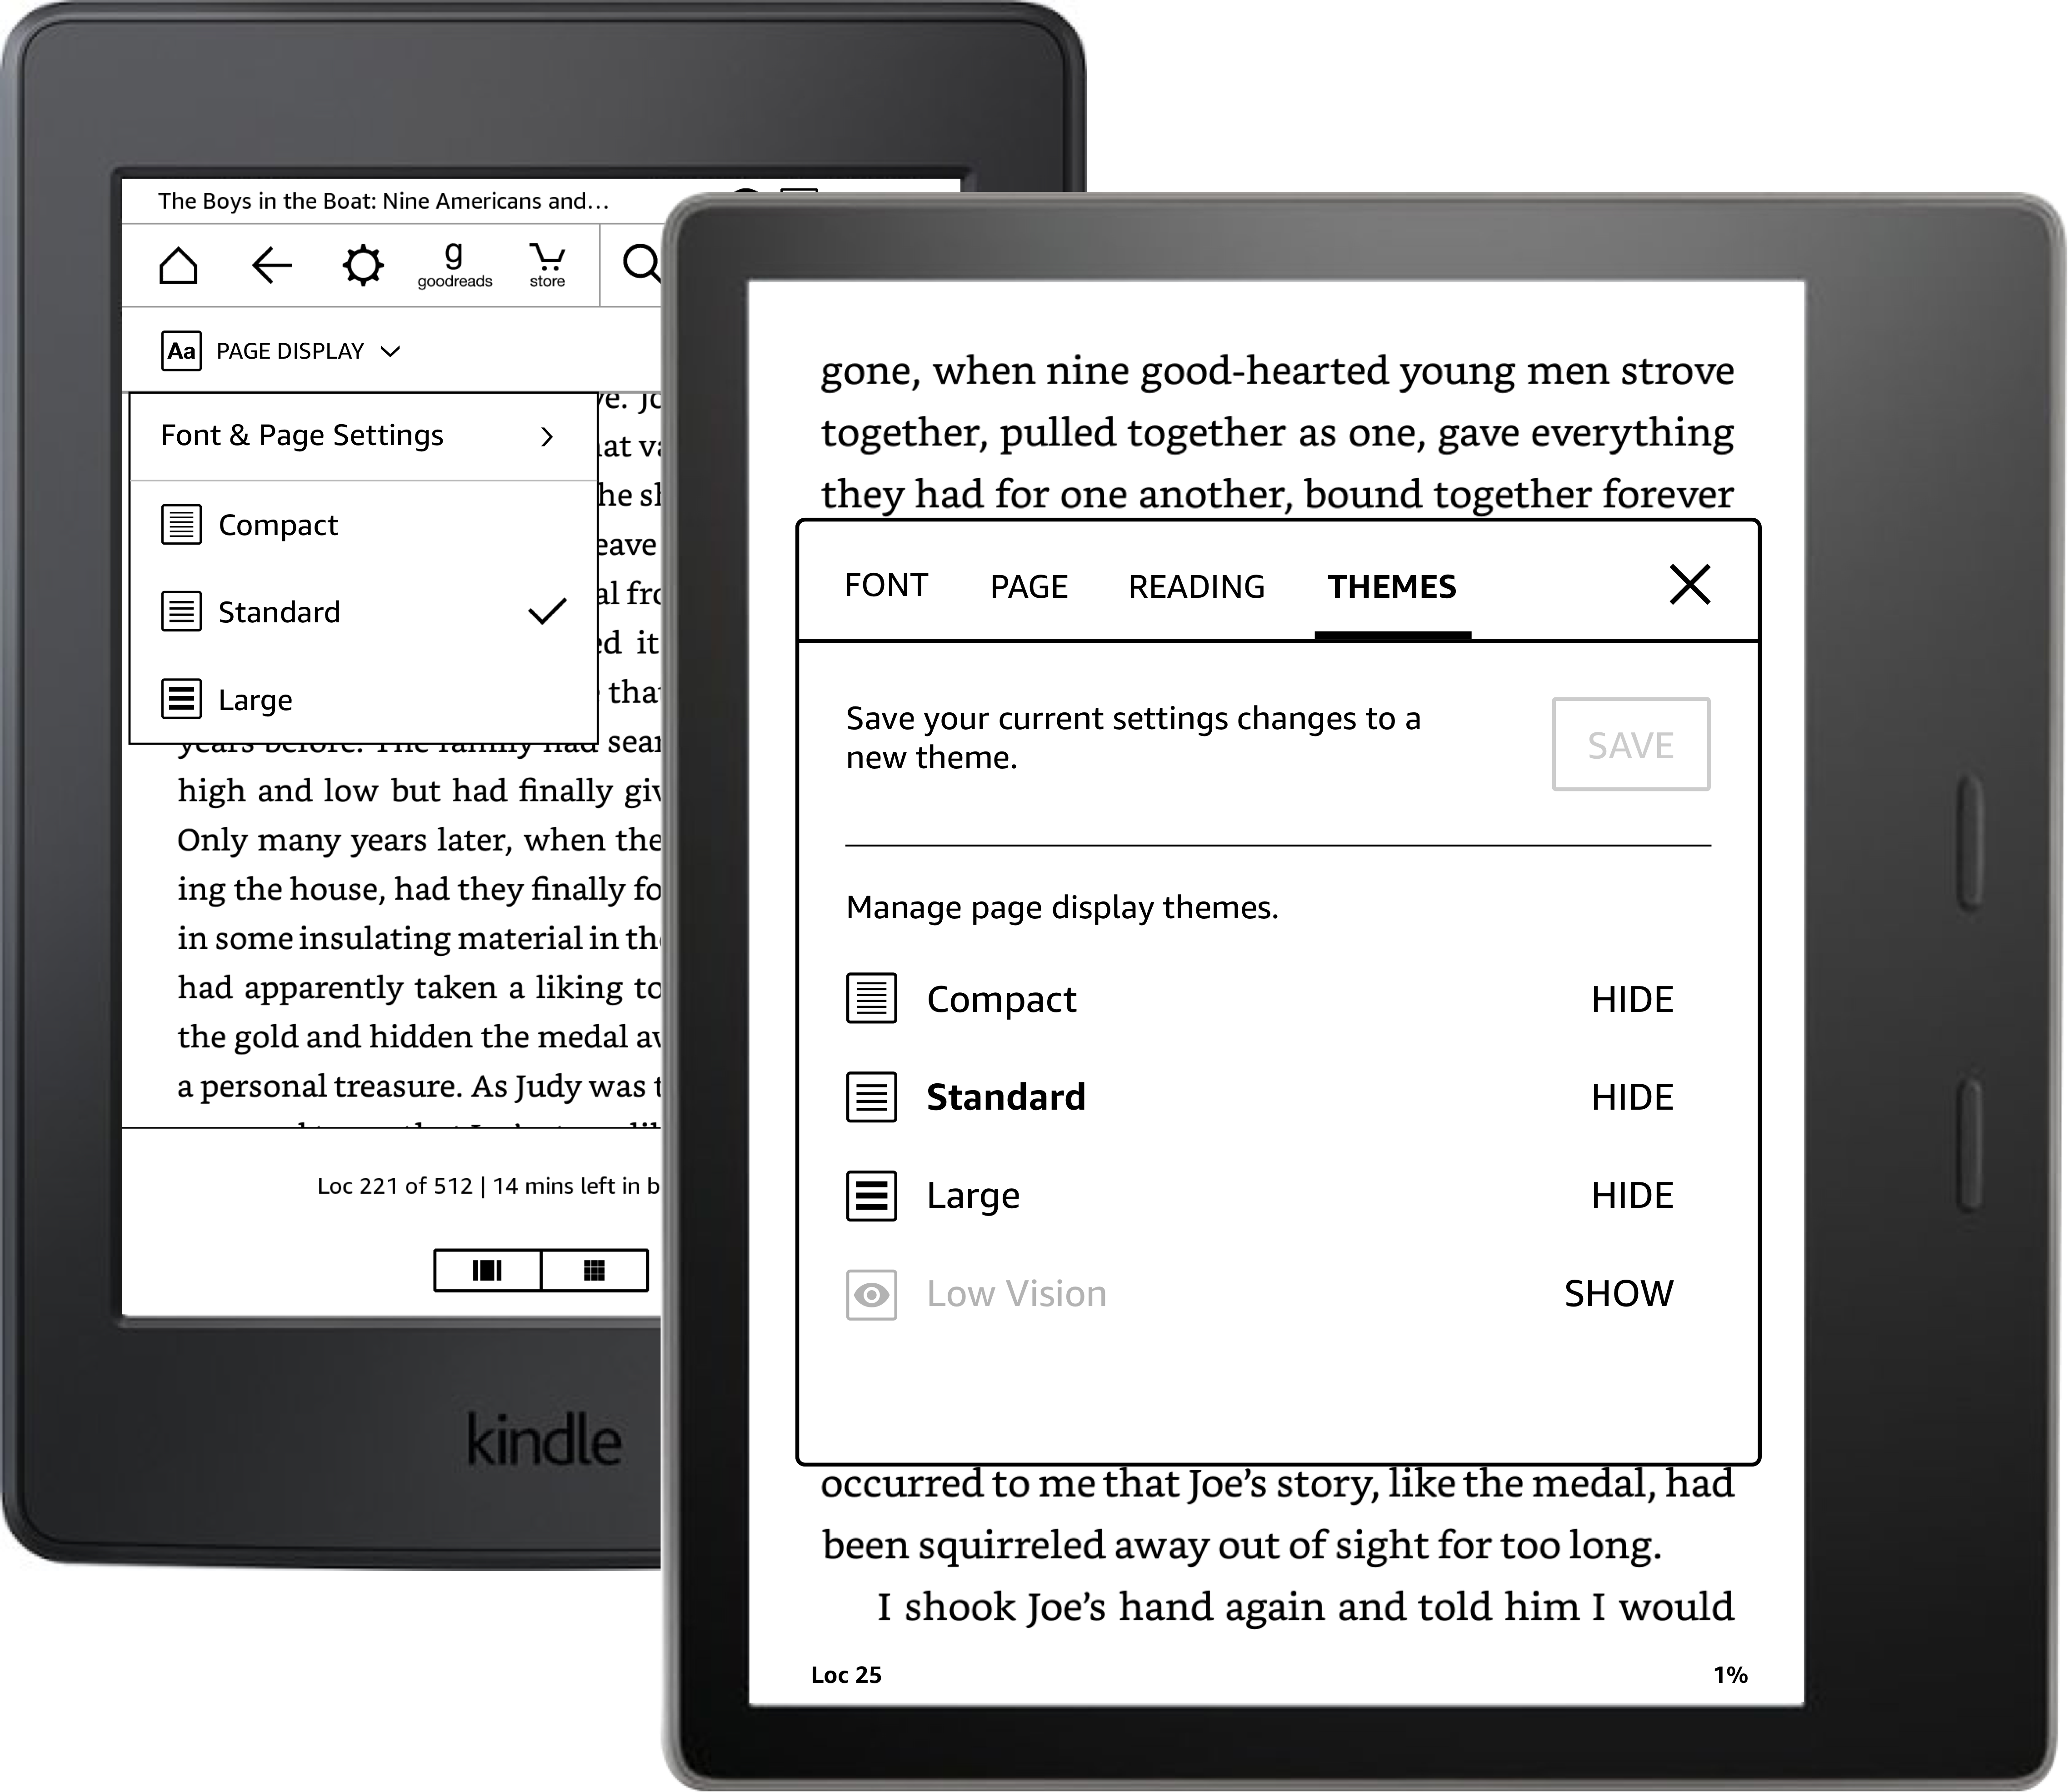
To adjust Kindle settings and drivers to fix the issue of your Kindle not showing up on your PC, follow these steps:
1. Check USB Connection: Ensure that the USB cable is securely connected to both the Kindle and the PC.
2. Restart Devices: Restart both your Kindle and PC to refresh the connection.
3. Update Kindle Drivers: Go to Device Manager on your PC, locate the Kindle device, right-click, and select Update Driver.
4. Adjust Kindle Settings: On your Kindle device, go to Settings > Device Options > Advanced Options > Device Information, then tap on Reset to Factory Defaults.
5. Reboot Kindle: Press and hold the power button on your Kindle until it restarts.
F.A.Qs
Why is my Kindle not being detected on my computer?
Your Kindle may not be detected on your computer for a few reasons. The most common cause could be using an older version of Windows on your PC. Additionally, using multiple third-party sites like Barnes & Noble or Kobo can also cause issues.
Why is my Kindle not showing up in my devices?
Your Kindle may not be showing up in your devices due to various reasons such as faulty USB ports or cables, outdated drivers, software conflicts, or settings issues with the Kindle.
How do I connect my Kindle to my PC?
To connect your Kindle to your PC, simply plug one end of the USB cable into an available USB port on your computer, and the other end into the micro-USB port on the Kindle.
Why is my Kindle not coming on?
Your Kindle may not be coming on due to a hardware issue or firmware glitch. Try performing a force reset by holding down the power button for 40 seconds to see if it resolves the issue.