Are you experiencing the frustrating Bad Pool Header error on your Windows 10 computer? Don’t worry, we’ve got you covered with some simple solutions to fix the issue.
Understanding the Bad Pool Header Error
The Bad Pool Header error is a common BSOD error that affects many Windows systems, including Windows 10, Windows 7, Windows Vista, and even Windows XP. It is also known as the 0x00000019 error, the Bad Pool Caller error, or the Tela Azul (Blue Screen) error.
The error occurs when Windows encounters a problem with its memory allocation process. This can happen due to driver issues, hardware problems, or even malware infections. When the error occurs, Windows will display a message that says “Bad Pool Header” or “Stop 0x00000019”.
To fix the Bad Pool Header error, you can try a few different solutions, depending on the cause of the problem. These may include updating your drivers, running a virus scan, or checking your hardware for issues. In some cases, you may need to reinstall Windows to fully resolve the issue.
If you’re experiencing the Bad Pool Header error on Windows 11 or Windows 8, the solutions may be slightly different due to the different operating system. However, the basic steps for troubleshooting the error should be similar.
What Causes the Bad Pool Header Error
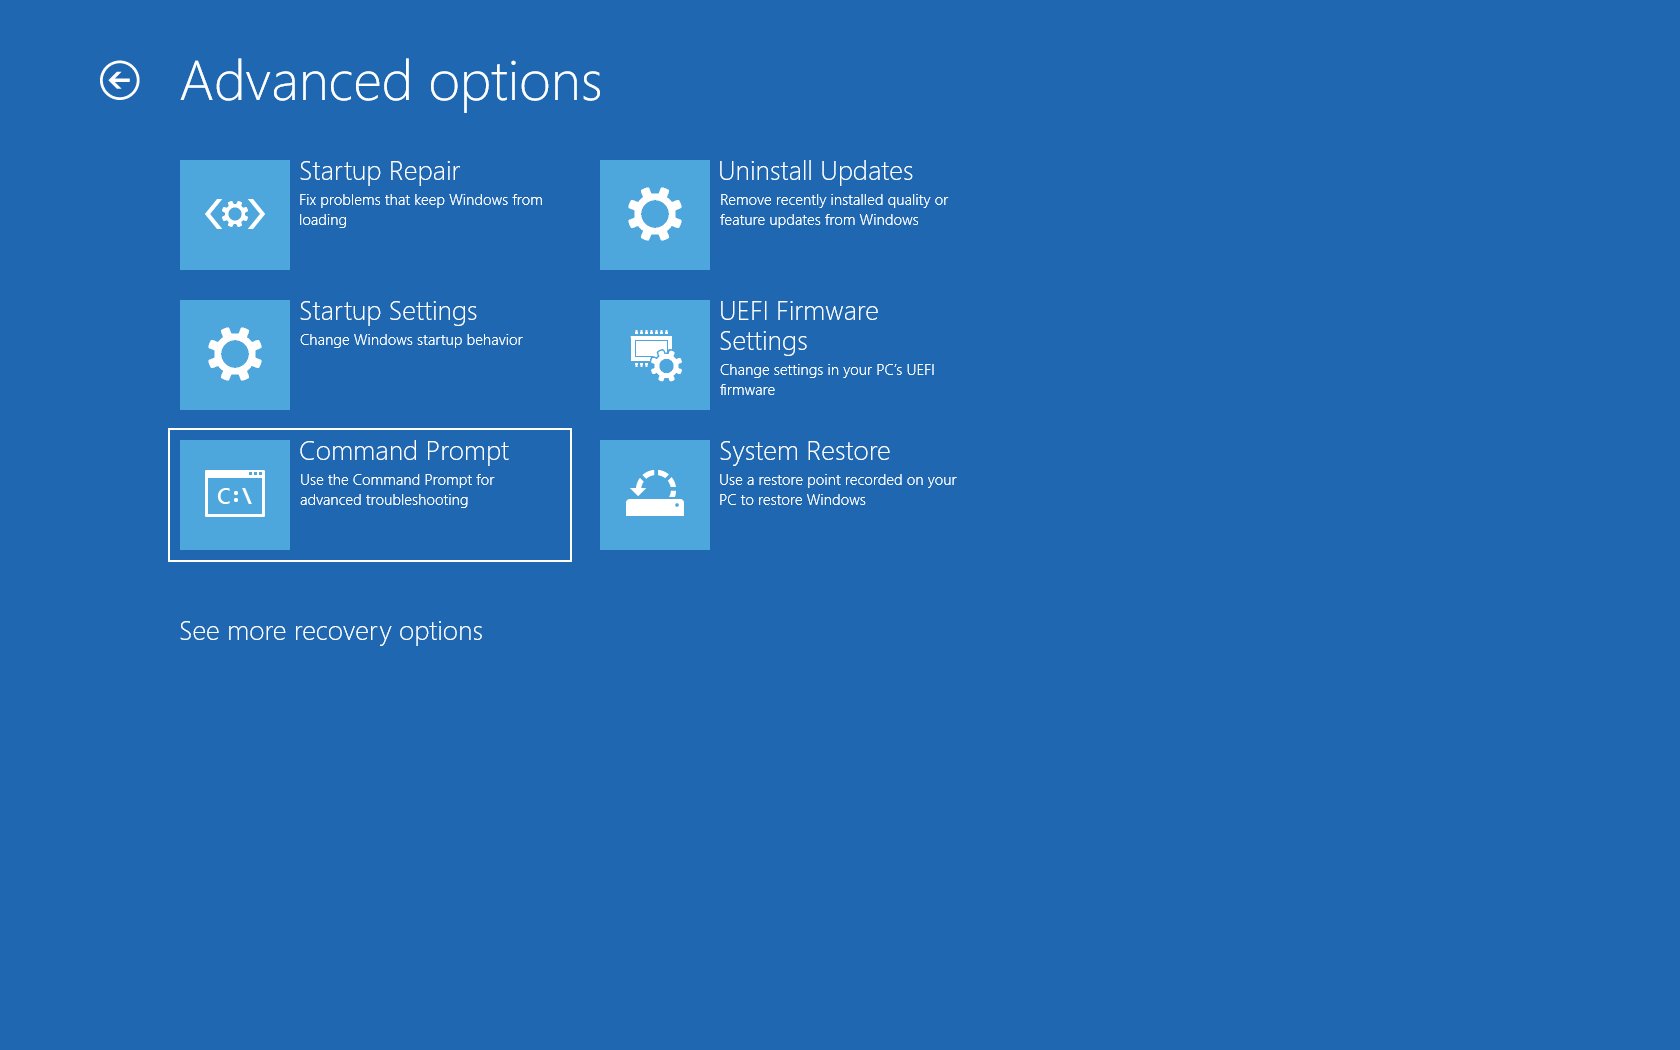
- Run System File Checker (SFC) to check for corrupted system files
- Open Command Prompt as administrator
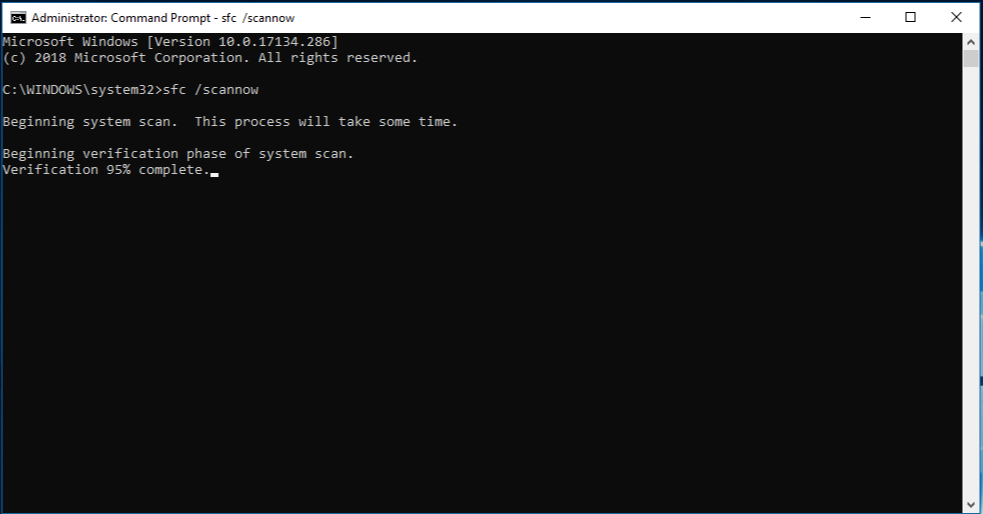
- Type sfc /scannow and press Enter
- Wait for the process to complete and restart
- Update or Rollback Drivers to fix any driver-related issues
- Open Device Manager
- Right-click on the device with driver issues and select Update Driver Software
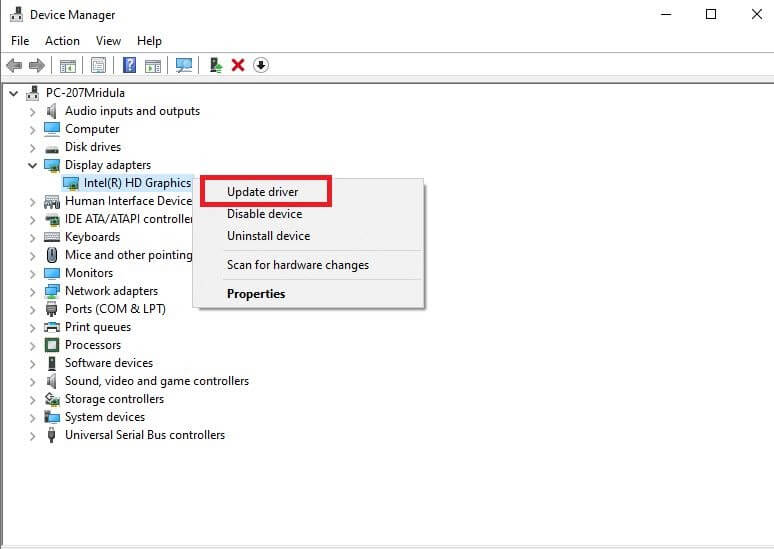
- Select Search automatically for updated driver software or Browse my computer for driver software
- If updating doesn’t work, select Roll Back Driver
- Disable Fast Startup to resolve system conflicts
- Open Control Panel
- Select Power Options
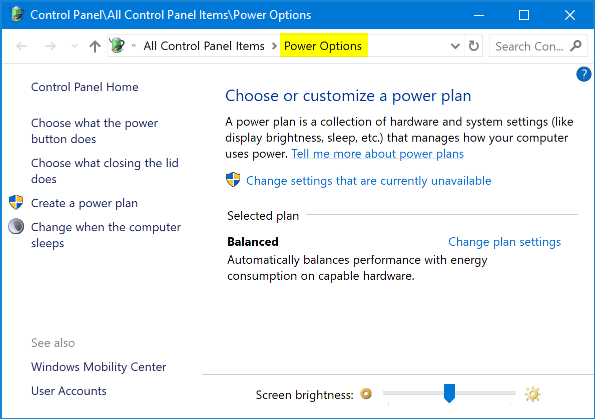
- Select Choose what the power buttons do
- Select Change settings that are currently unavailable
- Uncheck Turn on fast startup and save changes
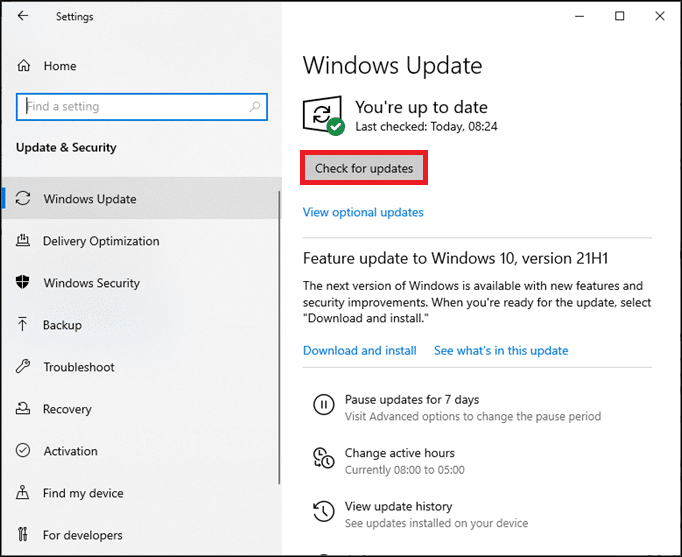
- Check for Windows Updates to fix any system conflicts or bugs
- Open Settings
- Select Update & Security
- Select Check for updates
- Install any available updates and restart
Temporary Solutions for Fixing the Bad Pool Header Error
- Restart Your PC
- Click on the Start button and select Restart.
- Wait for your computer to restart.
- Boot Your PC in Safe Mode
- Restart your computer.
- Press and hold the Shift key while your computer is booting up.
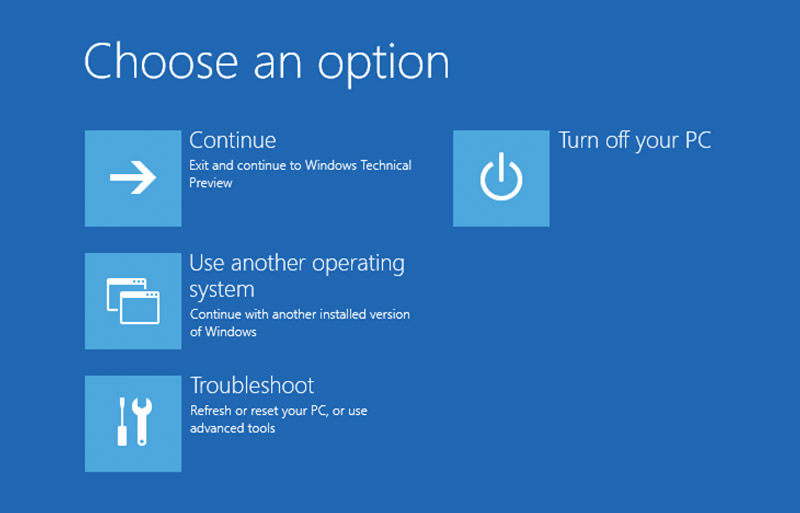
- Select the Troubleshoot option.
- Select Advanced Options.
- Select Startup Settings.
- Click Restart.
- Press the F4 key to boot into Safe Mode.
- Uninstall Recently Installed Programs
- Click on the Start button and select Settings.
- Select Apps.
- Select the program you want to uninstall.
- Click Uninstall.
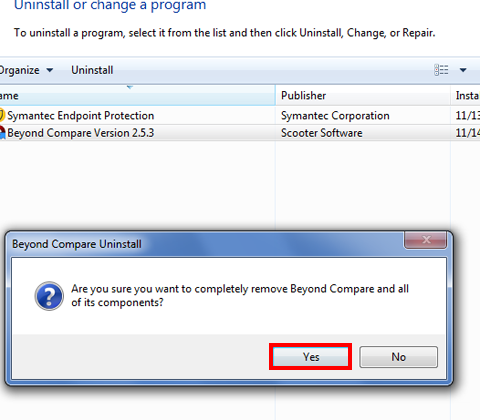
- Follow the instructions to uninstall the program.
- Update Your Drivers
- Click on the Start button and select Device Manager.
- Select the device with the driver you want to update.
- Right-click on the device and select Update Driver.
- Select Search automatically for updated driver software.

- Follow the instructions to update the driver.
- Check for Windows Updates
- Click on the Start button and select Settings.
- Select Update & Security.
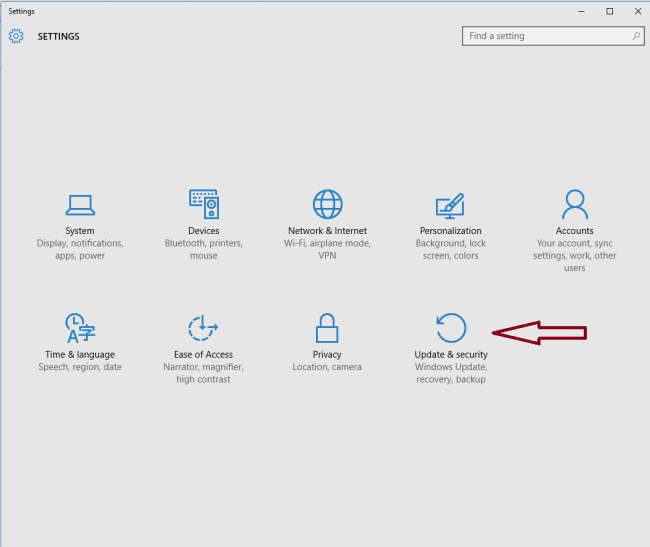
- Select Windows Update.
- Click Check for updates.
- Install any available updates.
python

import subprocess
# Check for memory issues
subprocess.run(['mdsched.exe'])
# Check for driver issues
subprocess.run(['Verifier.exe'])
# Check for disk issues
subprocess.run(['chkdsk.exe', '/f', '/r'])
This code uses the subprocess module to run various built-in Windows utilities that can help diagnose and resolve issues related to memory, drivers, and disks. However, it is important to note that these utilities should only be used by individuals with a solid understanding of how they work and what they do, as improperly using them could potentially cause further damage to the system.
Permanent Solutions for Fixing the Bad Pool Header Error
One of the most frustrating errors you can encounter on your computer is the Bad Pool Header Error. This error is also known by other names, such as 0x00000019 and Bad_Pool_Caller. It is often accompanied by a blue screen, also known as the Tela Azul or BSOD error. This error can occur on different versions of Windows, including Windows 10, Windows 7, Windows Vista, and Windows XP.
The Bad Pool Header Error occurs when there is a problem with the memory allocation process in your computer. It can be caused by outdated drivers, corrupt system files, or even hardware problems. Whatever the cause may be, it is important to find a permanent solution to this error.
One way to fix this error is to update your drivers. You can do this manually or by using a driver updater tool. Another way is to run a system file checker to repair any corrupt system files. You can also check your hardware components for any issues that may be causing the error.
How to Check if Your Device Drivers are Up-to-date
One of the common causes of the Bad Pool Header error is outdated device drivers. It’s essential to keep your drivers up-to-date to prevent conflicts and errors. Here’s how you can check if your device drivers are up-to-date on Windows 10.
First, open the Device Manager by pressing the Windows key + X and selecting Device Manager. Look for any devices with a yellow exclamation mark, which indicates an outdated or problematic driver.
Next, right-click the device and select Update Driver. If a newer version is available, Windows will download and install it automatically.
Alternatively, you can use a driver update software like Driver Booster or Driver Easy. These tools scan your computer for outdated drivers and update them with just a few clicks.
By keeping your drivers up-to-date, you can prevent Bad Pool Header and other BSOD errors on your Windows 10 computer.
How to Diagnose Your RAM for Error
| Step | Description |
|---|---|
| Step 1 | Press Windows + R key to open the Run dialog box. |
| Step 2 | Type “mdsched.exe” and hit enter to open the Windows Memory Diagnostic tool. |
| Step 3 | Select “Restart now and check for problems (recommended)”. |
| Step 4 | Wait for the tool to run and detect any errors in your RAM. |
| Step 5 | If any errors are found, replace the faulty RAM or contact a professional for assistance. |
How to Perform a Clean Boot
Performing a clean boot in Windows 10 can help fix the bad pool header error. This error is a BSOD error that occurs when your computer encounters a problem with the bad_pool_header. This issue can also occur in Windows 7, Windows Vista, and Windows XP. The error code associated with this issue is 0x00000019, also known as bad_pool_caller or stop 0x00000019.
To perform a clean boot, you need to disable all non-Microsoft services and startup programs. This process can help identify if the problem is caused by any third-party software. To do this, press the Windows key + R and type msconfig. Then, select the Services tab and check the box that says “Hide all Microsoft services.” Next, click the Disable all button and select the Startup tab. Click Open Task Manager and disable all startup programs. Finally, restart your computer.
If the bad pool header error does not occur after performing a clean boot, it means that the issue is caused by a third-party software. You can then re-enable services and startup programs one by one until you identify the culprit. This method can also be used in Windows 8, Windows 11, and other versions of Windows.
Performing a clean boot can be a helpful troubleshooting step to fix the bad pool header error in Windows 10 and other versions of Windows.
How to Reset Your PC and Perform a Clean Windows Install
| Step | Description |
|---|---|
| Step 1 | Backup your important files and data to an external hard drive or cloud storage service. |
| Step 2 | Go to the Start menu and click on Settings. |
| Step 3 | Click on Update & Security. |
| Step 4 | Click on Recovery in the left-hand menu. |
| Step 5 | Under Reset this PC, click on Get started. |
| Step 6 | You can choose to keep your personal files or remove everything. Click on the option that suits your needs. |
| Step 7 | Follow the on-screen instructions to reset your PC. |
| Step 8 | Once your PC is reset, you can perform a clean Windows install. |
| Step 9 | Download the Windows 10 Media Creation Tool from the Microsoft website. |
| Step 10 | Run the tool and select Create installation media for another PC. |
| Step 11 | Choose your language, edition, and architecture, then click Next. |
| Step 12 | Select USB flash drive or ISO file as the installation media. |
| Step 13 | Insert a USB drive or select an ISO file and click Next. |
| Step 14 | Follow the on-screen instructions to create the installation media. |
| Step 15 | Insert the installation media into your PC and boot from it. |
| Step 16 | Follow the on-screen instructions to perform a clean Windows install. |