Having trouble capturing screenshots on your Windows 10? Don’t fret! This article presents a range of effective fixes that will resolve your screenshot woes in no time.
Troubleshooting Why Screenshots Aren’t Saving
If your screenshots aren’t saving on Windows 10, try these fixes:
1. Check the Screenshots folder: Screenshots are saved in the Pictures folder by default. Open File Explorer and navigate to “Pictures” > “Screenshots” to see if your screenshots are there.
2. Use the correct keyboard combination: To take a screenshot, press the PrtScn (Print Screen) button on your keyboard. If it’s not working, try using the Win + PrtScn combination instead.
3. Use the Snipping Tool: If the PrtScn button doesn’t work, try using the Snipping Tool. Press the Windows Key, type “Snipping Tool,” and click on the program to open it. Use the tool to capture your screen.
4. Check for a conflict with other programs: Some image editors or cloud storage programs like OneDrive may interfere with the screenshot saving process. Close any such programs and try taking a screenshot again.
5. Modify the Registry: If none of the above steps work, you can try modifying a registry value. Open the Registry Editor by pressing the Windows Key + R, typing “regedit,” and pressing Enter. Navigate to “HKEY_CURRENT_USER\Software\Microsoft\Windows\CurrentVersion\Explorer” and double-click on “ScreenShotIndex.” Change the value to “0” and click OK.
These fixes should help you resolve the issue of screenshots not saving on your Windows 10 PC. If you still face problems, consider seeking further assistance or contacting Microsoft support.
Locating Saved Screenshots on Windows 10
If you’re having trouble locating your saved screenshots on Windows 10, try the following fixes:
1. Press the Windows key + E to open File Explorer.
2. In the address bar, paste %userprofile%\Pictures\Screenshots and hit Enter.
3. If you don’t see your screenshots in this folder, try checking other locations. Right-click on the Screenshots folder and select Properties. Go to the Location tab and click Restore Default.
4. If that doesn’t work, open the Registry Editor by pressing Windows key + R and typing regedit. Navigate to HKEY_CURRENT_USER\Software\Microsoft\Windows\CurrentVersion\Explorer\User Shell Folders. Double-click on My Pictures and make sure the Value data is set to %USERPROFILE%\Pictures.
5. If you’re using OneDrive, your screenshots might be saved there. Check the OneDrive folder or the OneDrive website.
6. Lastly, make sure you’re using the correct keyboard combination to take screenshots. The most common method is pressing the Print Screen (PrtSc) key.
These steps should help you locate your screenshots on Windows 10.
Checking Different Locations for Saved Screenshots
- Press the Windows key and E together to open the File Explorer.
- In the File Explorer window, navigate to the default save location for screenshots: C:\Users\[YourUsername]\Pictures\Screenshots.
![Press the Windows key and E together to open the File Explorer.
In the File Explorer window, navigate to the default save location for screenshots: C:\Users\[YourUsername]\Pictures\Screenshots.](/posts/press-the-windows-key-and-e-together.png)
- Check if your screenshots are present in this folder. If not, proceed to the next repair method.
Repair Method 2: Use the Search function
- Click on the Windows Start button located at the bottom left corner of the screen.
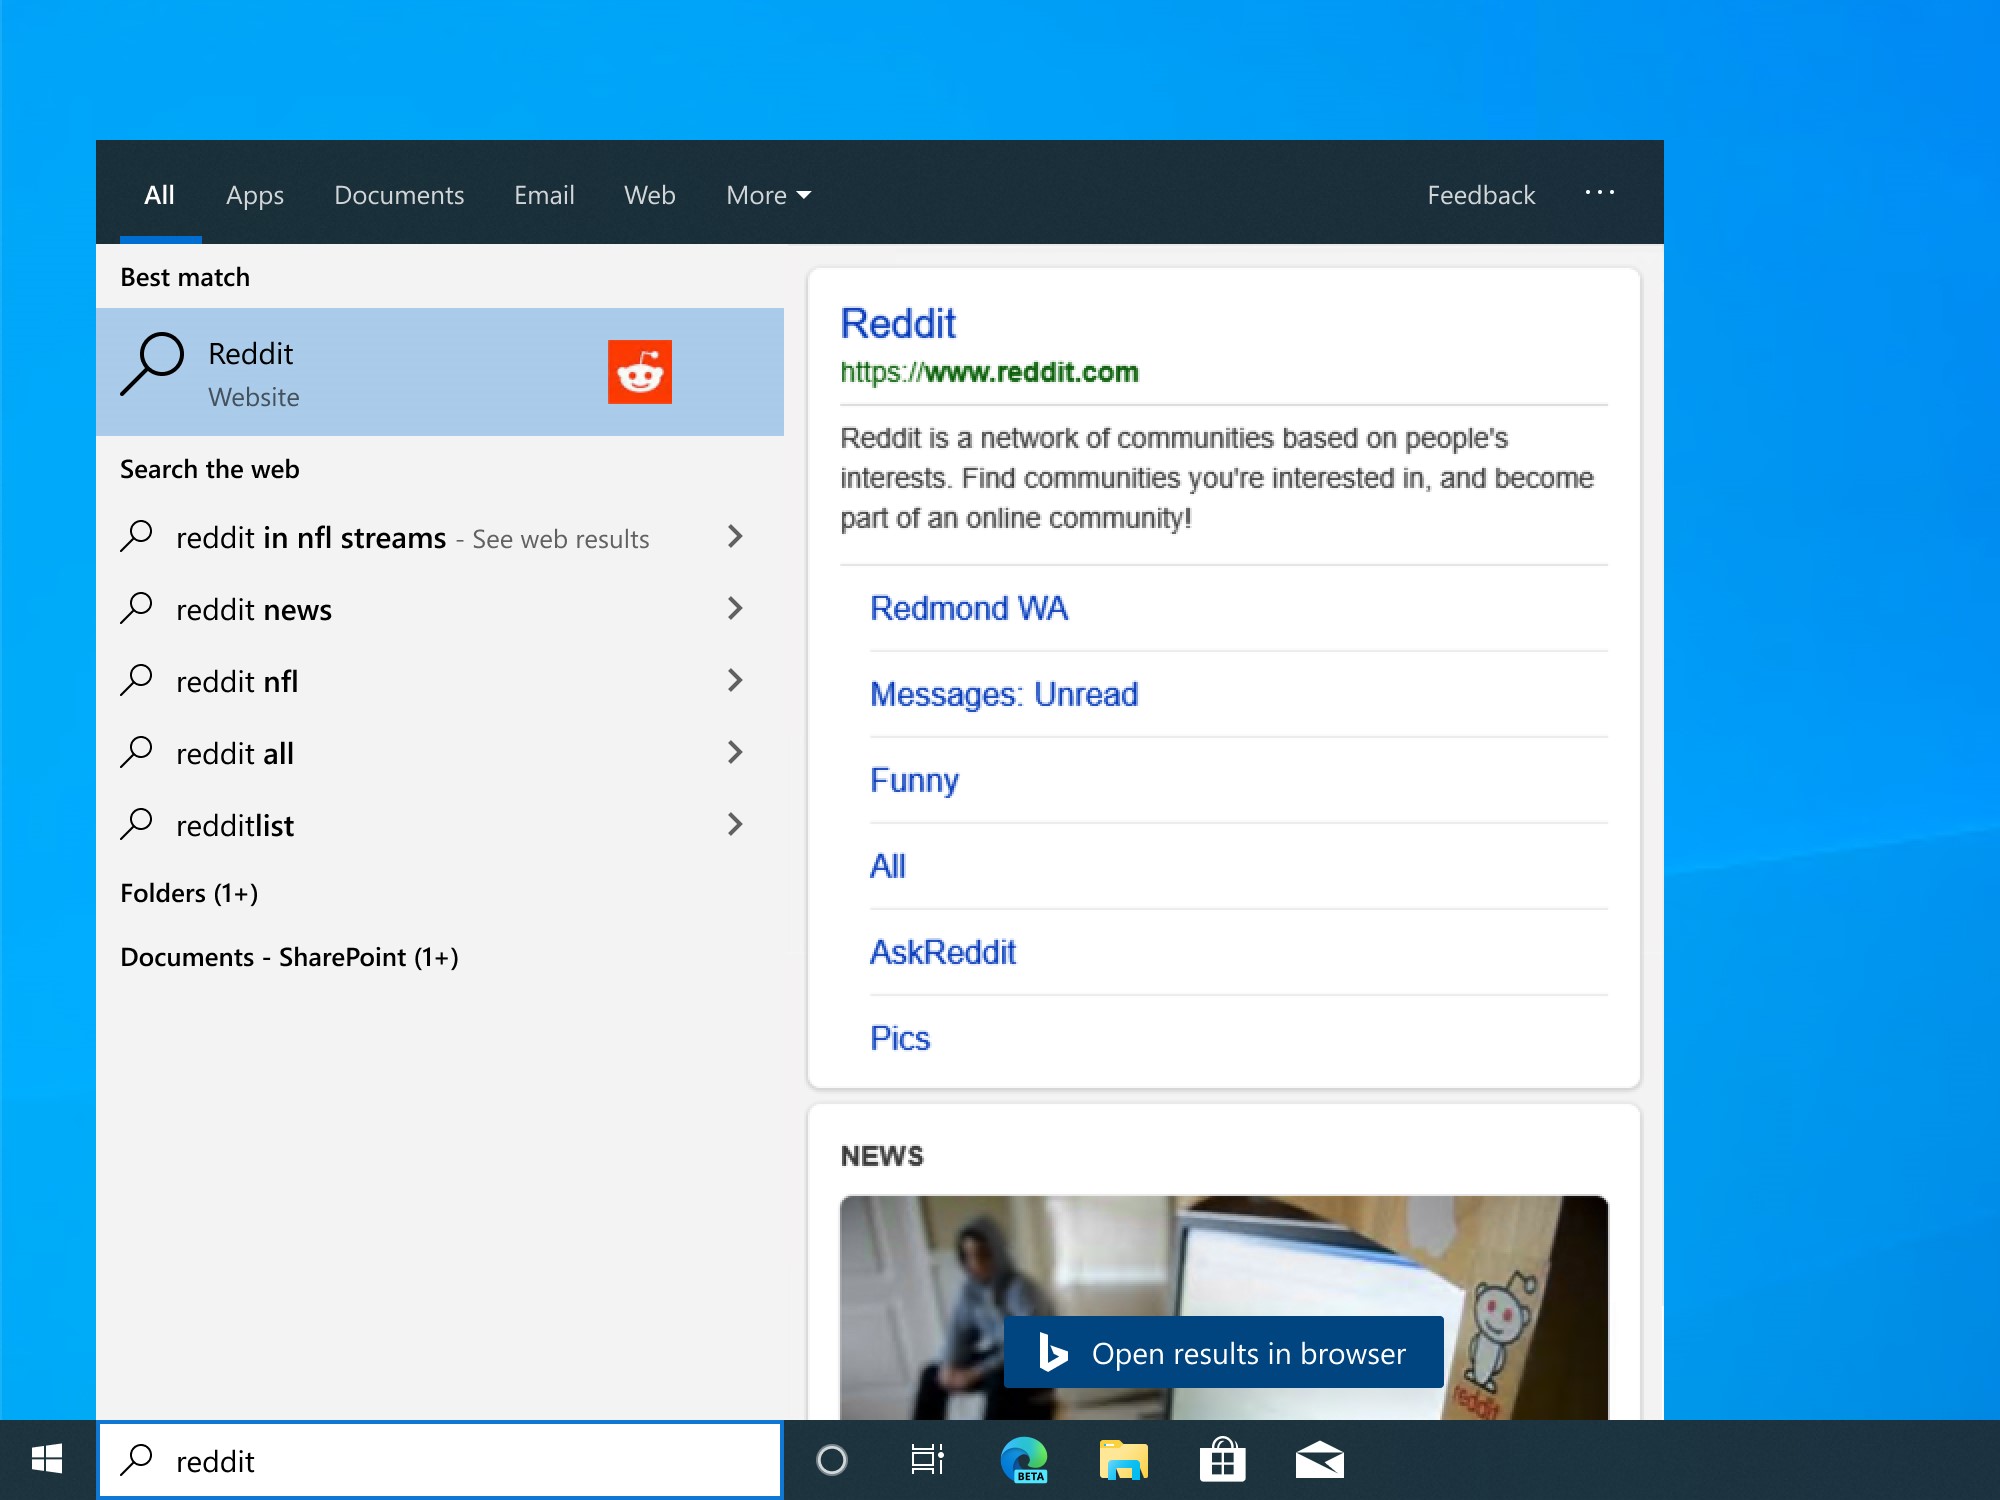
- Type “screenshot” in the search bar and wait for the results to appear.

- Look through the search results to find your screenshots. If they are not found, move on to the next repair method.
Repair Method 3: Check the Screenshots folder in OneDrive
- Open the OneDrive app on your Windows 10 computer.
- Navigate to the Screenshots folder within OneDrive.
- Check if your screenshots are present in this folder. If they are not, proceed to the next repair method.
Repair Method 4: Use the Snipping Tool
- Open the Start menu and search for “Snipping Tool“.
- Click on the Snipping Tool application to open it.

- Use the Snipping Tool to capture a new screenshot if your desired screenshot is not found using the previous methods.
Repair Method 5: Use the Print Screen key
- Locate the Print Screen key on your keyboard (usually labeled as PrtScn or similar).
- Press the Print Screen key to capture the entire screen.
- Open an image editing program (e.g., Paint) and paste the screenshot using Ctrl+V.
- Save the screenshot in a desired location on your computer.

python

import os
def search_screenshots(directory):
screenshots = []
for root, dirs, files in os.walk(directory):
for file in files:
if file.lower().startswith("screenshot"):
screenshots.append(os.path.join(root, file))
return screenshots
# Specify the directory to search for screenshots
directory_to_search = "C:\\Users\\YourUsername\\Pictures"
# Call the function to search for screenshots in the specified directory
found_screenshots = search_screenshots(directory_to_search)
# Print the paths of the found screenshots
for screenshot in found_screenshots:
print(screenshot)
Note: Replace `”C:\\Users\\YourUsername\\Pictures”` in the `directory_to_search` variable with the actual directory path where you expect your screenshots to be stored. Running this code will search for files starting with “screenshot” within the specified directory and its subdirectories, then print the paths of the found screenshots.
Keep in mind that this code only searches for files with names starting with “screenshot” and doesn’t guarantee that they are actual screenshots. Additionally, it may not cover all possible locations where Windows 10 saves screenshots by default. You can modify the code based on your specific requirements and directory structures to improve its functionality.
Configuring Onedrive Settings for Screenshots
If you’re having trouble finding your Windows 10 screenshots, it could be due to a configuration issue with OneDrive settings. To fix this, follow these steps:
1. Open OneDrive on your Windows 10 PC or laptop.
2. Click on the “Settings” button in the bottom-right corner of the window.
3. Go to the “Backup” tab.
4. Under the “Screenshots” section, make sure the toggle switch is turned on.
5. If it’s already on, turn it off and then turn it back on again.
6. Press the “OK” button to save the changes.
By configuring OneDrive settings for screenshots, you should now be able to easily find and access your Windows 10 screenshots in the designated folder. Remember to check your OneDrive library or the “Pictures/Screenshots” folder on your PC or laptop.
Ensuring Proper Saving of Screenshot Files
If you’re having trouble finding your Windows 10 screenshots, we can help you resolve the issue. Follow these steps to ensure proper saving of your screenshot files.
1. Press the Windows key + PrtScn to take a screenshot. This will save the screenshot in the “Pictures” folder under “Screenshots.”
2. If the above method doesn’t work, try pressing Ctrl + V in an image editor or document to paste the screenshot. This can sometimes bypass any issues with the “PrtScn” button.
3. If your screenshots are still not saving, right-click on the Windows Start button and select “Run.” Type “regedit” and hit Enter to open the Registry Editor.
4. In the Registry Editor, navigate to “HKEY_CURRENT_USER\Software\Microsoft\Windows\CurrentVersion\Explorer\Shell Folders.”
5. Look for the “Pictures” value in the right-hand pane. If it’s not set to the correct path, double-click on it and enter “%userprofile%\Pictures\Screenshots.”
By following these steps, you should be able to resolve any issues with Windows 10 screenshots not saving properly.
Searching for Missing Screenshots
Having trouble finding your Windows 10 screenshots? Don’t worry, we’ve got you covered with some fixes.
If your screenshots are not saving, try these steps:
1. Press Win + PrtSc to take a screenshot and save it directly to your Pictures > Screenshots folder.
2. If the Win + PrtSc combination doesn’t work, try using Alt + PrtSc to capture the active window and paste it into an image editor.
3. Check the Screenshots folder in your Pictures library to see if the screenshots are there.
4. If the Screenshots folder is missing, you can create it by right-clicking on the Pictures folder, selecting New, and then Folder. Name the new folder “Screenshots”.
5. Make sure your keyboard doesn’t have a separate PrtSc or Print Screen button that you should use instead.
6. If none of these fixes work, you may need to check your system settings. Press Win + R to open the Run dialog, then type “regedit” and hit Enter. Navigate to HKEY_CURRENT_USER\Software\Microsoft\Windows\CurrentVersion\Explorer\User Shell Folders and make sure the “Screenshots” DWORD value is set to “%USERPROFILE%\Pictures\Screenshots“.
We hope these steps help you find your missing screenshots and resolve any confusion.
Addressing Issues with the PrtSc Key and Screenshot Folder
If you’re having trouble finding your Windows 10 screenshots or the PrtSc key isn’t working properly, we’ve got some helpful fixes for you.
First, check your Screenshot folder. To locate it, press Win + E to open File Explorer. Then, navigate to Pictures Screenshots. If your screenshots aren’t there, try the following solutions.
1. Restart your computer: Sometimes a simple restart can resolve the issue. Press the Windows key, select Power, and choose Restart.
2. Check your keyboard: Make sure the PrtSc key is functioning correctly. If not, try using the Snipping Tool or Windows + Shift + S keyboard combination to take a snapshot.
3. Use the Windows key + PrtSc: Pressing these buttons together captures the entire screen and saves the screenshot in the Pictures Screenshots folder.
4. Adjust the Registry: Open the Registry Editor by typing regedit in the Start menu. Navigate to HKEY_CURRENT_USER\Software\Microsoft\Windows\CurrentVersion\Explorer. Right-click on an empty space, select New, and choose DWORD (32-bit) Value. Name it ScreenshotIndex and set its value to 1.
Try these fixes to resolve the issue and start capturing your Windows 10 screenshots effortlessly.
