Having trouble running apps on your Windows 10 device? Let’s explore how to fix this common error.
Download and Install the Correct Version
If the app still won’t run after installing the correct version, try updating your operating system through Windows Update. Sometimes, a simple update can resolve compatibility issues.
Additionally, you can try running the app as an administrator by right-clicking on the app icon and selecting “Run as administrator” from the context menu. This can sometimes bypass any permission issues causing the error.
If the problem persists, consider backing up your data and performing a clean install of Windows 10. This can help resolve any underlying issues with your operating system that may be causing the error.
Update Windows
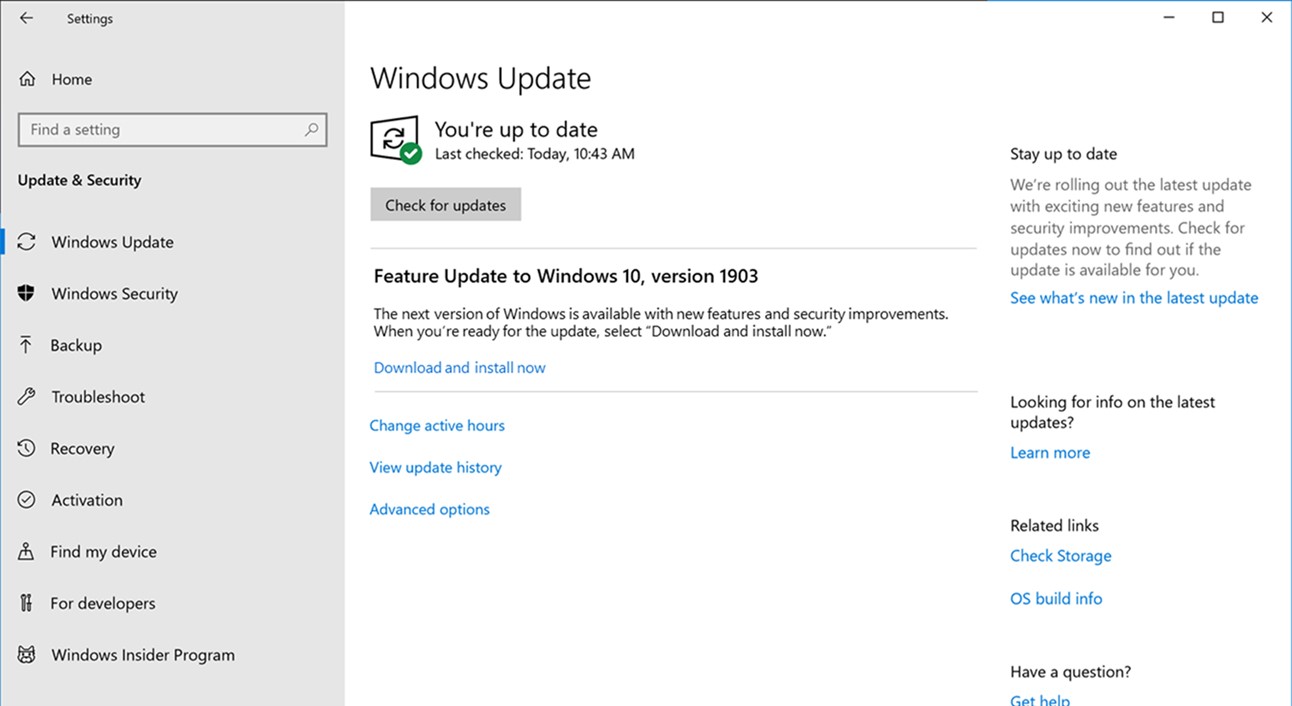
Open the Settings app by clicking on the Start button and then selecting Settings. From there, navigate to Update & Security and click on Windows Update. Check for any available updates and install them.
If updating Windows does not fix the error, you can also try resetting the Microsoft Store. To do this, open the Settings app, go to Apps, and then scroll down to find Microsoft Store. Click on it and select Advanced Options. From there, click on Reset to reset the Microsoft Store.
If the issue still persists, you may need to reinstall the problematic apps. Uninstall the apps causing the error and then reinstall them from the Microsoft Store.
Create a New Administrator Account
Step 1: Press the Windows key + X on your keyboard to open the Power User menu.
Step 2: Click on “Computer Management” to open the Computer Management window.
Step 3: In the Computer Management window, expand “Local Users and Groups” and then click on “Users.”
Step 4: Right-click on an empty space in the right pane and select “New User.”
Step 5: Enter the necessary information for the new user account, including the username and password. Make sure to check the box next to “User must change password at next logon.”
Step 6: Click “Create” to finish creating the new user account.
Step 7: Finally, right-click on the newly created user account and select “Properties.” Go to the “Member Of” tab and add the account to the Administrators group.
Disable SmartScreen Feature
To disable the SmartScreen feature in Windows 10 and fix the “Apps Can’t Run” error, follow these steps:
1. Right-click on the Start button and select “Run.”
2. Type “gpedit.msc” and press Enter to open the Local Group Policy Editor.
3. In the left pane, navigate to “Computer Configuration” > “Administrative Templates” > “Windows Components” > “File Explorer.”
4. In the right pane, double-click on “Configure Windows Defender SmartScreen.”
5. Select “Disabled” and click “Apply,” then “OK” to save the changes.
6. Press Win + R, type “cmd,” and press Enter to open Command Prompt.
7. Type “gpupdate /force” and press Enter to update the Group Policy settings.
8. Restart your computer for the changes to take effect.
Enable App Side-loading
Step 1: Go to the “Settings” menu on your Windows 10 computer.
Step 2: Click on “Update & Security” and then select “For developers.”
Step 3: Under the “Use developer features” section, toggle the switch to enable “Developer mode.”
Step 4: Once developer mode is enabled, you can now side-load apps on your Windows 10 device.
By following these steps, you should be able to fix the error that prevents Windows 10 apps from running properly. Enabling side-loading allows you to install apps from sources other than the Windows Store, giving you more flexibility in managing your applications.
Remember to only side-load apps from trusted sources to avoid any security risks.
If you encounter any issues during the process, you can refer to Windows 10 troubleshooting resources or seek help from online forums and communities dedicated to Windows users.
Use System File Checker
System File Checker is a built-in Windows utility that can help fix errors related to corrupted system files. To use it to address the issue of Windows 10 apps not running, follow these steps:
1. Press the Windows key + X on your keyboard to open the Power User menu.
2. Select “Command Prompt (Admin)” to open an elevated Command Prompt window.
3. In the Command Prompt window, type sfc /scannow and press Enter to initiate the System File Checker scan.
4. The tool will start scanning your system files for any errors or corruption and attempt to repair them automatically.
It is important to note that the System File Checker scan may take some time to complete, depending on the size of your system files and the extent of the corruption. Once the scan is finished, restart your computer and check if the Windows 10 apps can now run without any errors.
By using the System File Checker tool, you can potentially resolve issues with corrupted system files that may be preventing your Windows 10 apps from running correctly.
Check for Disk Errors
- Open File Explorer.
- Right-click on the drive you want to check and select Properties.
- Go to the Tools tab and click on Check under the Error checking section.
- Click on Scan drive and wait for the process to finish.
- If errors are found, click on Repair drive to fix them.
Disable Proxy or VPN Connections
Here’s how to disable Proxy connections:
1. Open the Settings menu by pressing Windows key + I.
2. Click on Network & Internet.
3. Select Proxy from the left-hand menu.
4. Toggle off the switch under Use a proxy server.
If you are using a VPN:
1. Disconnect from the VPN server.
2. Disable the VPN software or service running on your computer.
F.A.Qs
How do I fix the app can’t run on my PC Windows 10?
To fix the app that can’t run on your PC Windows 10, enable Compatibility mode by right-clicking the app’s executable file, selecting Properties, opening the Compatibility tab, checking Run this program in compatibility mode for, and choosing a different Windows version from the drop-down menu.
How do I fix an application that won’t open in Windows 10?
To fix an application that won’t open in Windows 10, you can try using the repair options from the Control Panel. Simply search for Control Panel in the taskbar, select Programs > Programs and Features, then right-click on the program you want to fix and select Repair or Change. Follow the on-screen directions to complete the repair process.
Why are apps not working on Windows 10?
Windows 10 apps may not be working due to a corrupted installation or a restriction preventing them from updating to the latest version. To fix this issue, resetting the Microsoft Store cache can help resolve the problem.
Why is my PC not opening anything?
Your PC may not be opening anything due to potential issues with drivers or software that are not loading properly. Try booting your PC in Safe Mode to troubleshoot, or consider performing a Startup Repair to fix any system problems preventing Windows from starting.