Are you frustrated with Sony Vegas crashing and freezing? Let’s explore some solutions to fix these issues and get back to editing smoothly.
Clear Temporary and Program Cache Files
To clear temporary and program cache files in Sony Vegas, first close the program completely. Then, navigate to the program’s cache folder on your computer.
Delete all the temporary files and cache files within this folder. You can do this by selecting all the files and pressing the Delete key on your computer keyboard.
After deleting the files, restart Sony Vegas and check if the crashing and freezes have been resolved. Clearing the cache files can often improve the performance and stability of the program.
If you are still experiencing issues after clearing the cache files, you may need to consider other troubleshooting steps such as updating your graphics card drivers or reinstalling the software.
By clearing temporary and program cache files, you can potentially fix Sony Vegas crashing and freezes without the need for more advanced troubleshooting methods.
Prioritize Processing Power for the Application
| Factors | Description | Potential Impact |
|---|---|---|
| Processor Speed | The speed at which the processor can execute instructions | Improves overall application performance and reduces crashes |
| Number of Cores | The number of processing cores in the CPU | Allows for better multitasking and faster rendering times |
| RAM | The amount of memory available for the application | Allows for smoother playback and reduces the likelihood of freezes |
| Graphics Card | The quality and capabilities of the GPU | Improves video rendering and playback performance |
Keep Drivers and Software Up-to-Date
To prevent Sony Vegas from crashing or freezing, it’s important to keep your drivers and software up-to-date. Regularly check for updates for your device drivers by opening the Device Manager in Windows and updating any outdated drivers. Keeping your operating system, such as Windows 10 or Windows 11, updated can also help resolve compatibility issues with Sony Vegas.
Additionally, make sure to update your Sony Vegas software to the latest version to benefit from bug fixes and improvements that can prevent crashes and freezes. This can usually be done by downloading the latest update from the official website or through the software itself.
By keeping your drivers and software up-to-date, you can minimize the risk of Sony Vegas crashing or freezing during video editing sessions.
Optimize Hardware and Processor Settings
Additionally, consider adjusting the hardware acceleration settings in Vegas Pro. Go to Options > Preferences > Video tab and change the GPU acceleration settings to see if it improves stability. You may also want to update your device drivers and ensure your computer meets the minimum system requirements for running Vegas Pro.
If you’re still experiencing crashes and freezes, try transcoding your video files to a format that Vegas Pro handles better. Use an external software to convert your files to a format like ProRes or DNxHD before importing them into Vegas Pro. This can reduce the strain on your system and improve stability.
By optimizing hardware and processor settings, you can minimize the likelihood of Sony Vegas Pro crashing and freezing during your editing sessions.
Import Media Using Preferred Methods
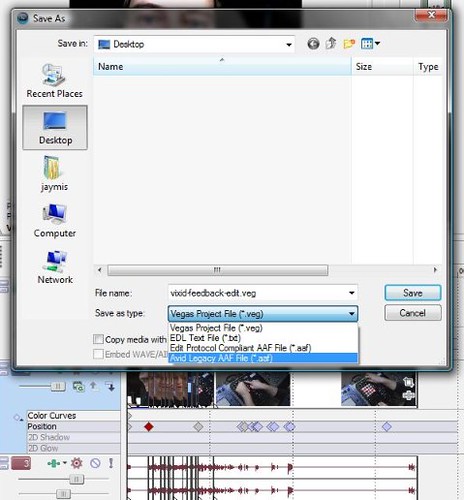
You can also use the keyboard shortcut **[Ctrl + I]** to open the “Import Media” window and select the files you want to import. Additionally, you can right-click within the project media window and select “Import Media” from the context menu.
If you are experiencing crashes or freezes when importing media, try **transcoding** the files into a format that is more compatible with Sony Vegas. This can be done using third-party transcoding software or by using the built-in transcoding options within Sony Vegas.
Adjust Application Preferences and Settings
Adjust the Video and Audio settings to optimize performance and prevent crashes. Ensure that the software is using the correct hardware for rendering and playback.
You can also adjust the project settings to match the specifications of your video files. This can help prevent compatibility issues that may lead to crashes or freezes.
Additionally, consider adjusting the performance settings to allocate more resources to Sony Vegas. This can be especially helpful if you’re experiencing crashes or freezes during editing or rendering processes.
If you’re still experiencing issues after adjusting the preferences and settings, consider updating your software to the latest version. Bug fixes and performance improvements are often included in updates.
Manage Project Media and Formats Effectively
- Check for incompatible media formats:
- Review all media files used in the project to ensure they are compatible with Sony Vegas.
- Convert incompatible media:
- Use a media converter to change incompatible file formats to ones supported by Sony Vegas.
- Optimize media for editing:
- Transcode large or high-resolution media files to a lower resolution or proxy format for smoother editing.
