Are you experiencing a LogiLDA.dll module error in Windows? Let’s explore how to fix this issue and get your system running smoothly again.
Understanding LogiLDA.dll Functionality and Errors
LogiLDA.dll is a dynamic-link library file associated with Logitech Download Assistant. It is commonly used to help with the installation and updating of Logitech software and drivers. However, users may encounter errors related to this module, causing issues with the proper functioning of Logitech devices.
If you are experiencing LogiLDA.dll errors, the first step is to check for malware or viruses on your system. Run a full system scan using a reliable antivirus program to ensure that your computer is not infected.
If the issue persists, you can try re-registering the LogiLDA.dll file using the Command Prompt. Open Command Prompt as an administrator and type “regsvr32 /u LogiLDA.dll” followed by “regsvr32 LogiLDA.dll” to re-register the file.
In some cases, the LogiLDA.dll error may be caused by a corrupted or outdated driver. Use the Device Manager to update or reinstall the drivers for your Logitech devices.
If all else fails, you may consider uninstalling the Logitech software and then reinstalling it from the official website. This can help resolve any issues with the LogiLDA.dll module.
Preventing Startup Issues by Disabling Logitech Download Assistant
To prevent startup issues caused by the Logitech Download Assistant, you can disable it from running in the background on your Windows computer.
First, open the Task Manager by pressing Ctrl + Shift + Esc on your keyboard.
Navigate to the “Startup” tab and look for the Logitech Download Assistant.
Right-click on it and select “Disable” from the context menu.
This will prevent the program from launching when you start your computer, potentially resolving any issues related to the LogiLDA.dll module error.
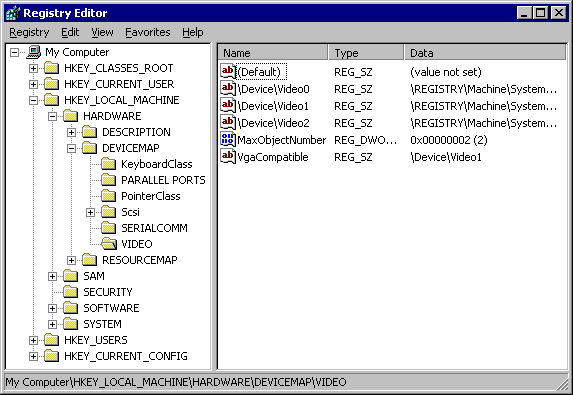
Additionally, you can also use the Windows Registry to disable the Logitech Download Assistant.
Open the Registry Editor by pressing Windows key + R, typing “regedit” and pressing Enter.
Navigate to the following key: HKEY_LOCAL_MACHINE\SOFTWARE\Microsoft\Windows\CurrentVersion\Run and look for the Logitech Download Assistant entry.
Delete this entry to prevent it from launching at startup.
Manual and Automated Registry Fixes for LogiLDA.dll
| Fix Type | Description |
|---|---|
| Manual Fix | 1. Open the Windows Registry Editor (regedit) 2. Navigate to HKEY_LOCAL_MACHINE\SOFTWARE\Microsoft\Windows\CurrentVersion\Run 3. Look for any entry related to LogiLDA and delete it |
| Automated Fix | Use a reliable registry cleaner tool to scan for and fix any issues related to LogiLDA.dll in the Windows registry |
Resolving LogiLDA.dll Problems Post Windows Update
If you are experiencing LogiLDA.dll problems after a Windows update, you can resolve this issue by following a few simple steps. First, try restarting your computer to see if that resolves the issue. If not, you can try uninstalling and reinstalling the Logitech Download Assistant to ensure that the DLL module is properly installed.
Another option is to run a malware scan on your computer to check for any potential viruses or malware that may be causing the problem. Additionally, you can update your device drivers to ensure that everything is up to date and functioning properly.
If none of these solutions work, you may need to use System Restore to revert your system back to a previous state before the Windows update. This can help to undo any changes that may have caused the LogiLDA.dll error.
Logitech Software Management: Uninstall, Reinstall, and Update Drivers
- Open Control Panel in Windows.
- Click on Programs and Features.
- Locate the Logitech Software in the list of installed programs.
- Click on Logitech Software and select Uninstall.
Reinstall Logitech Software
- Visit the official Logitech website and download the latest version of the software.
- Run the installer and follow the on-screen instructions to reinstall the software.
- Restart your computer after the installation is complete.
Update Logitech Drivers
- Open Device Manager by pressing Windows Key + X and selecting Device Manager from the menu.
- Expand the Sound, video, and game controllers category.
- Right-click on your Logitech device and select Update Driver.
- Choose to Search automatically for updated driver software.
- Follow the on-screen instructions to complete the update process.
- Restart your computer after the update is finished.