Unveiling Sights Unseen: Resolving the Enigma of a Non-Functional Laptop Camera
The Difference Between Internal & External Webcams
Internal webcams are built-in cameras that are integrated into your laptop or PC. They are designed to be compact and convenient, allowing you to easily use video conferencing applications and take photos or videos without the need for an additional device. Internal webcams are typically located at the top of the screen or on the bezel of your laptop.
External webcams, on the other hand, are separate devices that you can connect to your laptop or PC via USB or other ports. They offer more flexibility in terms of positioning and can often provide higher video quality and additional features compared to internal webcams. External webcams are also useful if your laptop doesn’t have a built-in camera or if you want to improve the video quality of your existing camera.
If you’re experiencing issues with your laptop camera not working, here are some troubleshooting steps you can try:
1. Check camera permissions: Make sure that the camera permission is enabled for the application you’re using. You can do this by going to Settings > Privacy > Camera and ensuring that the toggle switch is turned on.
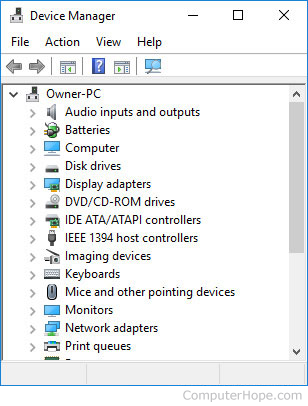
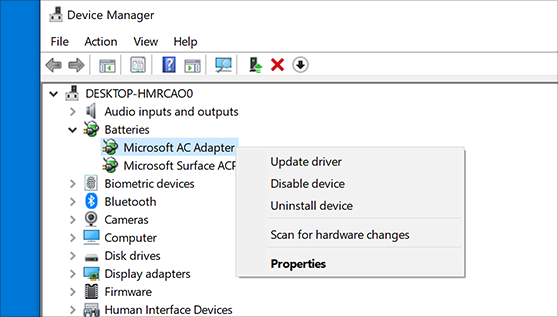
2. Update the camera driver: Outdated or incompatible camera drivers can cause issues. To update the driver, open Device Manager, expand the Imaging Devices category, right-click on your camera, and select Update Driver. Follow the on-screen instructions to complete the update.
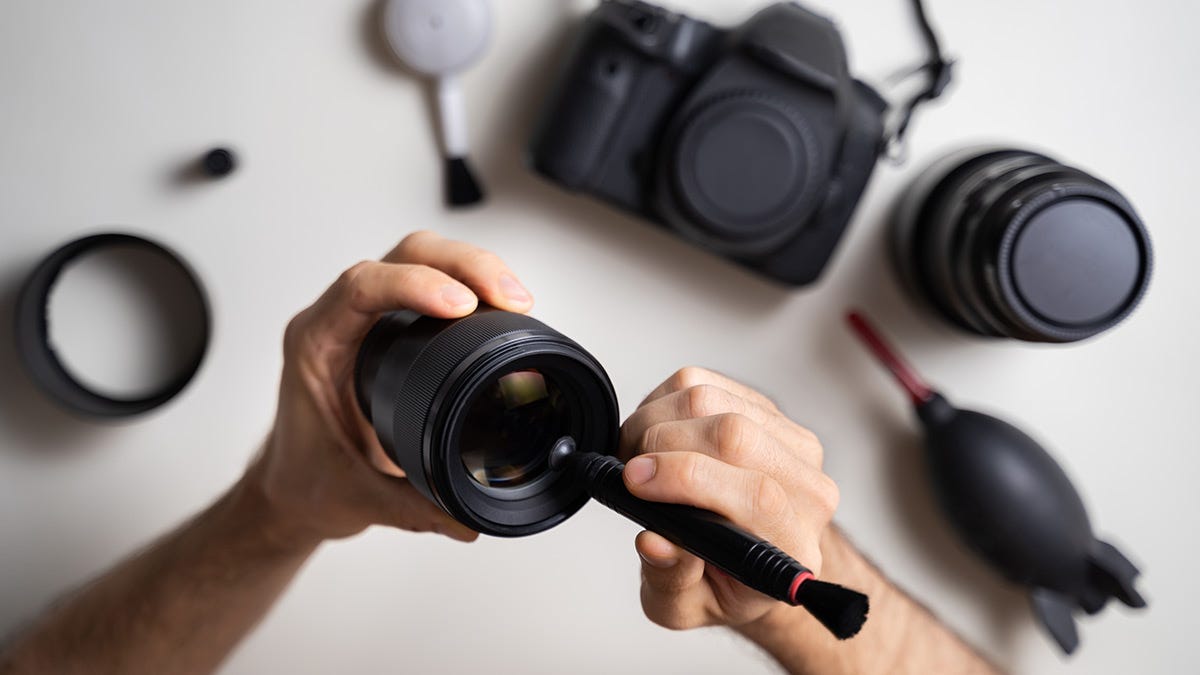
3. Check for hardware issues: Ensure that your camera is not physically blocked or covered. Additionally, try connecting an external webcam to see if the issue is with the internal camera hardware.
Common Laptop Camera Problems & Solutions
-
Check the physical camera:
- Ensure the camera is not covered or blocked by any object.
- Wipe the camera lens with a soft cloth to remove any dirt or smudges.
-
Enable the camera:
- Open the Device Manager by pressing Win+X and selecting Device Manager.
- Expand the Imaging devices or Cameras category.
- Right-click on the camera device and select Enable device.
-
Update camera drivers:
- Open the Device Manager as mentioned in the previous step.
- Expand the Imaging devices or Cameras category.
- Right-click on the camera device and select Update driver.
- Choose the option to automatically search for updated drivers online.
- Follow the on-screen instructions to complete the driver update process.
-
Check camera settings in the application:
- If you are using a specific application (e.g., Zoom, Skype), open its settings menu.
- Locate the camera settings and ensure the correct camera is selected as the default device.
- Make sure the camera is not disabled or blocked within the application.
-
Scan for malware or viruses:
- Run a full system scan using reliable antivirus software.
- Remove any detected malware or viruses that may be interfering with the camera.
-
Perform a system restore:
- Open the Control Panel and navigate to the Recovery or System settings.
- Select System Restore and choose a restore point prior to the camera issue.
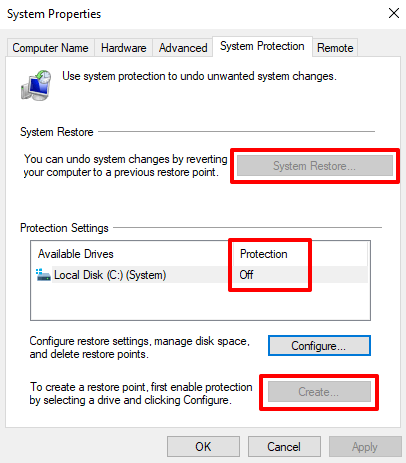
- Follow the on-screen instructions to restore your system to the selected point.
-
Reinstall camera drivers:
- Open the Device Manager as mentioned earlier.
- Expand the Imaging devices or Cameras category.
- Right-click on the camera device and select Uninstall device.
- Restart your laptop.
- Windows will automatically reinstall the camera drivers upon reboot.
Laptop Camera Showing Black Screen
Troubleshooting Laptop Camera Not Working
If your laptop camera is showing a black screen, there are a few steps you can take to fix the issue.
First, make sure the camera permission is enabled. Open the Camera app and check if it has the necessary permissions to access your camera. If not, go to Settings, Privacy, and Camera, then enable the camera permission for the app.
If that doesn’t work, try updating the device driver. Type “Device Manager” in the search bar and open it. Look for “Imaging devices” and expand the list. Right-click on your webcam and select “Update driver.” Follow the on-screen instructions to complete the process.
If the problem persists, you can try downloading the latest driver from the manufacturer’s website. Search for your laptop model and download the webcam driver. Install it and restart your laptop.
These troubleshooting steps should help resolve most laptop camera problems. If none of the solutions work, it may be a hardware issue, and you should consider contacting technical support for further assistance.
python

import cv2
def check_camera_availability():
# Check if any camera is available
camera = cv2.VideoCapture(0)
is_camera_available, _ = camera.read()
camera.release()
return is_camera_available
def check_camera_permissions():
# Attempt to access camera and check permission status
camera = cv2.VideoCapture(0)
is_permission_granted = camera.isOpened()
camera.release()
return is_permission_granted
def check_camera_error():
# Check if any error occurred while accessing the camera
camera = cv2.VideoCapture(0)
_, frame = camera.read()
if frame is None:
error_message = "Error: Unable to capture frame from the camera."
else:
error_message = "No error detected."
camera.release()
return error_message
# Usage of the above functions
# Check if any camera is available
if check_camera_availability():
print("Camera is available.")
else:
print("No camera is available.")
# Check camera permissions
if check_camera_permissions():
print("Camera permissions granted.")
else:
print("Camera permissions denied.")
# Check camera error status
error = check_camera_error()
print("Camera Error:", error)
Please note that this code can only provide basic diagnostics, and it may not fix the underlying issue. It is recommended to consult a professional or refer to the laptop’s documentation for more specific troubleshooting steps.
No Audio When Webcam Is Turned On
If you’re experiencing no audio when your webcam is turned on, there are a few troubleshooting steps you can take to fix the issue.
Fix 1: Check Your Laptop’s Audio Settings
1. Type “Control Panel” in the search bar and open it.
2. Click on “Sound” and go to the “Recording” tab.
3. Make sure your webcam’s audio is selected as the default recording device.
Fix 2: Update Webcam Driver
1. Type “Device Manager” in the search bar and open it.
2. Expand the “Imaging devices” category.
3. Right-click on your webcam and select “Update driver.”
4. Follow the on-screen instructions to update the driver.
If these solutions don’t work, try downloading the latest driver for your webcam from the manufacturer’s website.
Mirror Image Or Inverted Camera Problem in Laptop
Mirror Image or Inverted Camera Problem in Laptop
If you’re experiencing a mirror image or inverted camera problem on your laptop, don’t worry, we’re here to help. This issue can be frustrating, but there are a few simple solutions you can try.
First, make sure your laptop’s camera isn’t accidentally set to mirror mode. Open the camera app or the software you’re using for video calls and look for a settings option. If you see a “mirror” or “flip” option, toggle it off.
If that doesn’t resolve the issue, you may need to update your device driver. Open the Control Panel and type “Device Manager” in the search bar. Click on the “Device Manager” result and expand the “Imaging devices” list. Right-click on your laptop’s camera and select “Update driver.” Follow the on-screen instructions to complete the update.
Sometimes, a simple restart can also fix camera problems. Press and hold the power button on your laptop until it shuts down, then turn it back on.
Computer Cannot Detect the Webcam
If your laptop camera is not working and your computer cannot detect the webcam, there are a few steps you can take to troubleshoot the issue. Here are two possible solutions:
1. Check device settings:
– Press the Windows key + X and select Device Manager.
– Expand the Imaging devices category.
– If you see a yellow triangle or exclamation mark next to your webcam, right-click on it and select Update driver. Follow the on-screen instructions.
– If your webcam is not listed, right-click on Imaging devices and select Scan for hardware changes.
2. Reinstall the webcam driver:
– Press the Windows key + X and select Device Manager.
– Expand the Imaging devices category.
– Right-click on your webcam and select Uninstall device.
– Restart your computer. Windows will automatically reinstall the driver.
These steps should help resolve the issue of your computer not detecting the webcam. If the problem persists, it may be worth seeking further assistance from a professional or contacting the laptop manufacturer’s support team.
Laptop Camera Glitching Or Freezing
If your laptop camera is glitching or freezing, follow these steps to troubleshoot the issue:
1. Restart your laptop. Sometimes a simple restart can resolve camera glitches and freezing.
2. Check if the camera is enabled. Type “Control Panel” in the search bar, then click on “Control Panel” from the search results. Select “Device Manager” and expand the “Imaging devices” category. If you see a yellow triangle or exclamation mark next to the camera, right-click on it and select “Enable”.
3. Update the camera driver. Right-click on the camera in the Device Manager and select “Update driver”. Choose the option to search for updated drivers automatically.
4. Disconnect and reconnect the camera. If the camera is an external USB webcam, unplug it from your laptop, wait for a few seconds, and then plug it back in.
5. Download and install the latest camera driver from the manufacturer’s website.
Run the Hardware Troubleshooter
Troubleshoot Laptop Camera Not Working
If your laptop camera is not working, running the Hardware Troubleshooter can help identify and fix the issue. Follow these steps:
1. Press the Windows key + I to open the Settings app.
2. Select Update & Security, then click on Troubleshoot.
3. Scroll down and click on Additional Troubleshooters.
4. Under Get up and running, select Hardware and Devices.
5. Click on Run the troubleshooter.
6. Follow the on-screen instructions to complete the troubleshooting process.
The Hardware Troubleshooter will scan your laptop for any hardware issues related to the camera. It will attempt to fix any detected problems automatically. If the troubleshooter is unable to resolve the issue, try other troubleshooting methods or consult your laptop manufacturer’s support website for further assistance.
Running the Hardware Troubleshooter can be a lifesaver and save you time and frustration in resolving your laptop camera problem.
Update the Laptop Camera Driver
If your laptop camera is not working, it may be due to an outdated or malfunctioning camera driver. Updating the driver can often resolve this issue.
Here are some steps to update the laptop camera driver:
1. Type “Control Panel” in the search bar and open it.
2. Click on “Device Manager” to open the list of devices on your PC.
3. Find and expand the “Imaging devices” category.
4. Right-click on your laptop camera and select “Update driver.”
5. Choose the option to automatically search for updated driver software.
6. If an update is found, follow the on-screen instructions to download and install it.
Updating the laptop camera driver can help fix various camera-related issues, such as disconnections or malfunctioning. By keeping your camera driver up to date, you ensure that it works optimally and provides a smoother experience during work meetings, online classes, or video calls.
Remember to regularly check for driver updates to ensure your laptop camera continues to function properly.