Unveiling the Mysteries: Unraveling the Enigma of Non-responsive Plug and Play Cameras
Troubleshooting a Plug and Play Camera
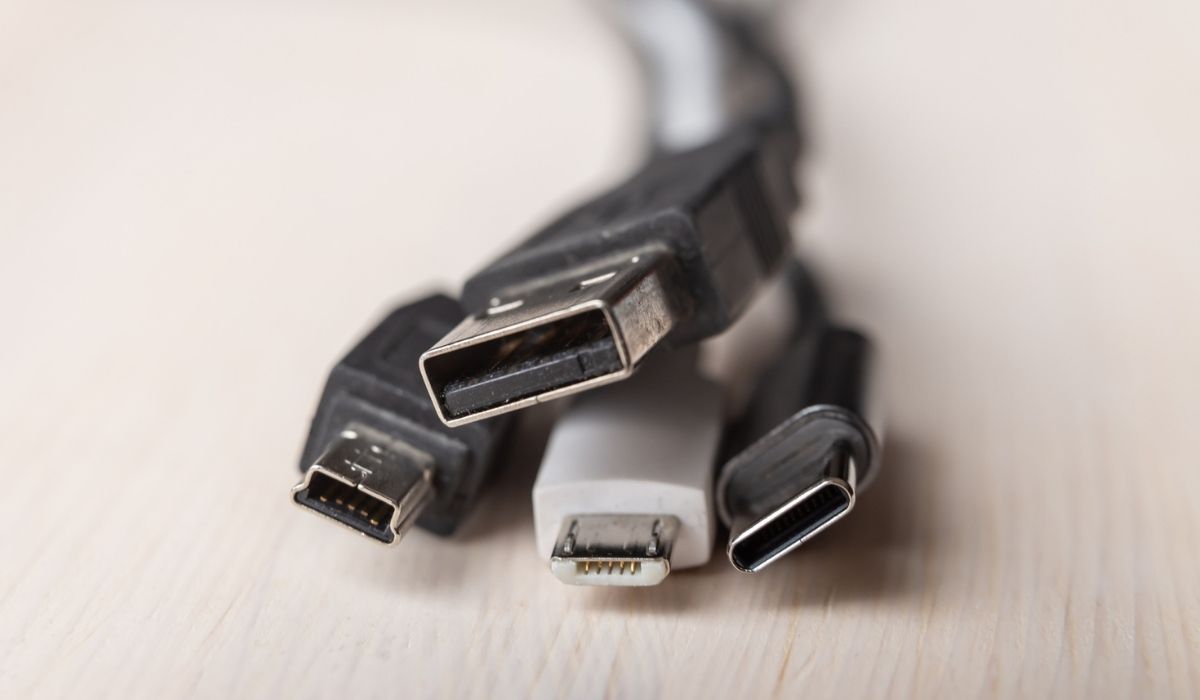
1. Check the physical connections: Ensure that the camera is properly connected to the USB port on your computer. Try using a different USB port or cable to rule out any connection issues.
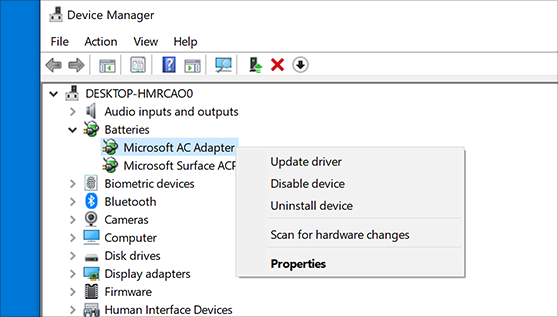
2. Verify device recognition: Open the Device Manager by pressing Windows key + X and selecting “Device Manager.” Look under “Imaging Devices” for your camera. If it’s not listed, right-click and select “Scan for hardware changes.”
3. Update driver software: Right-click on your camera in the Device Manager and select “Update driver.” Choose the option to automatically search for updated driver software.
4. Adjust privacy settings: Go to “Settings” > “Privacy” > “Camera” and make sure the option to allow apps to access your camera is enabled.
5. Test with a different program: Try using a different camera program or application to see if the issue is with the software you’re currently using.
Causes and Solutions for Camera Not Working
-
Check camera connection:
- Make sure the camera is securely connected to the computer’s USB port.
- If using a wireless camera, ensure it is properly synced with the computer.
-
Verify camera drivers:
- Open Device Manager by pressing Win+X and selecting Device Manager.
- Expand the Cameras or Imaging devices category.
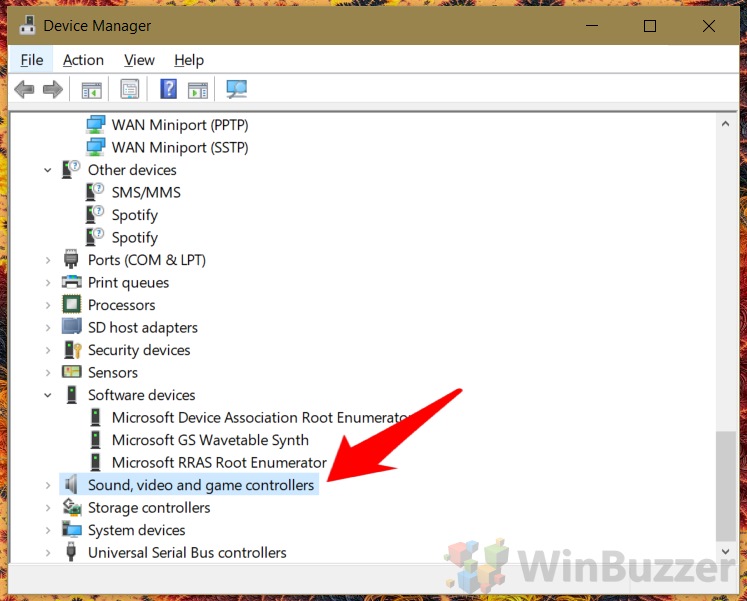
- If there is a yellow exclamation mark or a red cross on the camera driver, right-click on it and select Update driver.
- Follow the on-screen instructions to update the driver.
-
Check camera privacy settings:
- Open Settings by pressing Win+I.
- Select Privacy and then choose Camera from the left pane.

- Ensure that the Allow apps to access your camera toggle is turned on.
- If it is turned off, toggle it on and restart the computer.
-
Restart camera-related services:
- Open Run by pressing Win+R.
- Type services.msc and press Enter.
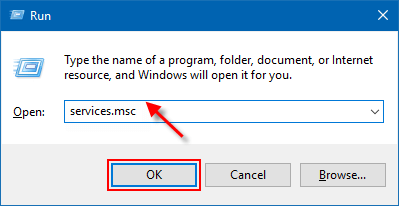
- Locate the Windows Camera Frame Server and Windows Camera services.
- If the services are not running, right-click on each service and select Start.
-
Check third-party camera applications:
- If you have installed any third-party camera applications, try closing them and using the default camera application.
-
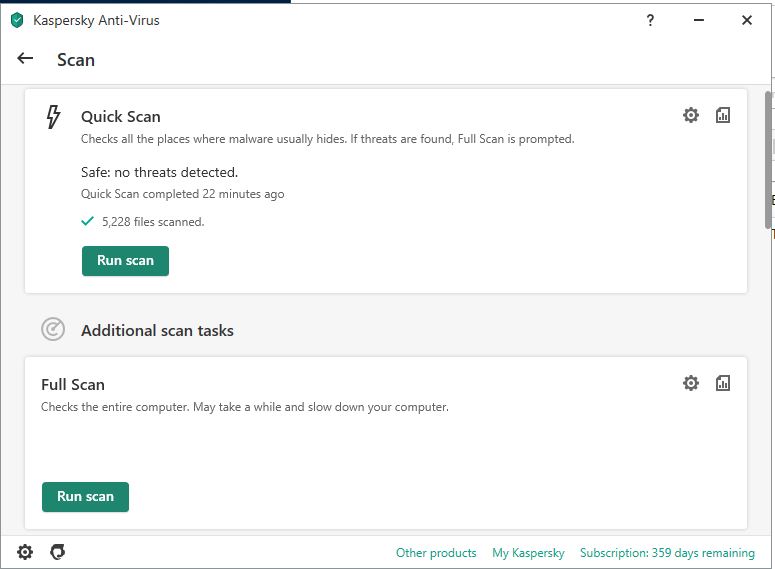
Scan for malware:
- Run a thorough scan using an up-to-date antivirus or anti-malware software.
- If any malicious software is detected, follow the software’s instructions to remove it.
-
Update operating system:
- Ensure that your operating system is up to date with the latest updates and patches.
- Check for updates in Windows Update by pressing Win+I and selecting Update & Security.
- Install any available updates and restart the computer.
-
Try a different USB port:
- If using a USB camera, try connecting it to a different USB port on your computer.
- Make sure the USB port is working properly by connecting another device to it.
-
Test camera on another computer:
- If possible, connect the camera to another computer to check if it works properly.
- If the camera works on a different computer, the issue may be specific to your computer.
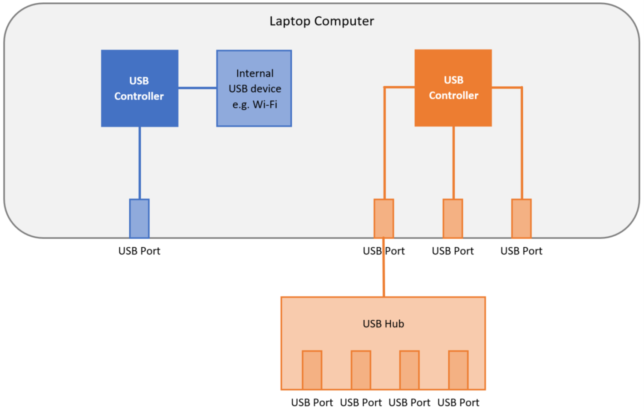
Differences Between External and Integrated Webcams
1. External webcams are separate devices that can be easily connected to your computer via USB, while integrated webcams are built-in to your laptop or tablet.
2. External webcams offer more flexibility in terms of placement and positioning, allowing you to easily adjust the camera angle and distance.
3. Integrated webcams are typically more compact and portable, making them convenient for on-the-go use.
4. External webcams generally offer better image quality and resolution compared to integrated webcams.
5. If you’re experiencing webcam problems, troubleshooting steps may vary depending on whether you’re using an external or integrated webcam.
6. For external webcams, ensure that it’s properly connected to your computer and recognized as a USB device. Adjust the camera settings in the software to fix any issues.
7. For integrated webcams, check the system settings to ensure the camera is enabled and up-to-date. Update the device drivers to resolve any compatibility issues.
Fixing Issues with Integrated Webcams
If you’re experiencing issues with your integrated webcam not working on Windows 10 or Windows 7, follow these troubleshooting steps:
1. Check the physical connections: Ensure that the USB cable connecting the webcam to your laptop computer is securely plugged in.
2. Update device drivers: Go to the manufacturer’s website and download the latest drivers for your webcam device.
3. Check system settings: Open the camera program on your PC and verify that the correct webcam is selected as the default camera.
4. Test with other applications: Try using the webcam with different applications to see if the issue is specific to one program.
5. Restart your computer: Sometimes a simple restart can resolve webcam problems.
Troubleshooting Tips for Camera Not Being Detected
-
Check physical connections:
- Make sure the camera is properly connected to the computer via the USB cable.
- Ensure that the cable is not damaged or loose.
- Try using a different USB port on the computer.
- Check if the camera is powered on and functioning properly.
-
Update camera drivers:
- Open Device Manager by pressing Win+X and selecting Device Manager from the menu.
- Expand the Cameras or Imaging devices category.
- Right-click on the camera device and select Update driver.
- Choose the Search automatically for updated driver software option and follow the on-screen instructions.
-
Restart camera-related services:
- Open Task Manager by pressing Ctrl+Shift+Esc.
- Go to the Services tab.
- Scroll down and locate any camera-related services (e.g., Camera Privacy Settings Service, Windows Camera Frame Server).
- Right-click on each service and select Restart.

-
Disable and enable camera:
- Press Win+X and select Device Manager.
- Expand the Cameras or Imaging devices category.

- Right-click on the camera device and select Disable device.
- Wait for a few seconds and then right-click on the camera device again, this time selecting Enable device.
-
Run hardware troubleshooter:
- Press Win+I to open the Settings app.
- Go to Update & Security.
- Select Troubleshoot from the left-hand menu.
- Click on Additional troubleshooters and then select Hardware and Devices.
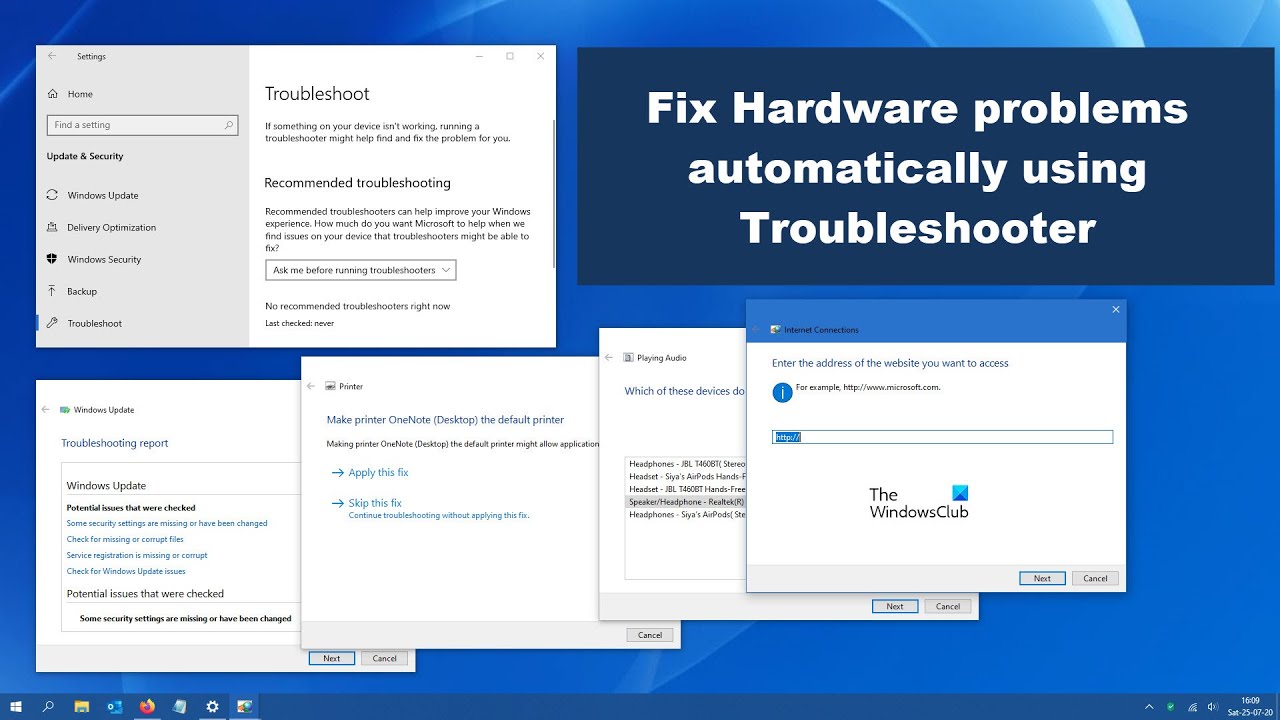
- Click on the Run the troubleshooter button and follow the instructions provided.
-
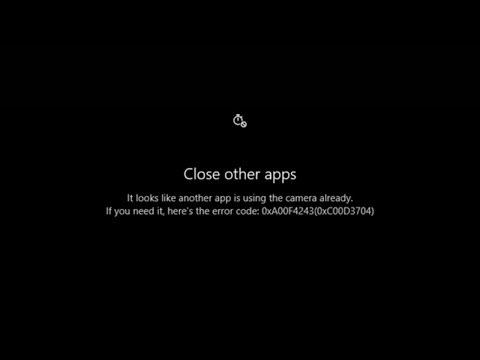
Check for conflicting applications:
- Close any applications that may be using the camera, such as video conferencing software or other camera-related programs.
- Restart the computer and try using the camera again.
Checking Antivirus Software and Webcam Settings
To troubleshoot a plug and play camera that is not working, check your antivirus software and webcam settings.
First, ensure that your antivirus software is not blocking the camera. Open your antivirus software and navigate to the settings or preferences page. Look for any options related to webcam or camera access and make sure they are enabled.
Next, check your webcam settings. Go to the Start menu and search for “Camera privacy settings.” Open the page and ensure that the “Allow apps to access your camera” option is turned on.
If your camera still does not work, try the following steps:
1. Disconnect and reconnect the camera: Unplug the USB cable from your computer, wait for a few seconds, and then plug it back in.
2. Update camera drivers: Right-click the Start button, select Device Manager, and expand the Camera or Imaging devices category. Right-click your camera and select Update driver.
3. Check for hardware issues: Try connecting the camera to a different USB port on your computer or connect it to another computer to see if it works.
4. Troubleshoot applications: If the camera works with some applications but not others, check the settings of those applications and make sure the correct camera is selected.
Installing or Updating Camera Driver Software
To install or update camera driver software on your Windows device, follow these steps:
1. Connect your camera to your computer using a USB cable.
2. Open the Device Manager by pressing Windows Key + X and selecting Device Manager.
3. Locate your camera under the Imaging devices or Cameras category.
4. Right-click on your camera and select Update driver.
5. Choose “Search automatically for updated driver software” and let Windows find and install the latest driver.
6. If Windows couldn’t find a driver, visit the manufacturer’s website and download the latest driver for your camera model.
7. Once downloaded, double-click on the driver file and follow the on-screen instructions to install it.
8. Restart your computer and check if your camera is now working.
If you’re still experiencing issues with your camera, refer to our comprehensive troubleshooting guide for further steps and solutions.
Rolling Back Webcam Driver for Better Performance
If your plug and play camera is not working as expected, rolling back the webcam driver can often resolve the issue and improve performance. Here’s how:
1. Press the Windows key + X on your keyboard and select Device Manager.
2. Expand the Cameras section and right-click on your webcam device.
3. Choose Properties and go to the Driver tab.
4. Click on the Roll Back Driver button and follow the on-screen instructions.
By rolling back the driver, you can revert to a previous version that may be more stable and compatible with your system. This troubleshooting step can help resolve common webcam issues, allowing you to have a better experience during video meetings, interactions, and communications.
Note: If the Roll Back Driver option is grayed out or unavailable, it means that there is no previous driver available to roll back to. In this case, consider updating or reinstalling the driver instead.
Uninstalling and Reinstalling a Webcam
To uninstall and reinstall your webcam, follow these steps:
1. Open the Device Manager by pressing the Windows key + X and selecting Device Manager from the menu.
2. Expand the Cameras category and right-click on your webcam.
3. Select Uninstall device and confirm the uninstallation.
4. Disconnect the webcam from your computer.
5. Restart your computer.
6. Reconnect the webcam to a different USB port.
7. Windows will automatically reinstall the webcam drivers.
8. Test the webcam by opening a video meeting or using webcam software.
If the issue persists, visit the manufacturer’s website for the latest drivers and troubleshooting guide.