Introducing “The Fix”: Unlocking the Secrets to a Transformed Future
Troubleshooting a Non-Responsive Laptop Touchpad
1. Restart your laptop: Sometimes a simple restart can fix touchpad issues. Press the Windows logo key, click on the power icon, and select Restart.
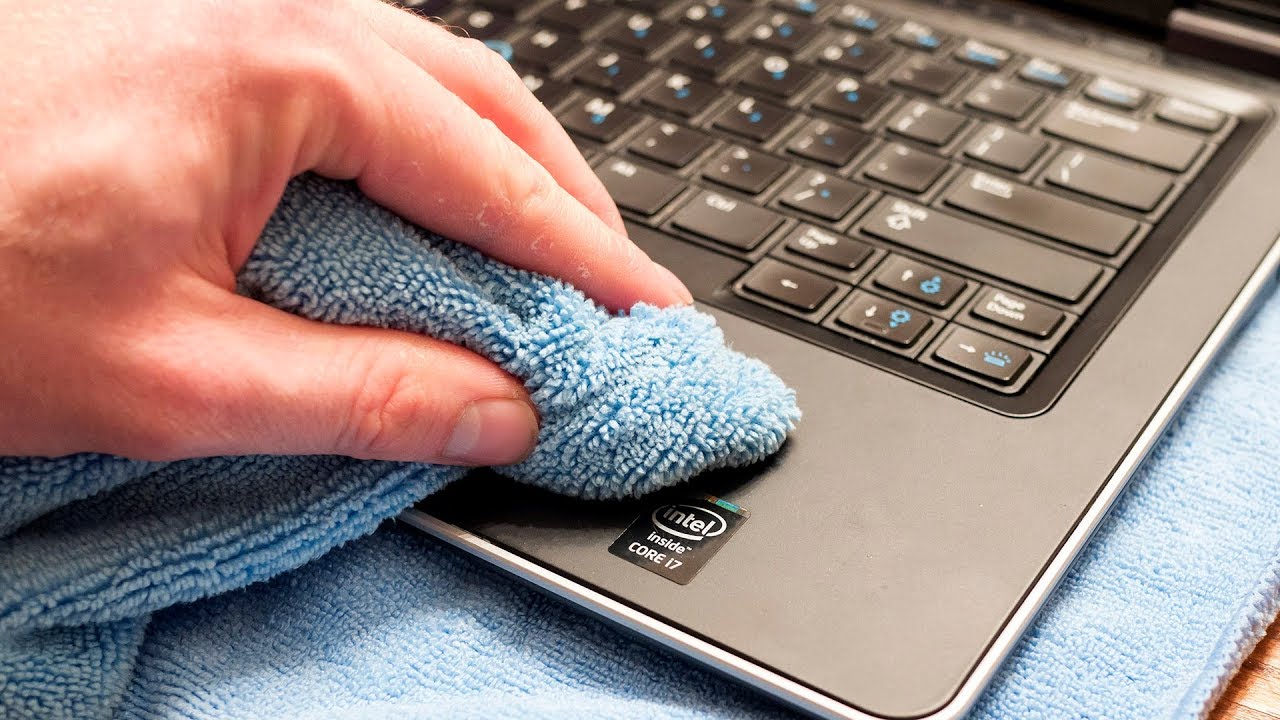
2. Check for physical obstructions: Ensure there are no dust or debris particles blocking the touchpad. Use a microfiber cloth to gently clean the surface.
3. Update touchpad drivers: Outdated or incompatible drivers can cause touchpad problems. Open Device Manager by pressing the Windows logo key + X and selecting Device Manager. Expand the “Mice and other pointing devices” category, right-click on the touchpad device, and select “Update driver.” Follow the on-screen instructions to complete the update.
4. Disable and re-enable the touchpad: Sometimes disabling and re-enabling the touchpad can resolve the issue. Press the Windows logo key + X and select Device Manager. Expand the “Mice and other pointing devices” category, right-click on the touchpad device, and select “Disable device.” After a few seconds, right-click again and choose “Enable device.”
5. Adjust touchpad settings: Access the touchpad settings by pressing the Windows logo key + X and selecting Settings. Go to Devices > Touchpad and make sure the touchpad is enabled. Adjust the sensitivity and other settings to your preference.
6. Check for conflicting programs: Certain programs or services may interfere with the touchpad functionality. Try closing unnecessary applications or performing a clean boot to isolate the issue.
7. Perform a system restore: If the touchpad was working fine in the past, you can try restoring your laptop to an earlier date when the touchpad was functioning correctly. Press the Windows logo key + X and select System. Go to System Protection > System Restore and follow the prompts to restore your system.
8. Contact support: If none of the above solutions work, it may be a hardware issue. Contact your laptop manufacturer’s support or a qualified technician for further assistance.
Enabling and Updating the Touchpad
To enable and update the touchpad on your Windows 11 Asus laptop, follow these direct instructions:
1. Press the Windows key on your keyboard to open the Start menu.
2. Type “Settings” and select the Settings app from the search results.
3. In the Settings app, click on “Devices” to access the device settings.
4. From the left menu, select “Touchpad” to view touchpad options.
5. In the Touchpad settings, make sure the toggle switch under “Touchpad” is set to the “On” position. This enables the touchpad functionality.
6. If your touchpad is already enabled but not working properly, click on the “Additional settings” link to open the touchpad properties.
7. In the touchpad properties, go to the “Driver” tab.
8. Click on the “Update Driver” button to check for any available driver updates for your touchpad.
9. Follow the on-screen instructions to install any updates found. This ensures that your touchpad is up to date and working optimally.
Remember to restart your laptop after updating the touchpad driver to apply any changes.
If you’re experiencing issues with your touchpad despite enabling and updating it, you can try the following troubleshooting steps:
1. Clean the touchpad surface using a microfiber cloth slightly dampened with distilled water or isopropyl alcohol. Gently wipe the surface to remove any dirt or grime that may be affecting its performance.
2. Check the touchpad settings to ensure that no accidental gestures or settings are causing the issue. Adjust the sensitivity or disable any unwanted gestures if necessary.
3. Restart your laptop to refresh the system and potentially resolve any temporary issues.
4. If the issue persists, consider contacting the manufacturer’s support or a professional technician for further assistance.
Checking for External Factors Affecting the Touchpad
- Ensure no physical obstructions: Check if any objects or debris are preventing the touchpad from functioning properly.
- Clean the touchpad surface: Use a soft cloth or cleaning wipe to remove any dirt or smudges that may be affecting touch sensitivity.
- Verify touchpad settings: Review the touchpad settings in the device’s control panel or settings app, ensuring they are configured correctly.
- Update touchpad drivers: Visit the manufacturer’s website or use Windows Update to download and install the latest drivers for the touchpad.
- Disable conflicting software: Temporarily disable any third-party applications or utilities that may be interfering with the touchpad’s operation.
- Perform a system restart: Restart the device to refresh the system and potentially resolve any temporary software glitches affecting the touchpad.
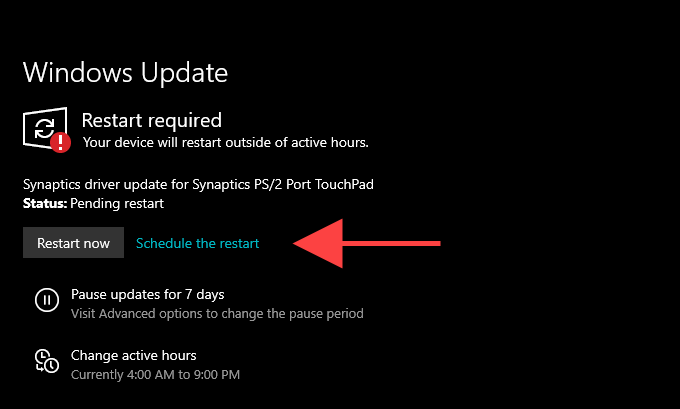
- Check for Windows updates: Ensure the operating system is up to date, as updates often include bug fixes and improvements that may address touchpad issues.
- Scan for malware: Run a thorough scan using a reliable antivirus program to check for any malicious software that could be affecting the touchpad’s functionality.
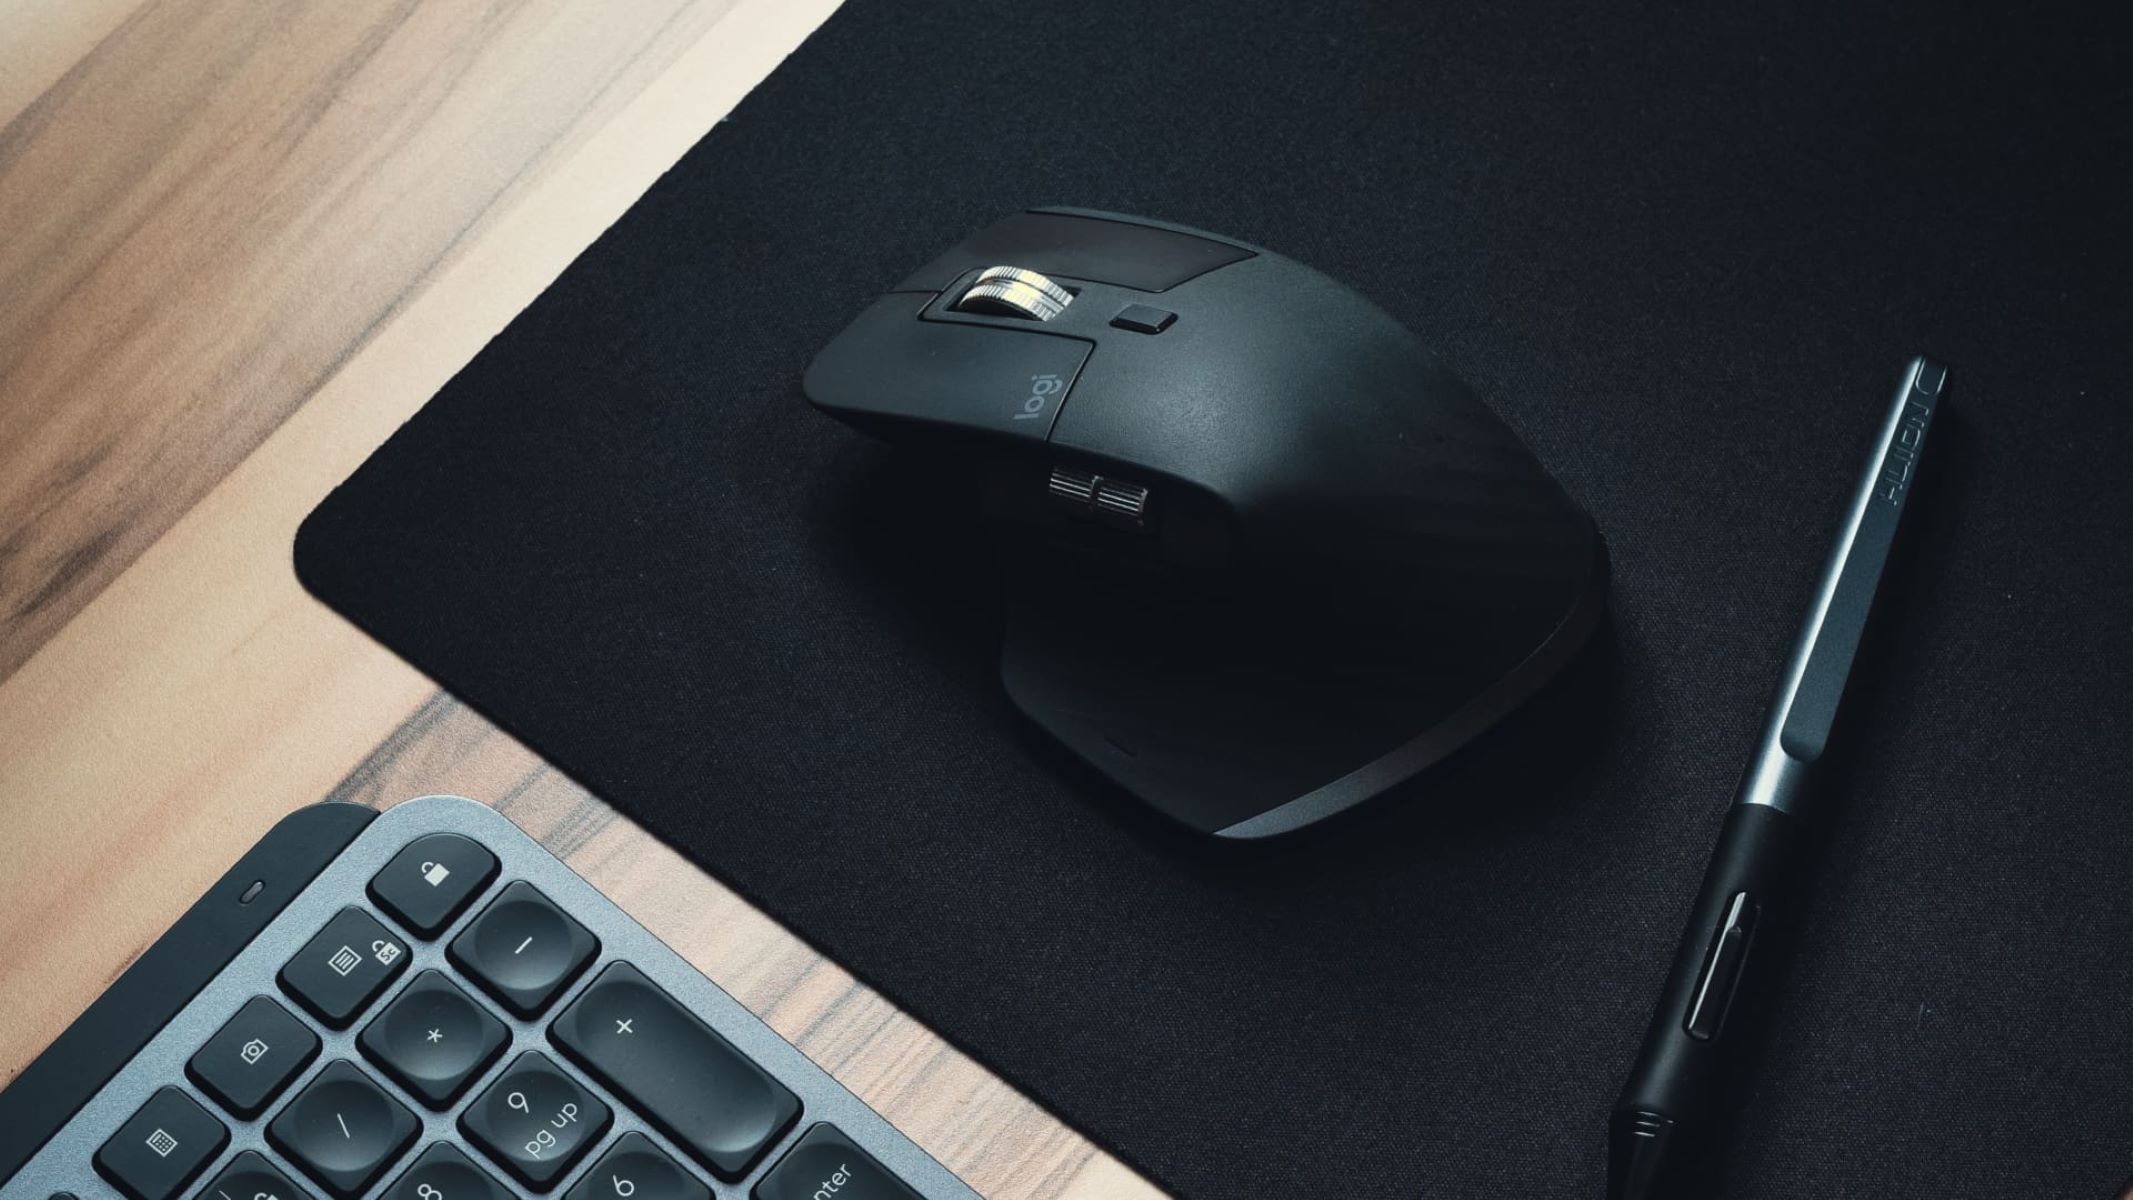
- Try an external mouse: Connect an external mouse to confirm if the issue persists with a different input device.
- Contact technical support: If none of the above steps resolve the problem, reach out to the device manufacturer or technical support for further assistance.
python

import subprocess
def is_touchpad_enabled():
cmd = "xinput list-props
# Replace
try:
output = subprocess.check_output(cmd, shell=True).decode()
return "Device Enabled" in output
except subprocess.CalledProcessError:
return False
# Usage
if is_touchpad_enabled():
print("Touchpad is enabled")
else:
print("Touchpad is disabled")
2. Code to toggle touchpad state:
python
import subprocess
def toggle_touchpad_state():
cmd = "xinput --set-prop
# Replace
# Replace
try:
subprocess.check_output(cmd, shell=True)
print("Touchpad state toggled successfully")
except subprocess.CalledProcessError:
print("Failed to toggle touchpad state")
# Usage
toggle_touchpad_state()
Please note that the above code snippets are written assuming a Linux environment. If you are using a different operating system, the commands and methods may vary.
While these code snippets may not directly solve touchpad hardware issues, they provide a starting point for developing a tool to interact with touchpad settings via software.
Resolving Operating System and Driver Issues
If you’re experiencing issues with your operating system or drivers, we’re here to help you resolve them quickly and efficiently. Follow these steps to troubleshoot and fix common problems:
1. Update your operating system:
– In the Windows search bar, type “Windows Update” and select it from the results.
– Click on “Check for updates” and allow your computer to download and install any available updates.
– Restart your computer if prompted to complete the installation process.
2. Update your device drivers:
– Press the Windows key + X and select “Device Manager” from the menu.
– Expand the categories to find the device with the issue, such as a mouse or keyboard.
– Right-click on the device and select “Update driver.”
– Choose the option to search automatically for updated driver software.
– Follow the on-screen instructions to complete the update.
3. Roll back or uninstall drivers:
– If updating the drivers didn’t resolve the issue, you can try rolling back or uninstalling them.
– Open the Device Manager as mentioned in step 2.
– Right-click on the device and select “Properties.”
– Go to the “Driver” tab and choose either “Roll Back Driver” or “Uninstall Device.”
– Follow the prompts to roll back or uninstall the driver.
4. Use the built-in Windows troubleshooting tools:
– Press the Windows key + I to open the Settings app.
– Go to “Update & Security” and select “Troubleshoot” from the left sidebar.
– Choose the relevant troubleshooter for your issue, such as “Hardware and Devices” or “Bluetooth.”
– Follow the instructions provided by the troubleshooter to fix the problem.
5. Perform a clean boot:
– Press the Windows key + R to open the Run dialog box.
– Type “msconfig” and press Enter to open the System Configuration window.
– Go to the “Services” tab and check the box for “Hide all Microsoft services.”
– Click on “Disable all” and then go to the “Startup” tab.
– Click on “Open Task Manager” and disable all the startup programs.
– Close the Task Manager and click “OK” in the System Configuration window.
– Restart your computer and check if the issue is resolved.
