As a photographer, experiencing a sudden camera malfunction can be frustrating. In this guide, we will explore the possible reasons behind your camera’s sudden stop and provide you with practical solutions to fix it.
Troubleshooting the Camera on Android Devices
If your camera on your Android device has suddenly stopped working, don’t worry. We have a complete guide to help you fix it. Here are some troubleshooting steps you can try:
1. Restart your device: A simple reboot can often resolve minor glitches. Press and hold the power button on your device, then tap “Restart” or “Reboot.”
2. Clear the camera app cache: Sometimes, a software bug or corrupt data can cause camera issues. Go to “Settings,” then “Apps,” and find your camera app. Tap on it and select “Storage.” Finally, tap on “Clear cache.”
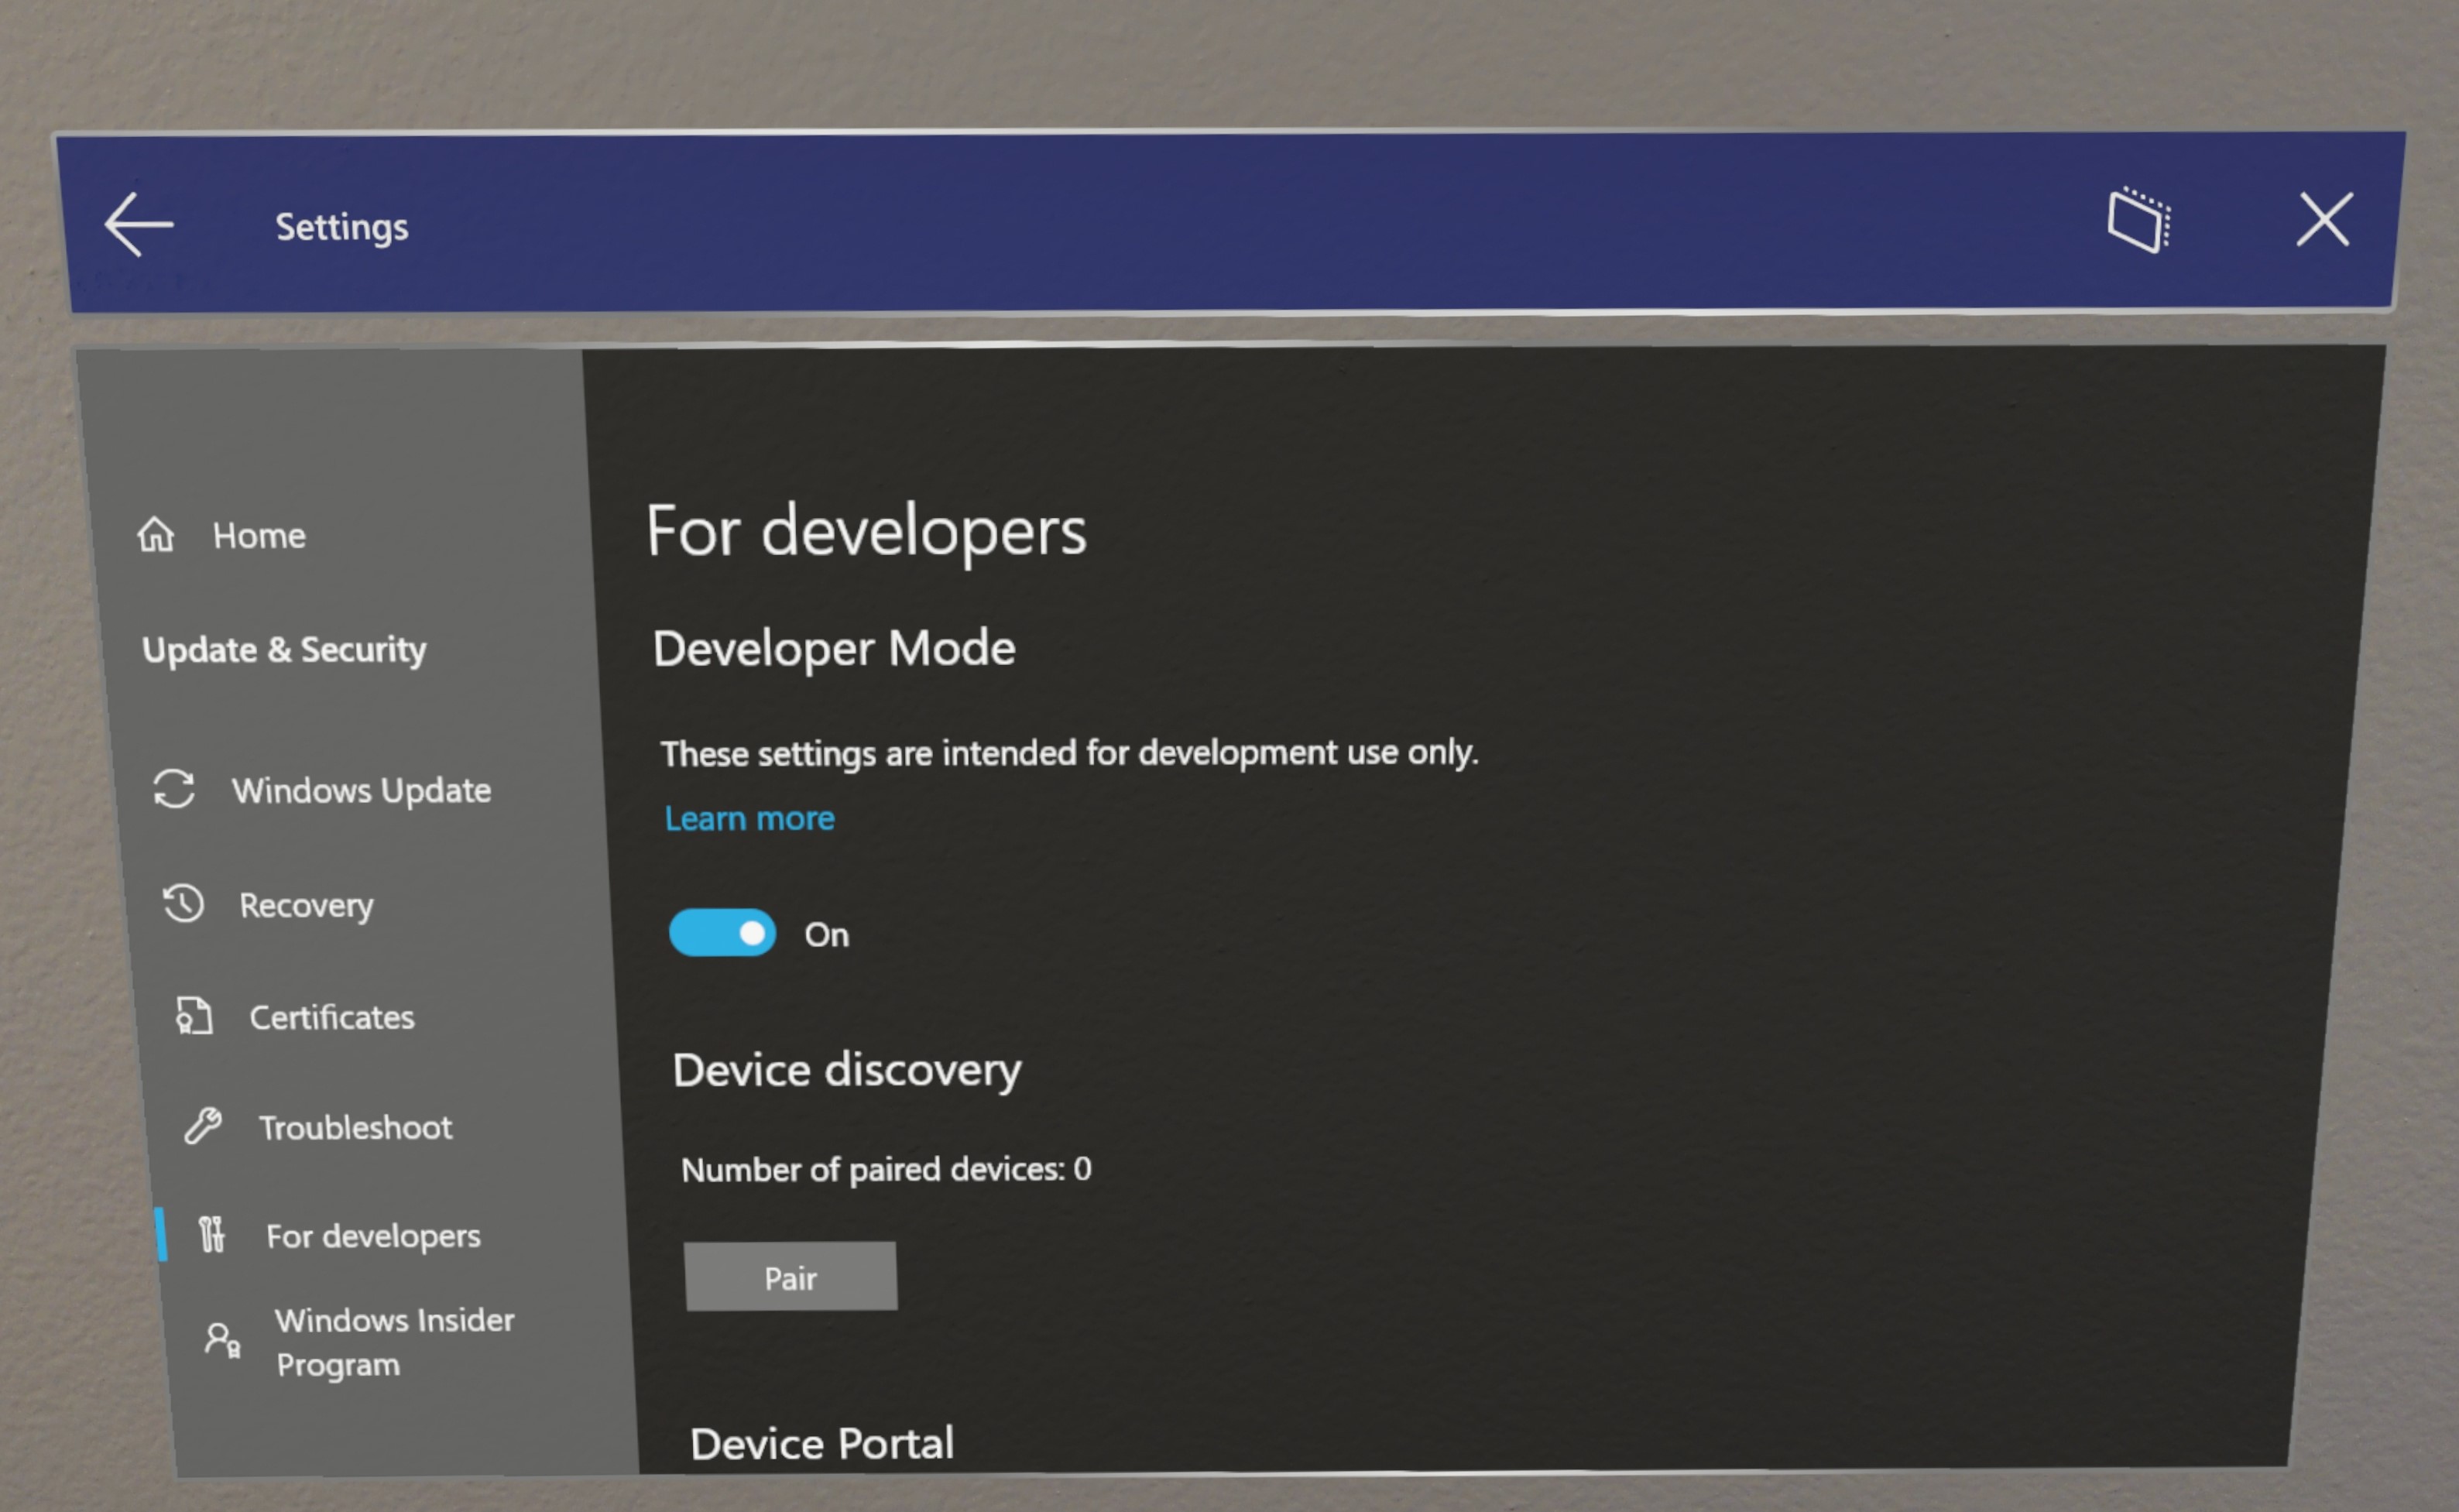
3. Check for software updates: Keeping your device’s software up to date can fix bugs and improve performance. Go to “Settings,” then “Software Update” or “System Updates,” and check for any available updates.
4. Test the camera in safe mode: Booting your device in safe mode can help identify if a third-party app is causing the problem. Press and hold the power button, then tap and hold “Power off” until you see the option to boot in safe mode. Once in safe mode, open the camera app and check if it works properly. If it does, an app you recently installed might be causing the issue.
5. Reset app preferences: Restoring the default settings for your camera app can sometimes resolve problems. Go to “Settings,” then “Apps,” and tap on the three-dot menu. Select “Reset app preferences” and confirm your choice.
6. Clear system cache partition: Clearing the system cache partition can help resolve various software-related issues. The steps may vary depending on your device model, so it’s best to search for specific instructions for your device.
If none of these steps resolve the issue, you may need to contact your device manufacturer or seek professional assistance. Remember to check if your camera app has the necessary permissions, and ensure your device’s storage isn’t full. Good luck troubleshooting your camera issue!
Resolving Camera Malfunctions on Android
Camera issues on your Android device can be frustrating, but there are several steps you can take to resolve them.
1. Clear the camera cache: Go to Settings > Apps > Camera. Tap on “Storage” and then “Clear cache.” This can help fix software bugs that may be causing the malfunction.
2. Restart your device: Sometimes a simple restart can resolve camera problems. Press and hold the power button, then tap on “Restart” or “Reboot.”
3. Check for software updates: Keeping your Android operating system up to date is important for optimal performance. Go to Settings > System > System updates to check for and install any available updates.
4. Remove any camera-related apps: If you recently installed a new camera app or an app that uses the camera, it may be causing conflicts. Uninstall the app and see if the camera starts working again.
5. Reset app preferences: Go to Settings > Apps > More options (three dots) > Reset app preferences. This will reset all app preferences, including those related to the camera, and may help resolve any issues.
6. Perform a factory reset: This should be a last resort option, as it will erase all data on your device. Go to Settings > System > Reset options > Erase all data (factory reset).
If none of these steps resolve the camera malfunction, it may be a hardware issue. Contact the manufacturer or bring your device to a professional for further assistance.
Essential Steps to Fix Camera Issues on Android
- Open the Settings app on your Android device.
- Scroll down and tap on Apps or Application Manager.
- Locate the Camera app from the list of installed apps.
- Tap on the Camera app to open its settings.
- Tap on Storage or Storage & Cache.
- Tap on Clear Cache to remove temporary files.
- Tap on Clear Data to reset the app to its default settings.
- Restart your device and check if the camera issue is resolved.
Update the Camera App
- Open the Google Play Store app on your Android device.
- Tap on the menu icon (three horizontal lines) in the top-left corner.
- Tap on My apps & games.
- Under the Installed tab, locate the Camera app.
- Tap on the Camera app to open its details page.
- If an update is available, tap on Update to install it.
- Restart your device and check if the camera issue is resolved.
Clear System Cache
- Power off your Android device.
- Press and hold the Volume Up and Power buttons together.
- Release the buttons when the device logo appears.
- Use the Volume buttons to navigate to the Recovery mode option.
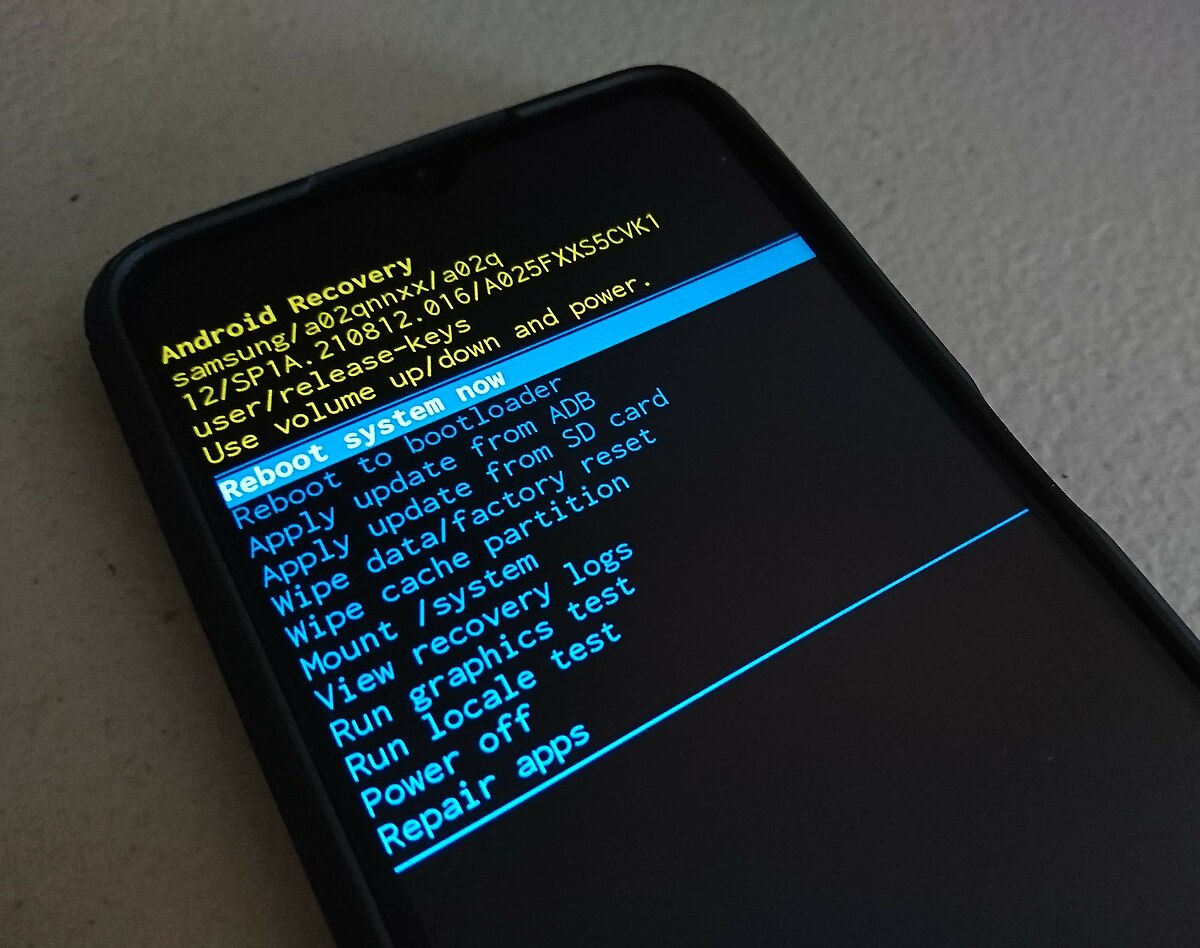
- Press the Power button to select the option.
- Once in Recovery mode, use the Volume buttons to select Wipe Cache Partition.
- Press the Power button to confirm the selection.
- Wait for the process to complete, then select Reboot System Now.
- Check if the camera issue is resolved after your device restarts.
Check for Software Updates
- Open the Settings app on your Android device.
- Scroll down and tap on Software update or System.
- Tap on Download and install or Check for updates.
- If an update is available, follow the on-screen prompts to download and install it.
- Restart your device and check if the camera issue is resolved.
Reset App Preferences
- Open the Settings app on your Android device.
- Scroll down and tap on Apps or Application Manager.
- Tap on the menu icon (three vertical dots or three horizontal lines) in the top-right corner.
- Tap on Reset app preferences or Reset default apps.
- Confirm the action when prompted.
- Restart your device and check if the camera issue is resolved.
python

import cv2
def check_camera_availability():
# Check if camera is available
camera = cv2.VideoCapture(0) # 0 represents the default camera
if not camera.isOpened():
print("Camera is not available or cannot be opened.")
return False
else:
print("Camera is available.")
return True
def capture_image():
# Capture an image from the camera
camera = cv2.VideoCapture(0)
ret, frame = camera.read()
if ret:
cv2.imwrite("captured_image.jpg", frame)
print("Image captured successfully!")
else:
print("Failed to capture image.")
camera.release()
# Example usage
if check_camera_availability():
capture_image()
Please note that this code assumes you have OpenCV installed and properly configured on your system. Additionally, it is a generic example and may not cover all possible scenarios or solve your specific camera issue.
It’s always recommended to refer to the official documentation or seek assistance from the camera manufacturer or software support team for accurate guidance on troubleshooting camera-related problems.
Managing Permissions and App Interference for Camera Functionality
To ensure that your camera is functioning properly, it’s important to manage permissions and address any app interference that may be causing issues. Here are some steps you can take to fix the problem:
1. Check app permissions: Make sure that the app you’re using to access the camera has the necessary permissions enabled. To do this, go to your device’s settings, find the app in question, and ensure that the camera permission is enabled.
2. Clear app cache: Sometimes, accumulated cache can interfere with the camera’s functionality. Clearing the app cache can help resolve this issue. Go to your device’s settings, find the app that is experiencing camera issues, and clear its cache.
3. Update the app: Keeping your apps up to date is essential for optimal performance. Check for any available updates in the respective app store (e.g., Google Play) and install them if necessary. This can often fix any bugs or glitches that may be affecting your camera.
4. Restart your device: A simple restart can often resolve minor software issues that may be causing camera problems. Try turning your device off and on again to see if this resolves the issue.
5. Check for software updates: Keeping your device’s operating system up to date is crucial for overall performance, including the camera function. Check for any available software updates in your device’s settings and install them if needed.
6. Disable other camera apps: If you have multiple camera apps installed on your device, they may be conflicting with each other and causing issues. Disable or uninstall any unnecessary camera apps to see if this resolves the problem.
7. Troubleshoot hardware issues: If none of the above steps solve the camera problem, it could be a hardware issue. Contact the device manufacturer or a qualified technician for assistance in diagnosing and fixing any hardware-related camera problems.
Remember, if you encounter any error messages or have specific questions about your device’s camera functionality, consult the device’s user manual or check the manufacturer’s website for a comprehensive FAQ section.
Optimizing Android Settings for Camera Performance
To optimize your Android device’s camera performance, follow these steps:
1. Clear the camera app cache: Go to “Settings” > “Apps” > “Camera” > “Storage” > “Clear cache.” This helps resolve any software bugs or glitches that may be affecting the camera’s performance.
2. Restart your device: Sometimes, a simple restart can solve camera issues. Press and hold the power button, then select “Restart” from the options.
3. Check for software updates: Ensure that your Android operating system and camera app are up to date. Updates often include bug fixes and improvements that can enhance camera performance.
4. Disable unnecessary apps: Close any background apps that could be consuming resources and affecting camera performance. Swipe up from the bottom of the screen to access the app switcher, then swipe left or right to close apps.
5. Disable unnecessary camera features: Some camera features, such as HDR or live filters, can slow down the camera app. Open the camera app, tap the settings icon (usually represented by a gear or three-dot icon), and disable any features you don’t need.
6. Adjust camera settings: Experiment with different camera settings to find the best configuration for your needs. Tap the settings icon in the camera app and explore options like resolution, focus mode, and exposure.
7. Keep your device updated: Regularly update your Android device’s operating system, as this can improve overall performance, including the camera.
Enhancing Camera Functionality through System Updates and Storage Management
| Issue | Possible Solution |
|---|---|
| Camera not working after system update | 1. Restart your device and check if the camera works. 2. Clear cache and data of the camera app. 3. Update the camera app from the app store. 4. Perform a factory reset if all else fails. |
| Blurry or out-of-focus images | 1. Clean the camera lens with a microfiber cloth. 2. Ensure the camera is focused on the subject before capturing the image. 3. Enable image stabilization if available. 4. Try using a third-party camera app for better focus control. |
| Insufficient storage error | 1. Delete unnecessary photos and videos from your device. 2. Move media files to an external storage device or cloud storage. 3. Utilize storage optimization tools to free up space. 4. Transfer files to a computer or other devices to create more space. |
| Camera app crashing or freezing | 1. Force stop the camera app and relaunch it. 2. Clear cache and data of the camera app. 3. Update the camera app to the latest version. 4. Check for system updates and install them if available. |
| Overheating during camera usage | 1. Close unnecessary background apps to reduce processor load. 2. Avoid using the camera in direct sunlight or extremely hot environments. 3. Remove any protective cases that might obstruct heat dissipation. 4. Update the device’s software to optimize performance and reduce overheating. |
Restoring Camera Functionality with Factory Reset and App Management
If your camera has suddenly stopped working, there are a few steps you can take to restore its functionality. One of the first things you can try is performing a factory reset on your device. This will reset all settings and configurations back to their original state, which can often resolve software issues that may be causing the camera problem. However, keep in mind that a factory reset will also delete all data and apps on your device, so make sure to back up any important information beforehand.
To perform a factory reset on your Android device, follow these steps:
1. Open the Settings app on your smartphone.
2. Scroll down and tap on “System” or “System & Updates”.
3. Look for the “Reset options” or “Reset” section and tap on it.
4. Select “Erase all data (factory reset)” or a similar option.
5. Follow the on-screen instructions to confirm the reset.
After the factory reset is complete, set up your device again and check if the camera is now functioning properly.
Another possible solution is to manage your apps and ensure that there are no conflicts or software bugs affecting the camera. Follow these steps to check your app settings:
1. Open the Settings app on your device.
2. Scroll down and tap on “Apps” or “Applications”.
3. Look for the camera app you are using (e.g., Snapchat, TikTok) and tap on it.
4. Tap on “Storage & cache” or a similar option.
5. Select “Clear cache” and “Clear data” to remove any temporary files or corrupted data that may be affecting the camera.
If the issue persists, you can also try clearing the cache of other related apps, such as image editing or video recording apps. Additionally, make sure that your device’s software is up to date by checking for any available updates in the system settings.