Having trouble with the laptop brightness on Windows 10? Let’s explore the possible reasons behind this issue and discover effective solutions.
Update your Display Driver
1. Open the Start menu by pressing the Windows key on your computer keyboard.
2. Type “Device Manager” and click on it from the search results.
3. In the Device Manager window, expand the “Display adapters” category.
4. Right-click on the display adapter listed (it could be Nvidia, Intel, or any other brand) and select “Update driver.”
5. Choose the option to automatically search for updated driver software.
6. Windows will search and install the latest driver for your display adapter.
7. Restart your laptop to apply the changes.
If updating the display driver doesn’t resolve the brightness issue, you can also try adjusting the brightness through the Windows settings. Here’s how:
1. Open the Start menu and click on “Settings.”
2. In the Settings window, click on “System.”
3. Select “Display” from the left-hand menu.
4. Under the “Brightness and color” section, adjust the brightness slider to the desired level.
If the issue persists, you may need to check for any malware or third-party software that could be interfering with the display settings. Additionally, make sure your Windows 10 is up to date by installing any available Windows updates through Windows Update.
Adjust the Brightness from Power Options
To adjust the brightness of your laptop in Windows 10, you can use the power options. Here’s how:
1. Press the Windows key and type “power options” in the search bar. Select “Power Options” from the search results.
2. In the Power Options window, you will see different power plans. Select the one that is currently active or the one you want to adjust the brightness for.
3. Click on “Change plan settings” next to the selected power plan.
4. On the next page, click on “Change advanced power settings.”
5. In the Advanced settings window, scroll down and find the “Display” option. Expand it.
6. Expand the “Display brightness” option and you will see options for “On battery” and “Plugged in.” Adjust the brightness level by moving the slider accordingly.
7. Click “Apply” and then “OK” to save the changes.
You can also adjust the brightness using keyboard shortcuts if your laptop supports it. Look for dedicated brightness keys on your computer keyboard, usually represented by a sun icon. Press the Fn key (usually located near the bottom left of the keyboard) and the brightness key simultaneously to increase or decrease the brightness.
If these methods don’t work, you may need to update your graphics card driver or check for any Windows updates that could potentially fix the issue. Additionally, make sure your laptop is not affected by any malware or viruses that could be causing the brightness problem.
Enable Adaptive Brightness
1. Open the Windows Start menu and type “Power Options” in the search bar.
2. Select “Power Options” from the search results.
3. In the Power Options window, click on the “Change plan settings” link next to your selected power plan.
4. On the next screen, click on the “Change advanced power settings” link.
5. In the Power Options dialog box, scroll down and expand the “Display” category.
6. Look for the “Enable adaptive brightness” option and expand it.
7. You will see two options: “On battery” and “Plugged in”. Click on both options and change the setting to “On”.
8. Click “Apply” and then “OK” to save the changes.
9. Close the Power Options window.
Once you have enabled adaptive brightness, your laptop’s screen brightness will adjust automatically based on the lighting conditions in your environment. This feature can help conserve battery life and provide a more comfortable viewing experience.
Note that not all laptops support adaptive brightness, and the availability of this feature may depend on your specific hardware and drivers. If you are still experiencing issues with your laptop’s brightness, consider updating your graphics card drivers or checking for any available Windows updates that may address the problem.
python

import sys
def set_brightness(level):
# Code to set the brightness level using appropriate APIs or system calls
pass
def get_brightness():
# Code to retrieve the current brightness level using appropriate APIs or system calls
pass
def fix_brightness():
current_brightness = get_brightness()
if current_brightness == 0:
# If brightness is currently set to 0, set it to a default level
set_brightness(50)
print("Brightness was set to a default level.")
else:
# If brightness is not 0, inform the user that the tool cannot fix the issue
print("Brightness is not set to 0. The tool cannot fix the issue.")
fix_brightness()
Re-enable your PnP Monitor
1. Right-click on the desktop and select “Display settings” from the context menu.
2. In the Display settings window, scroll down and click on “Advanced display settings.”
3. On the next screen, click on “Display adapter properties for [your monitor name].”
4. In the Properties window, go to the “Driver” tab and click on the “Disable” button. Click “Yes” to confirm.
5. After disabling the driver, click on the “Enable” button to re-enable it.
6. Click “OK” to save the changes and close the Properties window.
7. Close the Display settings window.
By re-enabling the PnP monitor driver, you should be able to regain control over the brightness settings on your Windows 10 laptop.
Fix Catalyst bug via Registry Editor (ATI GPUs)
![]()
To fix the Catalyst bug that is causing the laptop brightness issue in Windows 10, you can use the Registry Editor. Follow these steps:
1. Press the Windows key + R to open the Run dialog box.
2. Type “regedit” and press Enter to open the Registry Editor.
3. In the Registry Editor, navigate to the following location: HKEY_LOCAL_MACHINE\SYSTEM\CurrentControlSet\Control\Class\{4d36e968-e325-11ce-bfc1-08002be10318}
4. Look for a key with the name “KMD_EnableBrightnessInterface2” and double-click on it.
5. Change the value data from “0” to “1” and click OK.
6. Close the Registry Editor and restart your laptop.
After the restart, the brightness control should start working again. If you don’t see the “KMD_EnableBrightnessInterface2” key, you can try creating it. Right-click on the right pane of the Registry Editor, select New, and then choose DWORD (32-bit) Value. Name the new value “KMD_EnableBrightnessInterface2” and set its value data to “1”.
Update Windows, Graphics, and Monitor Drivers
![]()
- Open Settings by clicking on the Start menu and selecting the Settings icon.
- In the Settings window, click on Update & Security.
- Click on Windows Update in the left sidebar.
- Click on the Check for updates button to search for available updates.
- If any updates are found, click on the Download button to start downloading and installing them.
- Restart your laptop after the updates are installed to apply the changes.
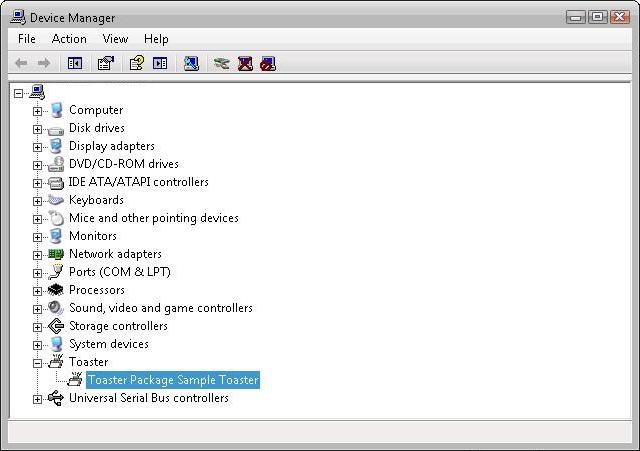
- Open the Device Manager by right-clicking on the Start menu and selecting Device Manager from the menu.
- Expand the Display adapters category.
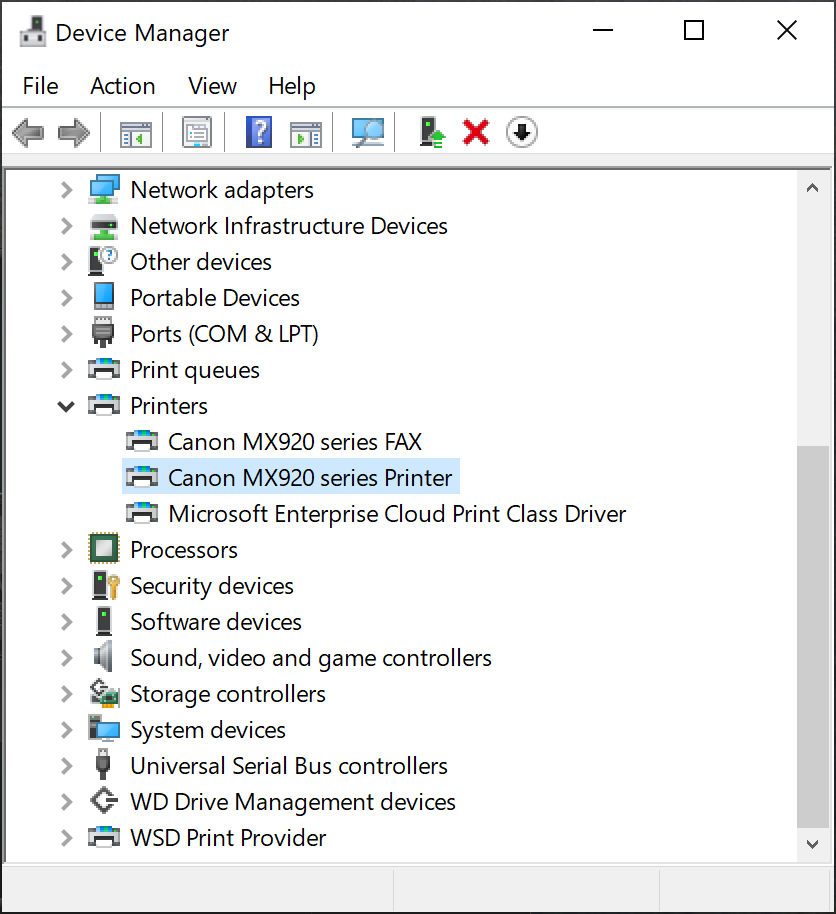
- Right-click on the graphics driver and select Update driver.
- Select Search automatically for updated driver software.
- Windows will search for the latest driver software and install it if available.
- Repeat steps 8-11 for the Monitor category in the Device Manager.
- Once the drivers are updated, restart your laptop to apply the changes.