Experiencing loud crackling and popping noises from your amplifier? In this article, we will discuss diagnosing and fixing amplifier faults.
Identifying the Source of Crackles
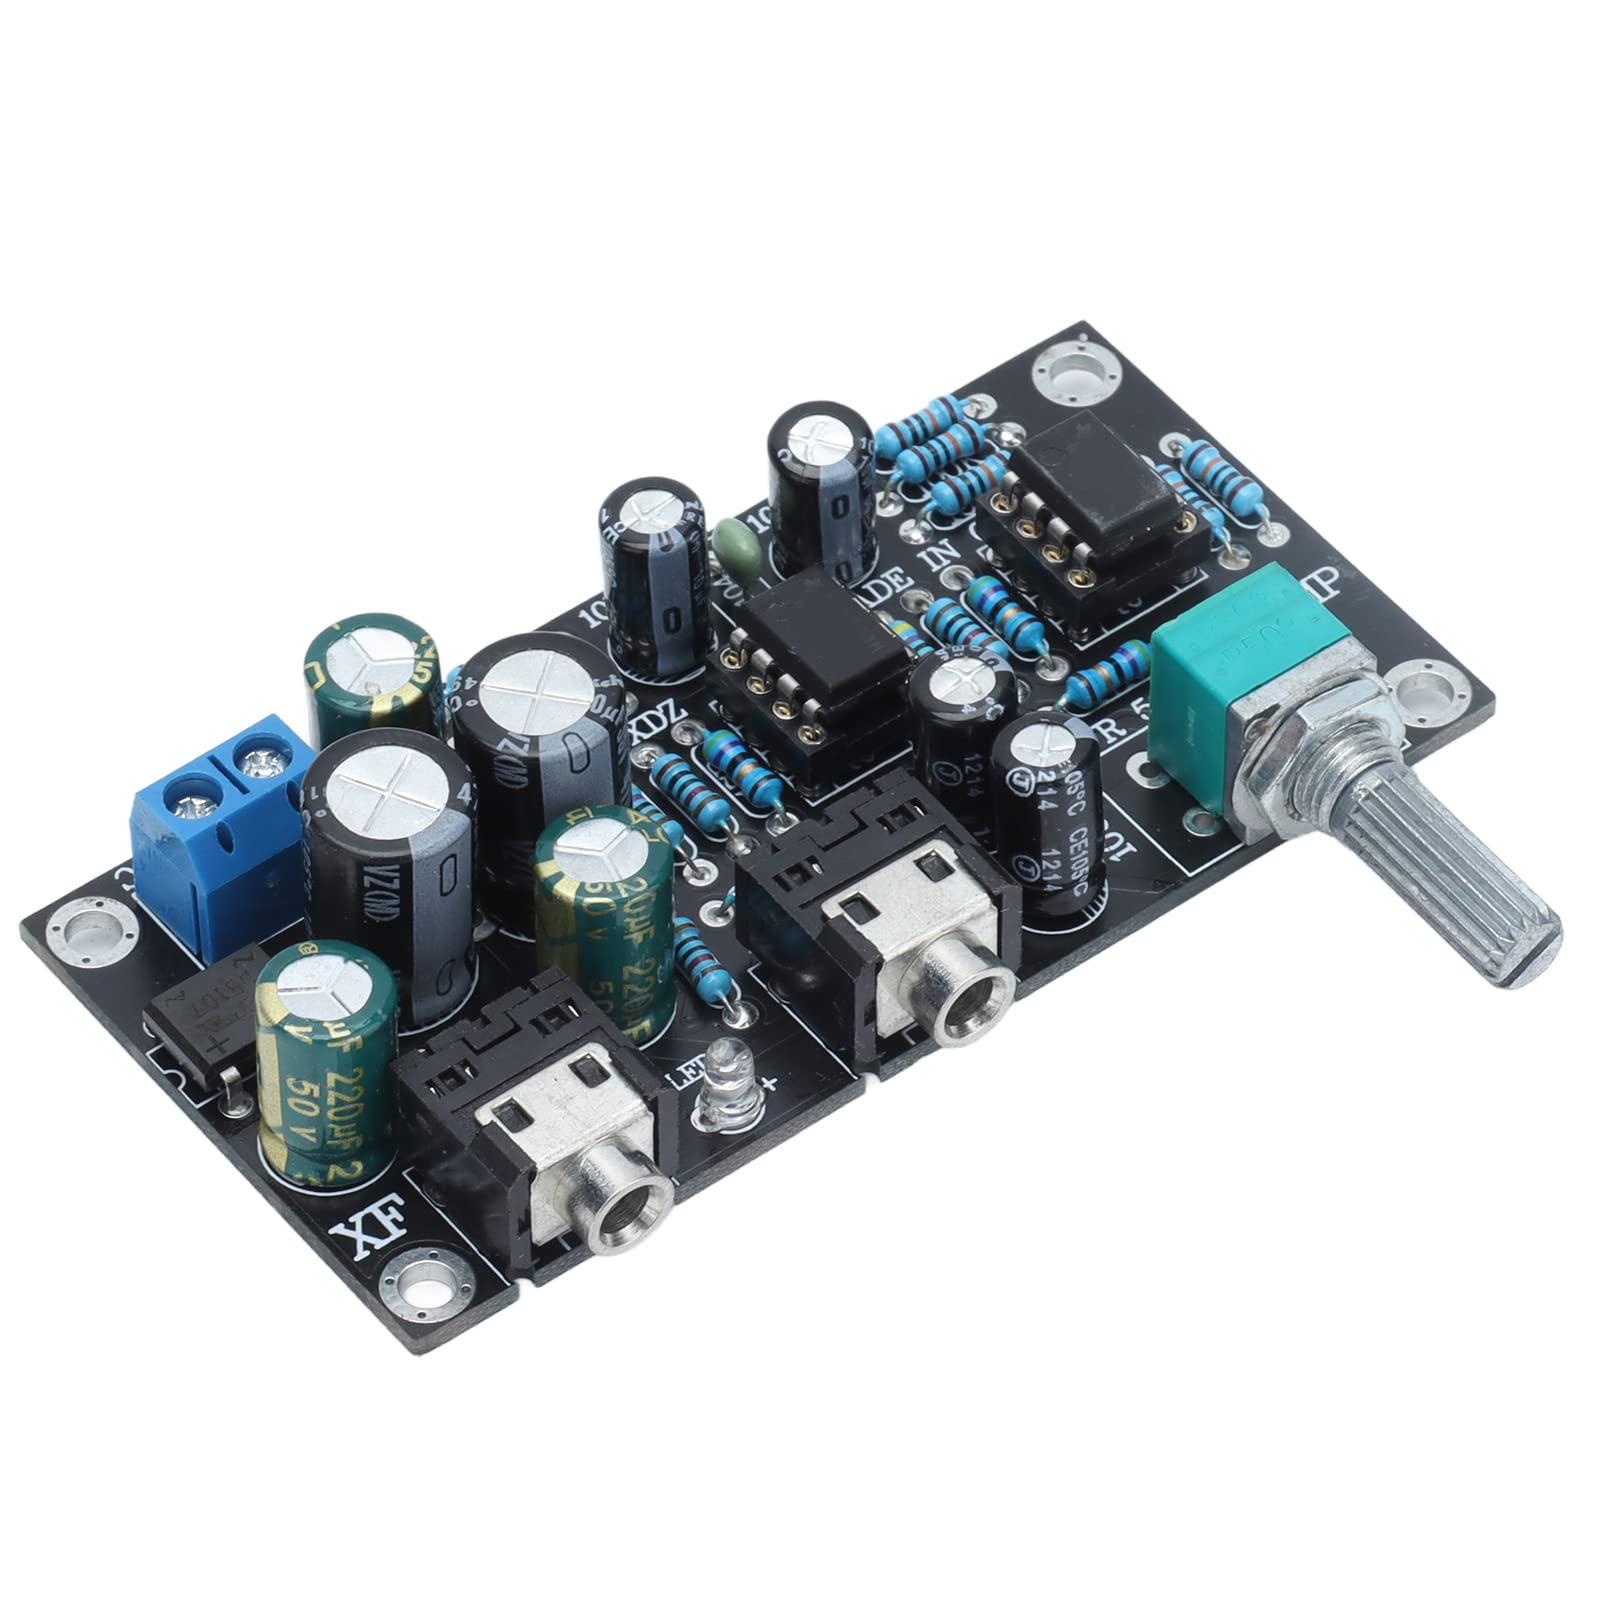
To identify the source of crackles in your amplifier, start by checking the electrical connectors and wires for any loose connections or damage. Inspect the printed circuit board for any signs of damage or loose components. Pay close attention to any vacuum tubes or tube sockets, as these can often be the cause of crackling noises. Check for any signs of wear or damage to the tubes or sockets, and ensure they are securely in place.
If the issue is not with the tubes or sockets, inspect the resistors and other components on the circuit board for any signs of damage or overheating. Check for any loose solder joints and reflow any that appear suspect. Additionally, inspect the preamplifier and power amplifier for any signs of damage or loose connections.
If the crackling noise persists, consider checking the speaker and any switches or knobs on the amplifier for any issues. Test the amplifier with a different speaker to rule out any issues with the current one. Finally, ensure that the amplifier is not picking up any interference from other electrical devices, as this can also cause crackling noises.
By systematically checking these components, you can identify the source of the crackling noise in your amplifier and take the necessary steps to fix the issue.
Cable and Connector Maintenance
- Inspect cables and connectors for damage or wear
- Check for any visible signs of damage such as fraying, bending, or corrosion

- Replace any damaged cables or connectors with new ones
- Clean connectors and sockets
- Use a contact cleaner or isopropyl alcohol to remove any dirt, dust, or debris from the connectors and sockets
- Ensure that the connectors are completely dry before re-connecting them
- Securely fasten all connections
- Make sure that all cables and connectors are securely plugged in and tightened
- Check for any loose connections and re-fasten them if necessary
Troubleshooting Power Issues
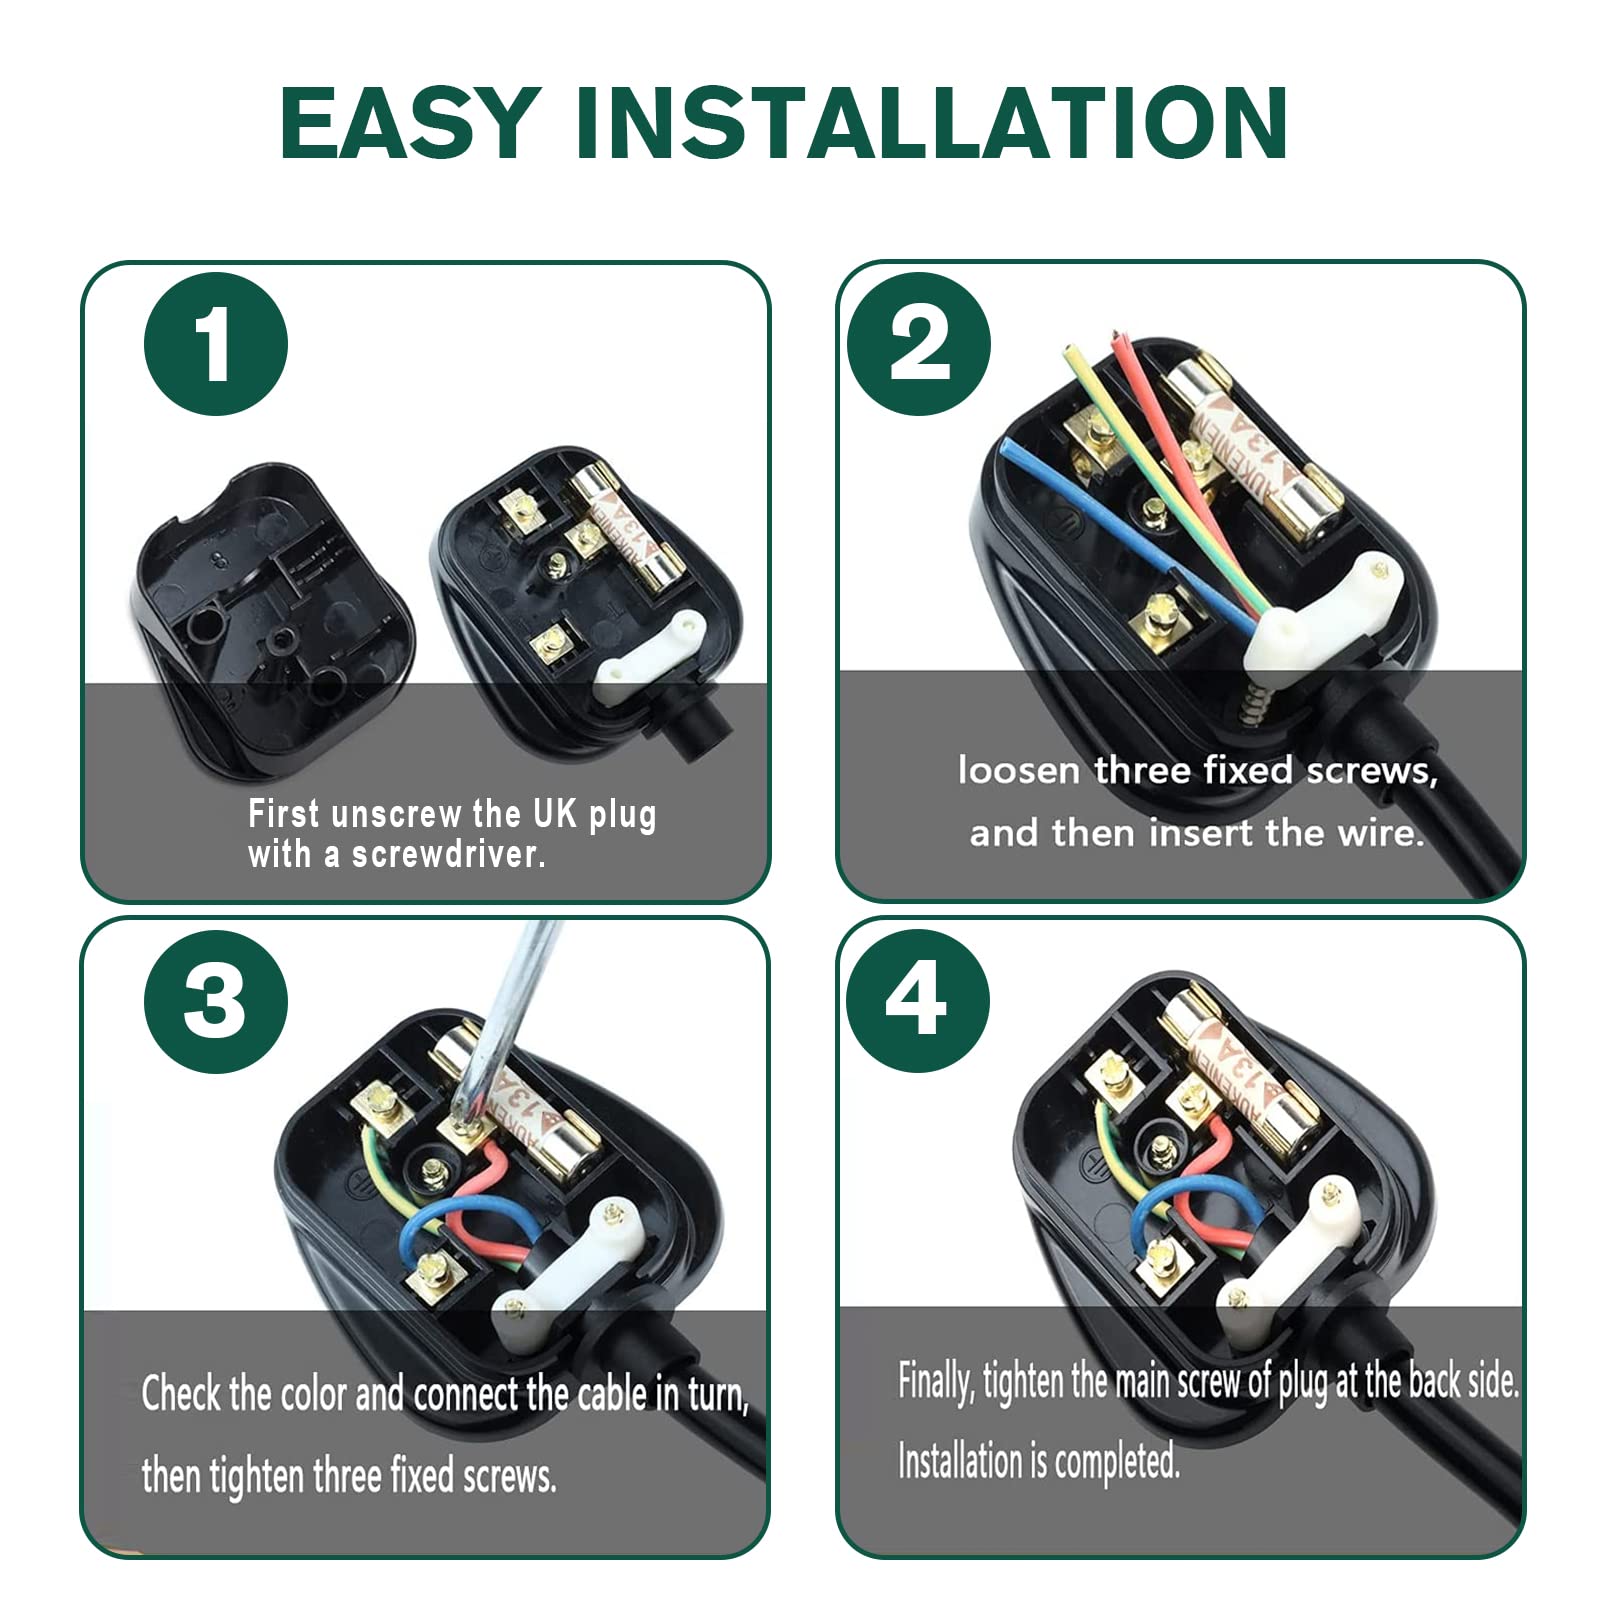
To troubleshoot power issues in your amplifier, start by checking the power source. Ensure that the amplifier is plugged into a working outlet and that the power cord is not damaged. If the power source is not the issue, check the fuse in the amplifier. Unplug the amplifier and carefully remove the fuse to see if it is blown. If the fuse is blown, replace it with a new one of the same rating.
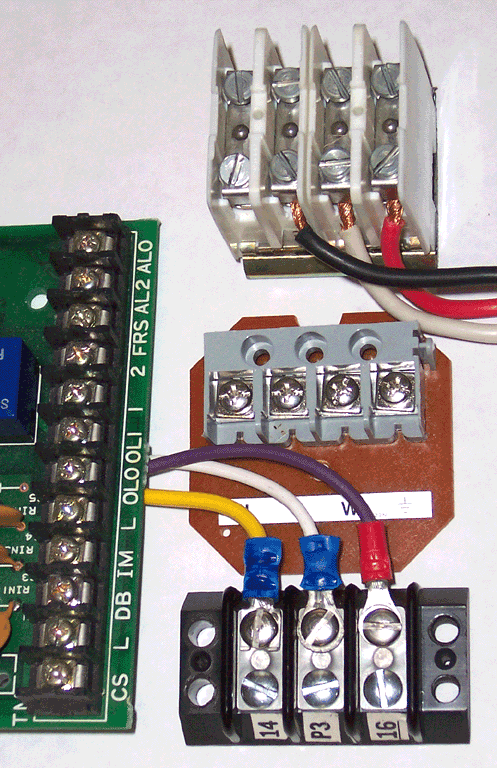
Next, inspect the power supply components such as the transformer, rectifier, and filter capacitors. Look for any signs of damage or discoloration. Check the connections to these components to ensure they are secure and free from corrosion.
If the power supply components appear to be in good condition, the issue may be with the amplifier’s circuitry. Look for any loose or damaged wires, solder joints, or components on the printed circuit board. Use a multimeter to test the continuity of the circuit and identify any potential short circuits or open connections.
Finally, if you are still experiencing power issues, it may be necessary to seek professional assistance from a technician or repair shop. Troubleshooting power issues in an amplifier can be complex, and it is important to prioritize safety and proper diagnostic techniques.
Cleaning and Care Techniques

Next, inspect the electrical connectors for any signs of corrosion or damage. Clean the connectors using a contact cleaner or rubbing alcohol to ensure a good connection and eliminate any potential sources of noise.
If your amplifier contains vacuum tubes, carefully inspect and test each tube to identify any faulty components. Replace any tubes that are causing the crackling and popping noises.
Check the resistors and solder joints for any signs of damage or wear. Use a multimeter to test the resistance of the resistors and re-solder any joints that appear to be loose or damaged.
Finally, consider bringing your amplifier to a professional if the issue persists. A trained technician can diagnose and fix any internal faults that may be causing the noise.
Soldering and Internal Connection Fixes
When diagnosing and fixing a loud crackling and popping noise in an amplifier, it is important to check for soldering and internal connection issues. This type of fault can often be caused by poor connections within the amplifier’s circuitry.
First, carefully inspect the solder joints on the amplifier’s circuit board. Look for any signs of damage, such as cracks or breaks in the solder. Re-solder any suspect joints to ensure a strong, reliable connection.
Next, check the internal wiring and connections for any loose or damaged components. Pay close attention to the input and output jacks, as well as any wiring harnesses inside the amplifier. Tighten any loose connections and replace any damaged wiring or connectors.
If the amplifier uses vacuum tubes, carefully remove and reseat each tube to ensure a proper connection. It may also be necessary to clean the tube sockets with a contact cleaner to remove any built-up residue that could be causing poor connections.
After addressing these potential soldering and internal connection issues, test the amplifier to see if the loud crackling and popping noise has been resolved. If the issue persists, further troubleshooting may be necessary to identify and address the fault.