If you’re encountering errors while using EOS Webcam Utility, don’t worry. We’ve compiled some quick solutions to help you fix the problem and get back to your work or video calls in no time.
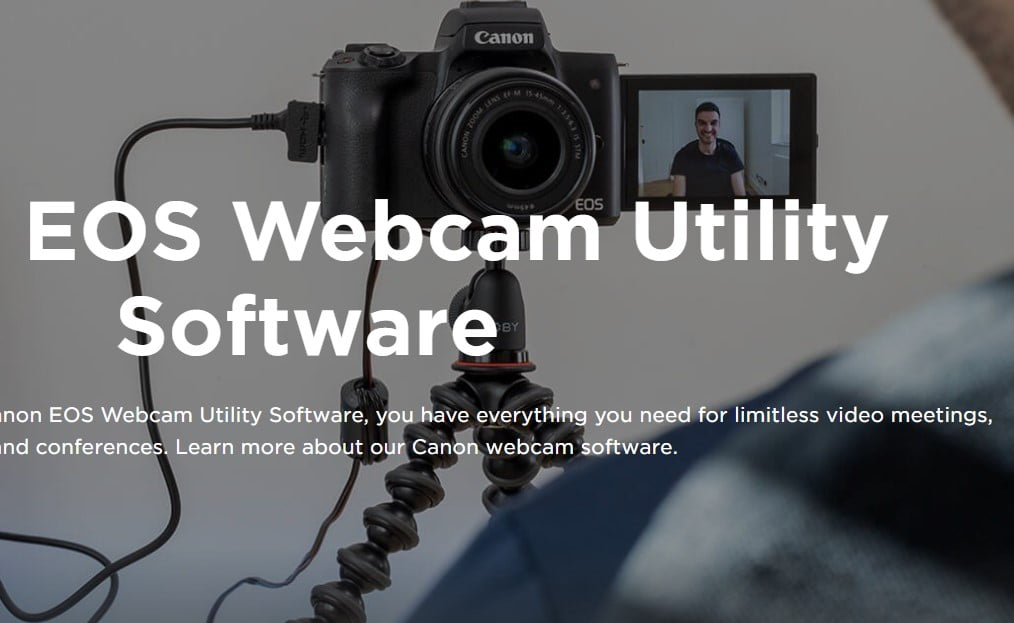
Setting up Canon Camera for Webcam Use
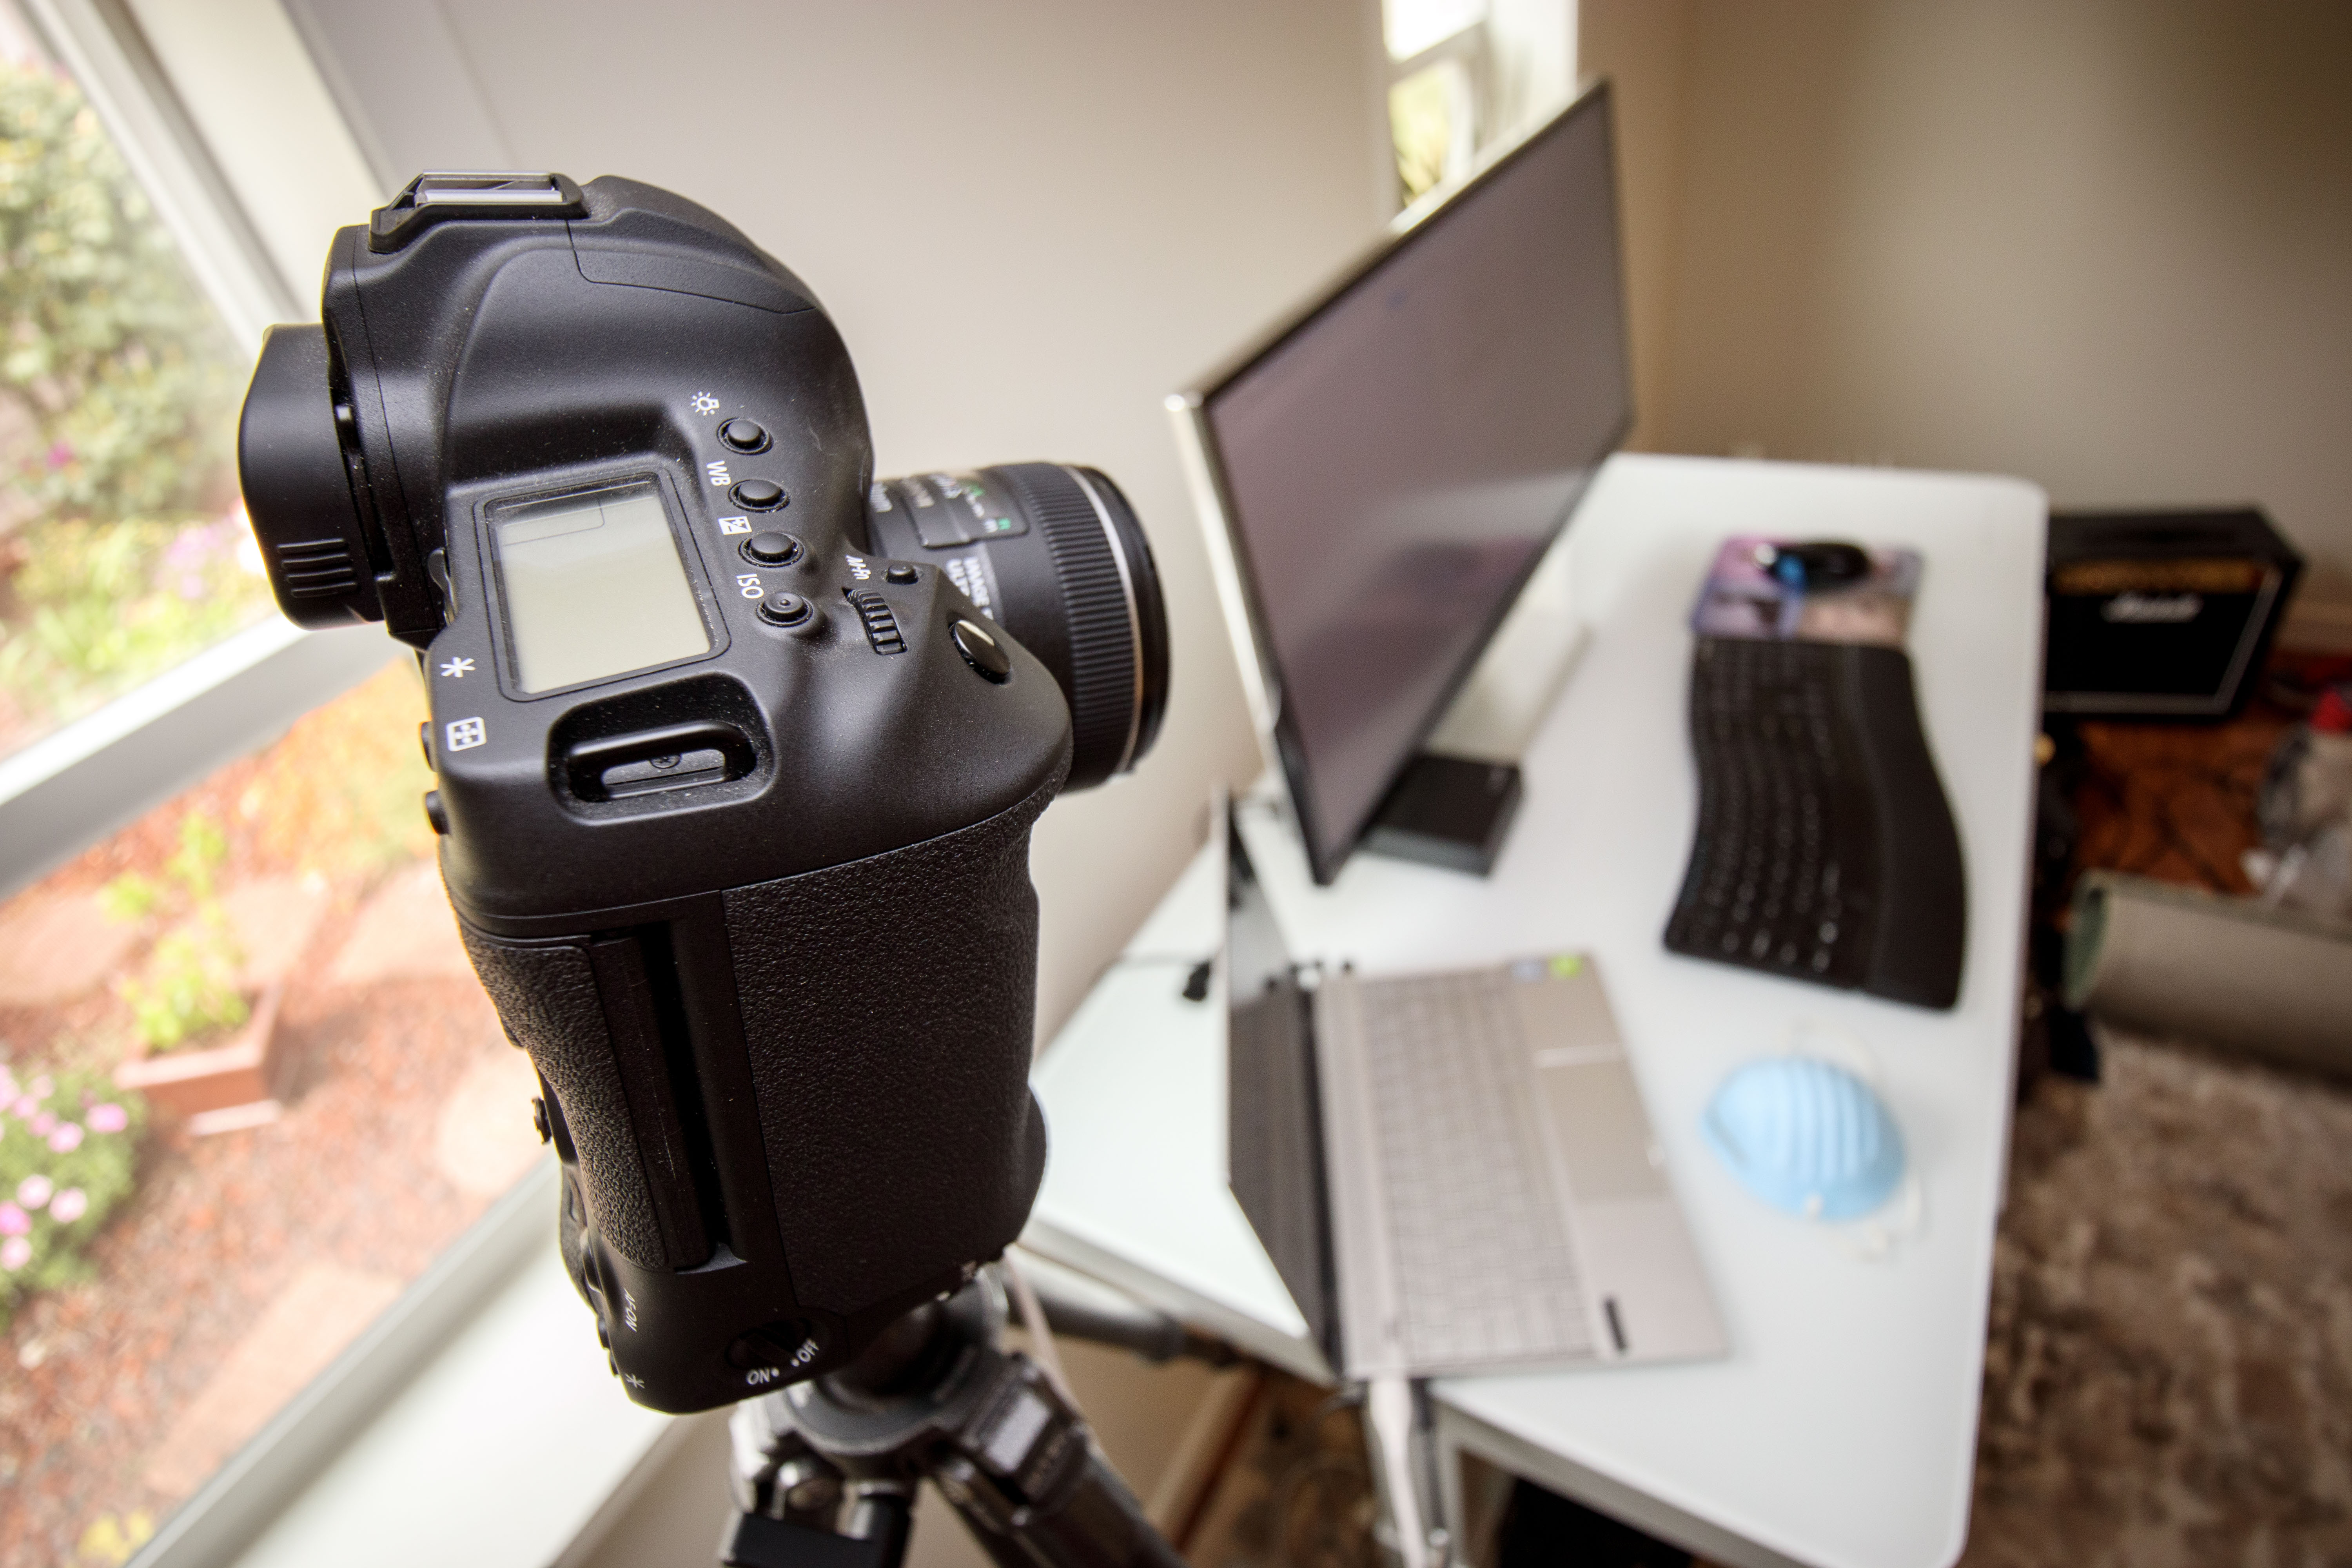
To set up your Canon camera for webcam use, first download and install the EOS Webcam Utility from the Canon website. Connect your camera to your computer using a USB cable and turn on the camera. Open your preferred video conferencing app, and select your camera as the video input. If your camera doesn’t show up, make sure it’s in “movie” mode and not “photo” mode. If you’re still having issues, make sure your camera is compatible with the EOS Webcam Utility and that your USB ports are working. You may need to update your device drivers or try a different USB cable. Once your camera is set up as a webcam, you can enjoy high-quality video specs and imaging unit that Canon is known for.
Troubleshooting EOS Webcam Utility Errors
- Uninstall EOS Webcam Utility from your computer
- Download the latest version of EOS Webcam Utility from Canon’s official website
- Install the new version of EOS Webcam Utility on your computer
- Restart your computer
Repair Method 2: Check Camera Connection and Settings
- Ensure that your camera is connected to your computer via USB cable
- Make sure that your camera is turned on and in the correct mode for EOS Webcam Utility to function
- Check your camera settings to ensure that it is set to output video to EOS Webcam Utility
Repair Method 3: Update Camera Driver
- Open Device Manager on your computer
- Locate your camera device and right-click on it
- Select “Update Driver” from the drop-down menu
- Follow the on-screen instructions to update your camera driver
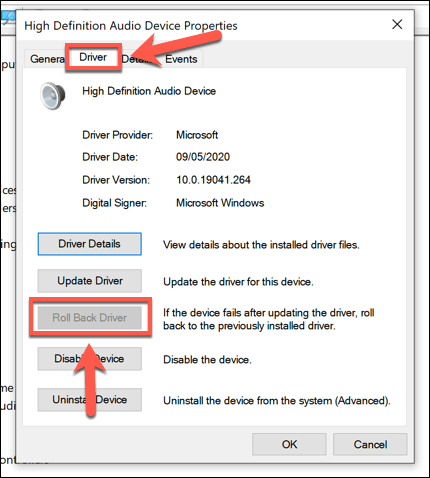
- Restart your computer
Repair Method 4: Disable Antivirus and Firewall
- Temporarily disable your antivirus and firewall software
- Restart your computer and try launching EOS Webcam Utility again
- If disabling your antivirus and firewall allows EOS Webcam Utility to function properly, add the utility as an exception to your software to prevent it from being blocked in the future
Repair Method 5: Check for Windows Updates
- Open Windows Settings
- Select “Update & Security”
- Click on “Check for updates”
- If updates are available, download and install them
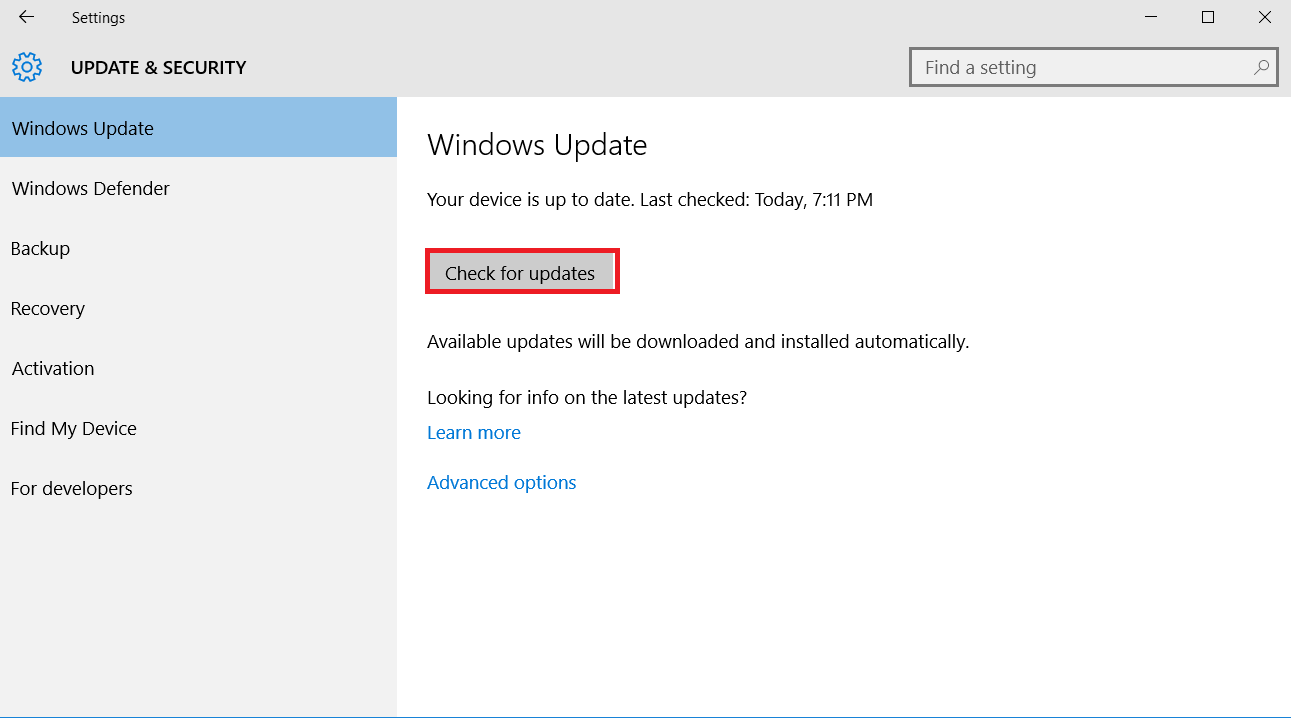
- Restart your computer
Tips for Using EOS Webcam Utility
1. Before installation, ensure that your camera is compatible.
2. Follow the installation process carefully and connect the camera to a USB port.
3. If the EOS Webcam Utility doesn’t work, check the camera’s configuration settings.
4. If the issue persists, update the device driver for your camera.
5. In OBS Studio or Streamlabs, select EOS Webcam Utility as your webcam software.
6. To avoid blurry images, adjust the camera settings, including focus and image quality.
7. If you’re using a Mac, ensure that you have the EOS Webcam Utility Beta installed.
8. Remember to switch off the camera when not in use to preserve its imaging unit.
By following these tips, you can use your Canon EOS DSLR or PowerShot camera as a high-quality webcam for video conferencing, streaming, and multimedia storytelling.
Operating Systems Compatibility for EOS Webcam Utility
| Operating System | Compatibility |
|---|---|
| Windows 10 (64-bit) | Compatible |
| Windows 8.1 (64-bit) | Compatible |
| Windows 7 SP1 (64-bit) | Compatible |
| macOS Catalina (10.15) | Compatible |
| macOS Mojave (10.14) | Compatible |
| macOS High Sierra (10.13) | Compatible |
| macOS Sierra (10.12) | Compatible |
Note: This table is based on information provided by Canon as of July 2021. It is subject to change as new operating systems are released or updated.