Unlocking the potential of high-definition multimedia interface (HDMI) connection is an audio-visual delight, allowing laptops to seamlessly connect with TVs for an immersive experience. However, encountering a frustrating audio issue can dampen the excitement. In this article, we unveil effective troubleshooting methods to resolve the HDMI laptop to TV no sound conundrum, ensuring uninterrupted entertainment and audio bliss.
Troubleshooting Hardware and Sound Issues
If you’re experiencing sound issues when connecting your laptop to your TV via HDMI, there are a few troubleshooting steps you can take to resolve the problem.
First, check the physical connections. Ensure that the HDMI cable is securely connected to both your laptop and TV. If the cable is damaged, try using a different one.
Next, check the sound settings on your laptop. Right-click on the sound icon in the taskbar and select “Playback devices.” Make sure that your TV is set as the default audio device. If it’s not, right-click on your TV and select “Set as Default Device.”
If the issue persists, update your sound drivers. You can do this by visiting the manufacturer’s website for your laptop and downloading the latest drivers for your sound card.
If none of these steps work, try using a different HDMI port on your TV or connecting to a different TV altogether to determine if the issue lies with the hardware.
Remember, these troubleshooting steps should help resolve most HDMI laptop to TV sound issues. If you’re still experiencing problems, it may be helpful to consult the manufacturer’s support website or contact their customer support for further assistance.
Setting HDMI Device as Default for Audio
To set your HDMI device as the default audio output on your Windows PC, follow these steps:
1. Right-click on the volume icon in the taskbar and select “Sounds.”
2. In the “Playback” tab, locate your HDMI device in the list of available audio devices.
3. Right-click on your HDMI device and select “Set as Default Device.”
4. Click “Apply” and then “OK” to save the changes.
If your HDMI device is not listed, try the following solutions:
– Update your sound drivers: Use a reputable driver update tool like Driver Easy to automatically update your sound drivers.
– Check for hardware issues: Ensure that your HDMI cable is securely connected and not damaged. Try using a different HDMI cable or port.
– Update your operating system: Make sure you have the latest Windows updates installed.
– Troubleshoot specific hardware devices: Visit the manufacturer’s website for your HDMI device or sound card and look for any available driver updates or troubleshooting guides.
Updating Sound and Graphics Drivers
To update your sound and graphics drivers for troubleshooting HDMI laptop to TV no sound issues, follow these steps:
1. Press the Windows key + X and select “Device Manager” from the menu.
2. In the Device Manager window, expand the “Sound, video, and game controllers” category.
3. Right-click on your sound driver (usually named “High Definition Audio Device”) and select “Update driver.”
4. In the Update Driver Software dialogue box, select “Search automatically for updated driver software.”
5. Windows will then search for the latest driver updates for your sound device and install them if available.
6. Next, expand the “Display adapters” category in Device Manager.
7. Right-click on your graphics driver and select “Update driver” as before.
8. Follow the prompts to search for and install the latest graphics driver updates.
9. Once both drivers are updated, restart your computer to apply the changes.
These steps should help resolve any sound issues when connecting your laptop to a TV via HDMI.
python

import win32api

import win32con
def set_default_audio_device(device_name):
try:
devices = win32api.GetRegistryKey(win32con.HKEY_CURRENT_USER, "Software\Microsoft\Multimedia\Sound Mapper").EnumKey()
for device in devices:
if device_name.lower() in device.lower():
win32api.RegSetValue(win32con.HKEY_CURRENT_USER, "Software\Microsoft\Multimedia\Sound Mapper", device)
print(f"Successfully set '{device}' as the default audio device.")
break
else:
print(f"Could not find a device with name '{device_name}'.")
except Exception as e:
print(f"An error occurred while setting the default audio device: {e}")
# Usage example
set_default_audio_device("HDMI")
Please note that this is just a sample code concept and may not work for every scenario. It assumes that the HDMI audio output device is already available and just needs to be set as the default audio device.
It’s important to remember that troubleshooting audio issues can be complex and may require a combination of software and hardware adjustments. Consulting the documentation or support resources specific to your laptop and TV model is often the best approach to resolve such issues.
Checking HDMI Ports and Cable Functionality
To check the HDMI ports and cable functionality on your laptop to TV setup, follow these steps:
1. Start by ensuring that both your laptop and TV are powered on and properly connected via the HDMI cable.
2. On your laptop, press the Windows key + X to open the Power User menu, then select Device Manager.
3. In the Device Manager window, expand the “Sound, video, and game controllers” category.
4. Look for “High Definition Audio Device” or a similar variant under this category. If you see any exclamation marks or question marks next to it, it indicates a problem with the sound driver.
5. Right-click on the problematic audio device and select “Update driver.”
6. Follow the on-screen instructions to update the driver. If an update is available, it will be installed.
7. After updating the driver, right-click on the audio device again and select “Disable device” from the context menu.
8. Wait for a few seconds, then right-click on the audio device once more and select “Enable device.”
9. Test the audio output on your TV to see if the issue has been resolved.
Connecting Laptop to External Sound System
To connect your laptop to an external sound system, follow these simple steps:
Step 1: Check the connections: Ensure that the HDMI cable is securely plugged into both your laptop’s HDMI port and the HDMI input on the external sound system.
Step 2: Adjust audio settings: Right-click on the volume icon in the taskbar and select “Open Sound settings.” Under the “Output” section, select your external sound system as the default device.
Step 3: Update audio drivers: Go to the manufacturer’s website or use a reliable driver update tool like Driver Easy to download and install the latest audio drivers for your laptop.
Step 4: Restart your laptop and external sound system: Sometimes a simple restart can resolve audio issues.
Step 5: Test the sound: Play a media file or open a YouTube video to check if the sound is now coming through your external sound system.
If you’re still experiencing sound issues, try these additional troubleshooting solutions:
1. Ensure that your HDMI cable is not faulty.
2. Update your operating system to the latest version.
3. Disable any audio enhancements or special effects.
4. Try a different HDMI port on your laptop or external sound system.
Understanding the Causes of HDMI Audio Issues
HDMI audio issues can be frustrating, but understanding the causes can help you troubleshoot and fix the problem. Here are some common causes and solutions to consider:
1. Check your hardware devices: Ensure that your HDMI cable is securely connected to both your laptop and TV.
2. Update your drivers: Outdated drivers can cause audio problems. Visit the manufacturer’s website or use Windows Update to update your drivers.
3. Adjust your TV settings: Some TVs have specific audio settings that need to be adjusted for HDMI audio. Consult your TV’s manual or look for online resources for guidance.
4. Check your computer settings: On Windows 10, go to the Sound settings in the Control Panel or right-click the speaker icon in the taskbar and select “Playback devices.” Make sure your HDMI device is set as the default playback device.
5. Try different HDMI ports: In some cases, certain HDMI ports on your TV may not support audio. Try connecting to a different HDMI port.
6. Test with different media: Some media files or streaming services may have audio compatibility issues. Try playing different media to see if the issue persists.
7. Seek professional help: If none of the above fixes work, consider reaching out to a specialist or contacting your device manufacturer’s support for further assistance.
Remember, troubleshooting HDMI audio issues can vary depending on your specific setup, so be sure to tailor these suggestions to your situation.
Restarting the Computer to Fix Audio Problems
Restarting your computer can often resolve audio problems when connecting your laptop to a TV via HDMI. To do this, follow these simple steps:
1. Close all applications and save your work.
2. Click on the “Start” button in the bottom left corner of your screen.
3. Select “Restart” from the power options menu.
4. Wait for your computer to fully shut down and then turn back on.
5. Once your computer has restarted, check if the audio is working properly by playing a video or audio file.
If you’re still experiencing sound issues after restarting, there may be other factors at play. You can try updating your TV or graphics drivers, checking your HDMI cable for any damage, or adjusting the audio settings on your computer.
Remember, restarting your computer is a quick and easy troubleshooting step that can often resolve audio problems. Give it a try if you’re encountering issues with HDMI audio on your laptop-to-TV connection.
Enabling Audio Controllers for HDMI Playback
To enable audio controllers for HDMI playback and troubleshoot the “HDMI Laptop to TV No Sound” issue, follow these steps:
1. Connect your laptop to the TV using an HDMI cable.
2. Right-click on the volume icon in the taskbar and select “Playback devices”.
3. In the Sound window, find your HDMI device (e.g., Samsung TV) and right-click on it.
4. Select “Set as Default Device” to make it the default audio output for your system.
5. If the HDMI device is not listed, right-click on an empty space in the Sound window and select “Show Disabled Devices” and “Show Disconnected Devices”.
6. Check if the HDMI device now appears and repeat step 4.
7. If the issue persists, ensure that your HDMI drivers are up to date. Visit the manufacturer’s website (e.g., Samsung) or use a driver updater tool like Outbyte to download and install the latest drivers.
8. Restart your PC and test the audio playback on your TV again.
These steps should help resolve the “HDMI Laptop to TV No Sound” issue and restore audio output to your TV.
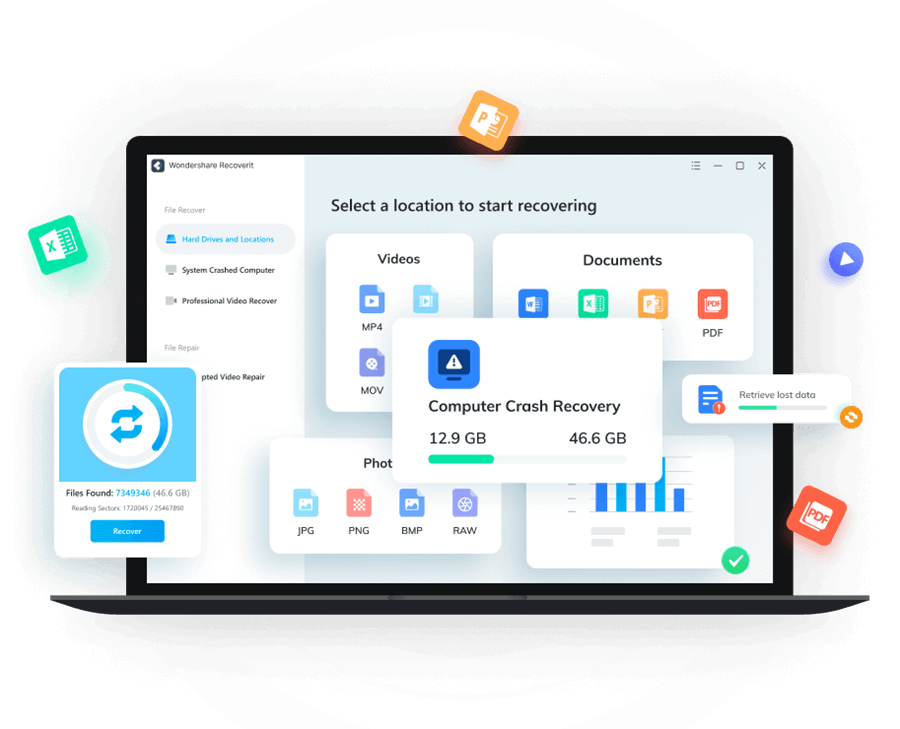
Recovering Lost Data with Recoverit Data Recovery Software
- Recovering Lost Data: Easily retrieve deleted or lost files with the powerful capabilities of Recoverit Data Recovery Software.
- Effortlessly restore files from various storage devices including hard drives, SD cards, USB drives, and more.
- Retrieve a wide range of file types such as photos, videos, documents, emails, and more.
- Experience a user-friendly interface that simplifies the data recovery process, making it accessible for all levels of users.

- Advanced scanning algorithms enable thorough and precise data recovery, ensuring no files are left behind.
- Benefit from fast scanning and recovery speeds to quickly regain access to your valuable data.
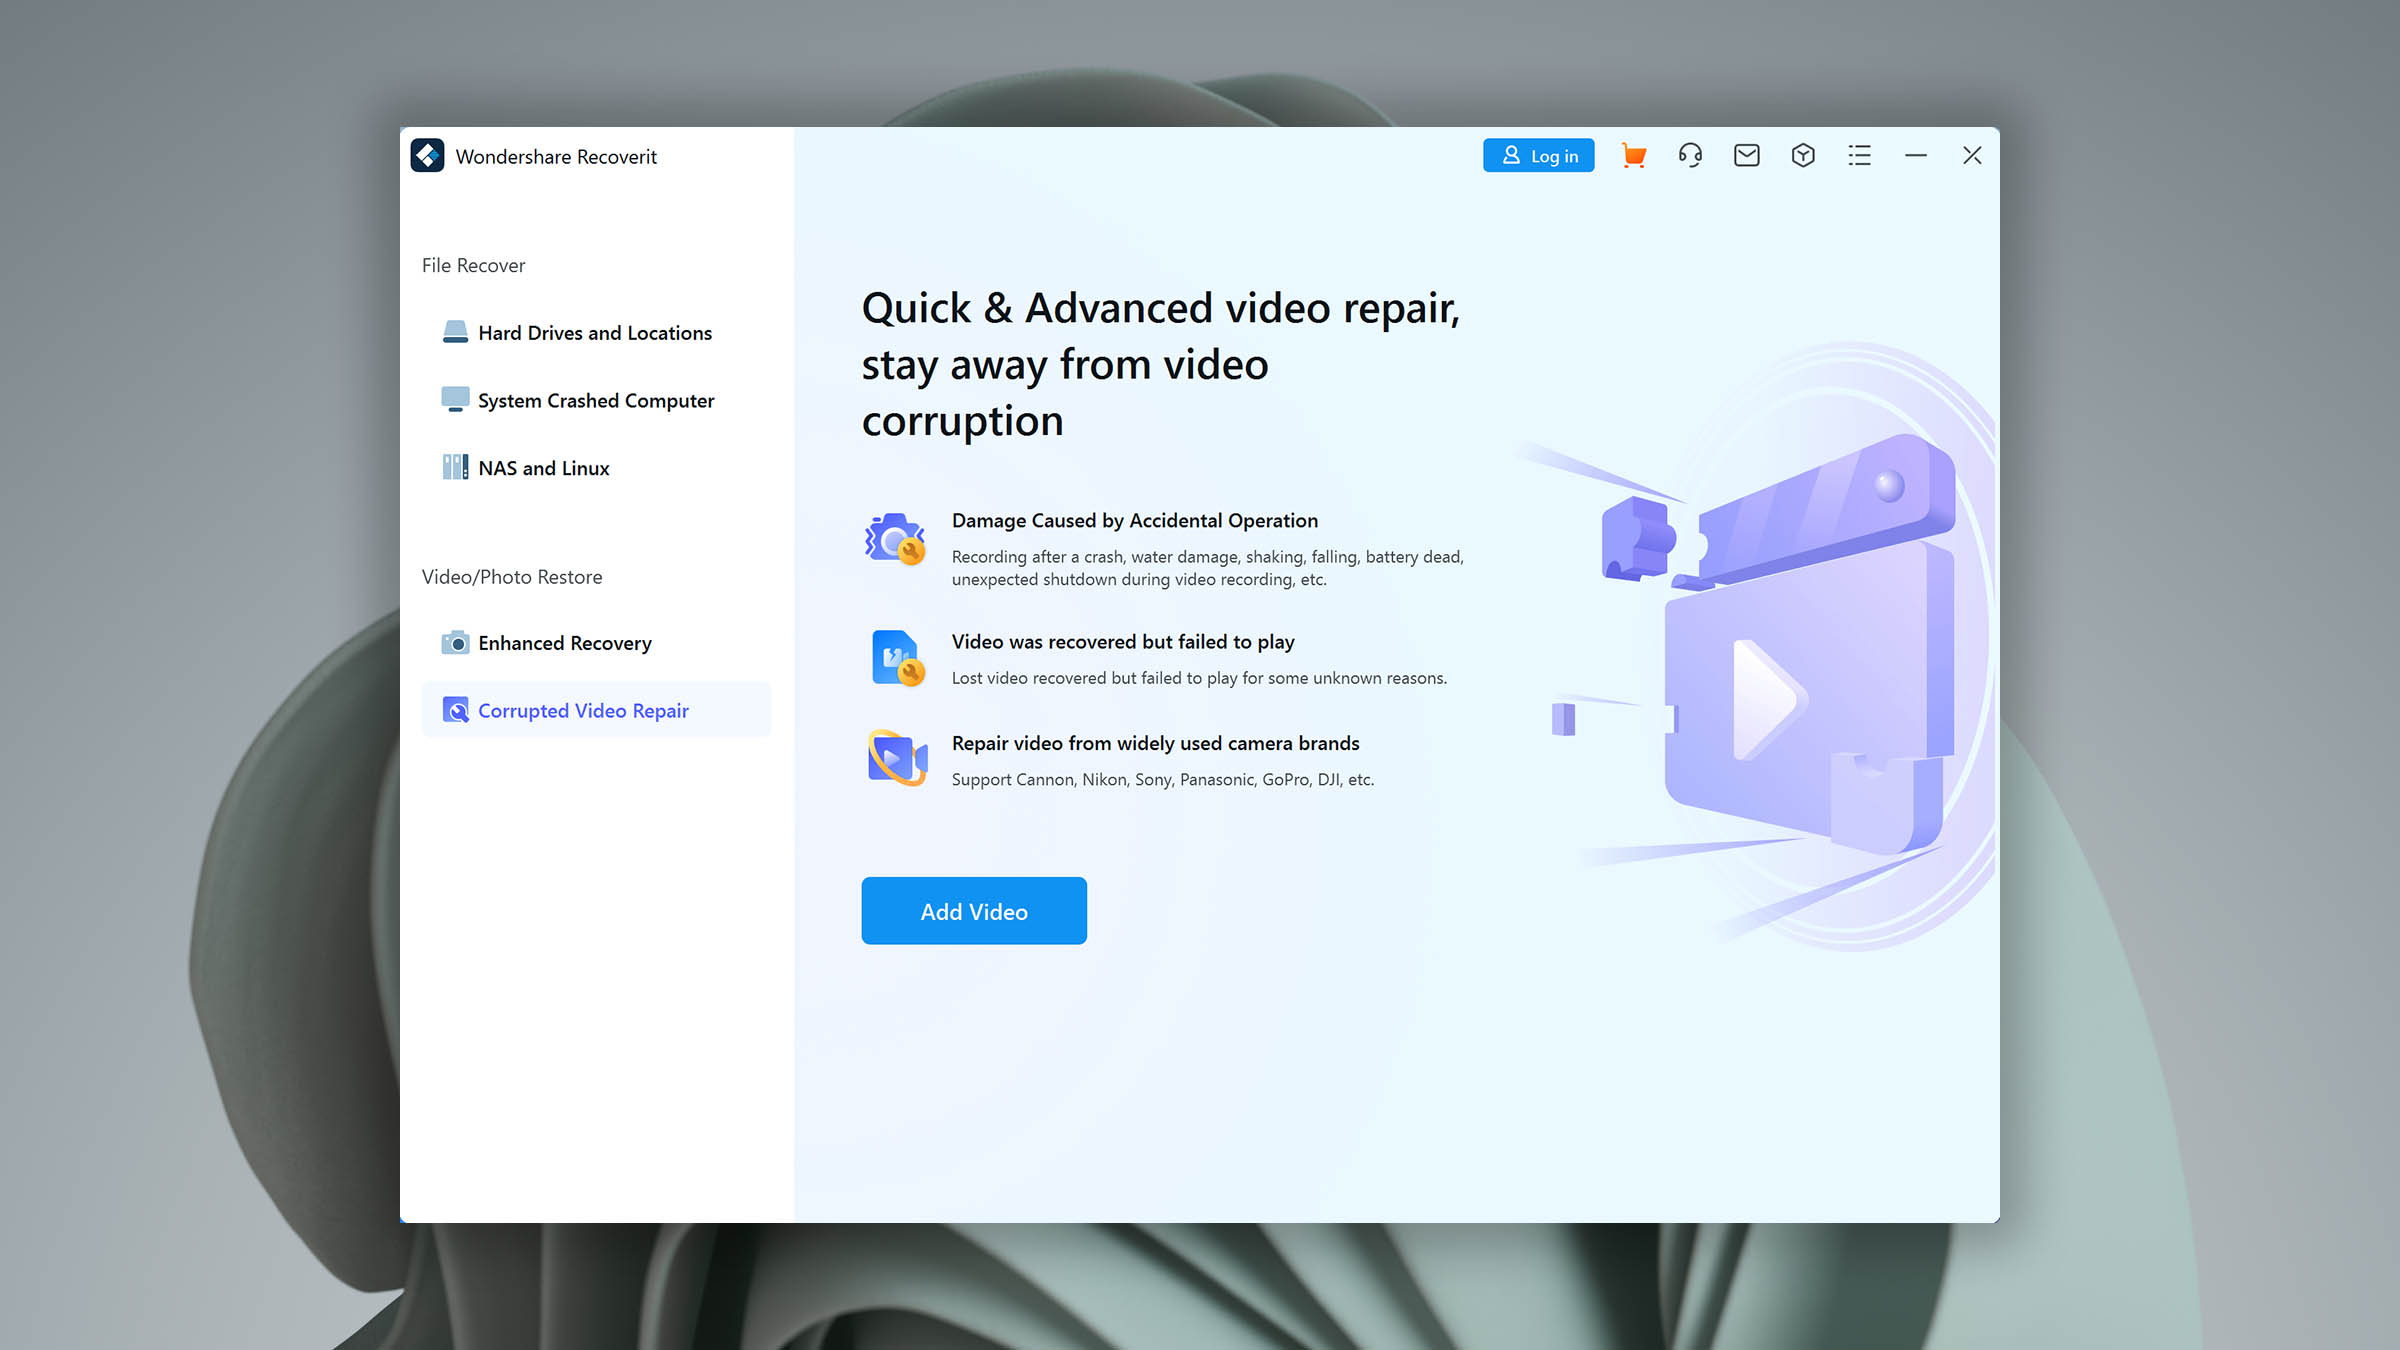
- Choose from various scan modes including Quick Scan for speedy results and Deep Scan for more comprehensive recovery.
- Preview recovered files before restoring them, allowing you to select only the files you need.
- Protect your privacy with secure and reliable data recovery software, ensuring your sensitive information remains confidential.
- Receive 24/7 technical support from the Recoverit team, guaranteeing assistance whenever you encounter any issues.