Having trouble with your computer not recognizing your domain network? Let’s troubleshoot the issue and find a solution.
Troubleshooting Firewall and Network Configuration Issues
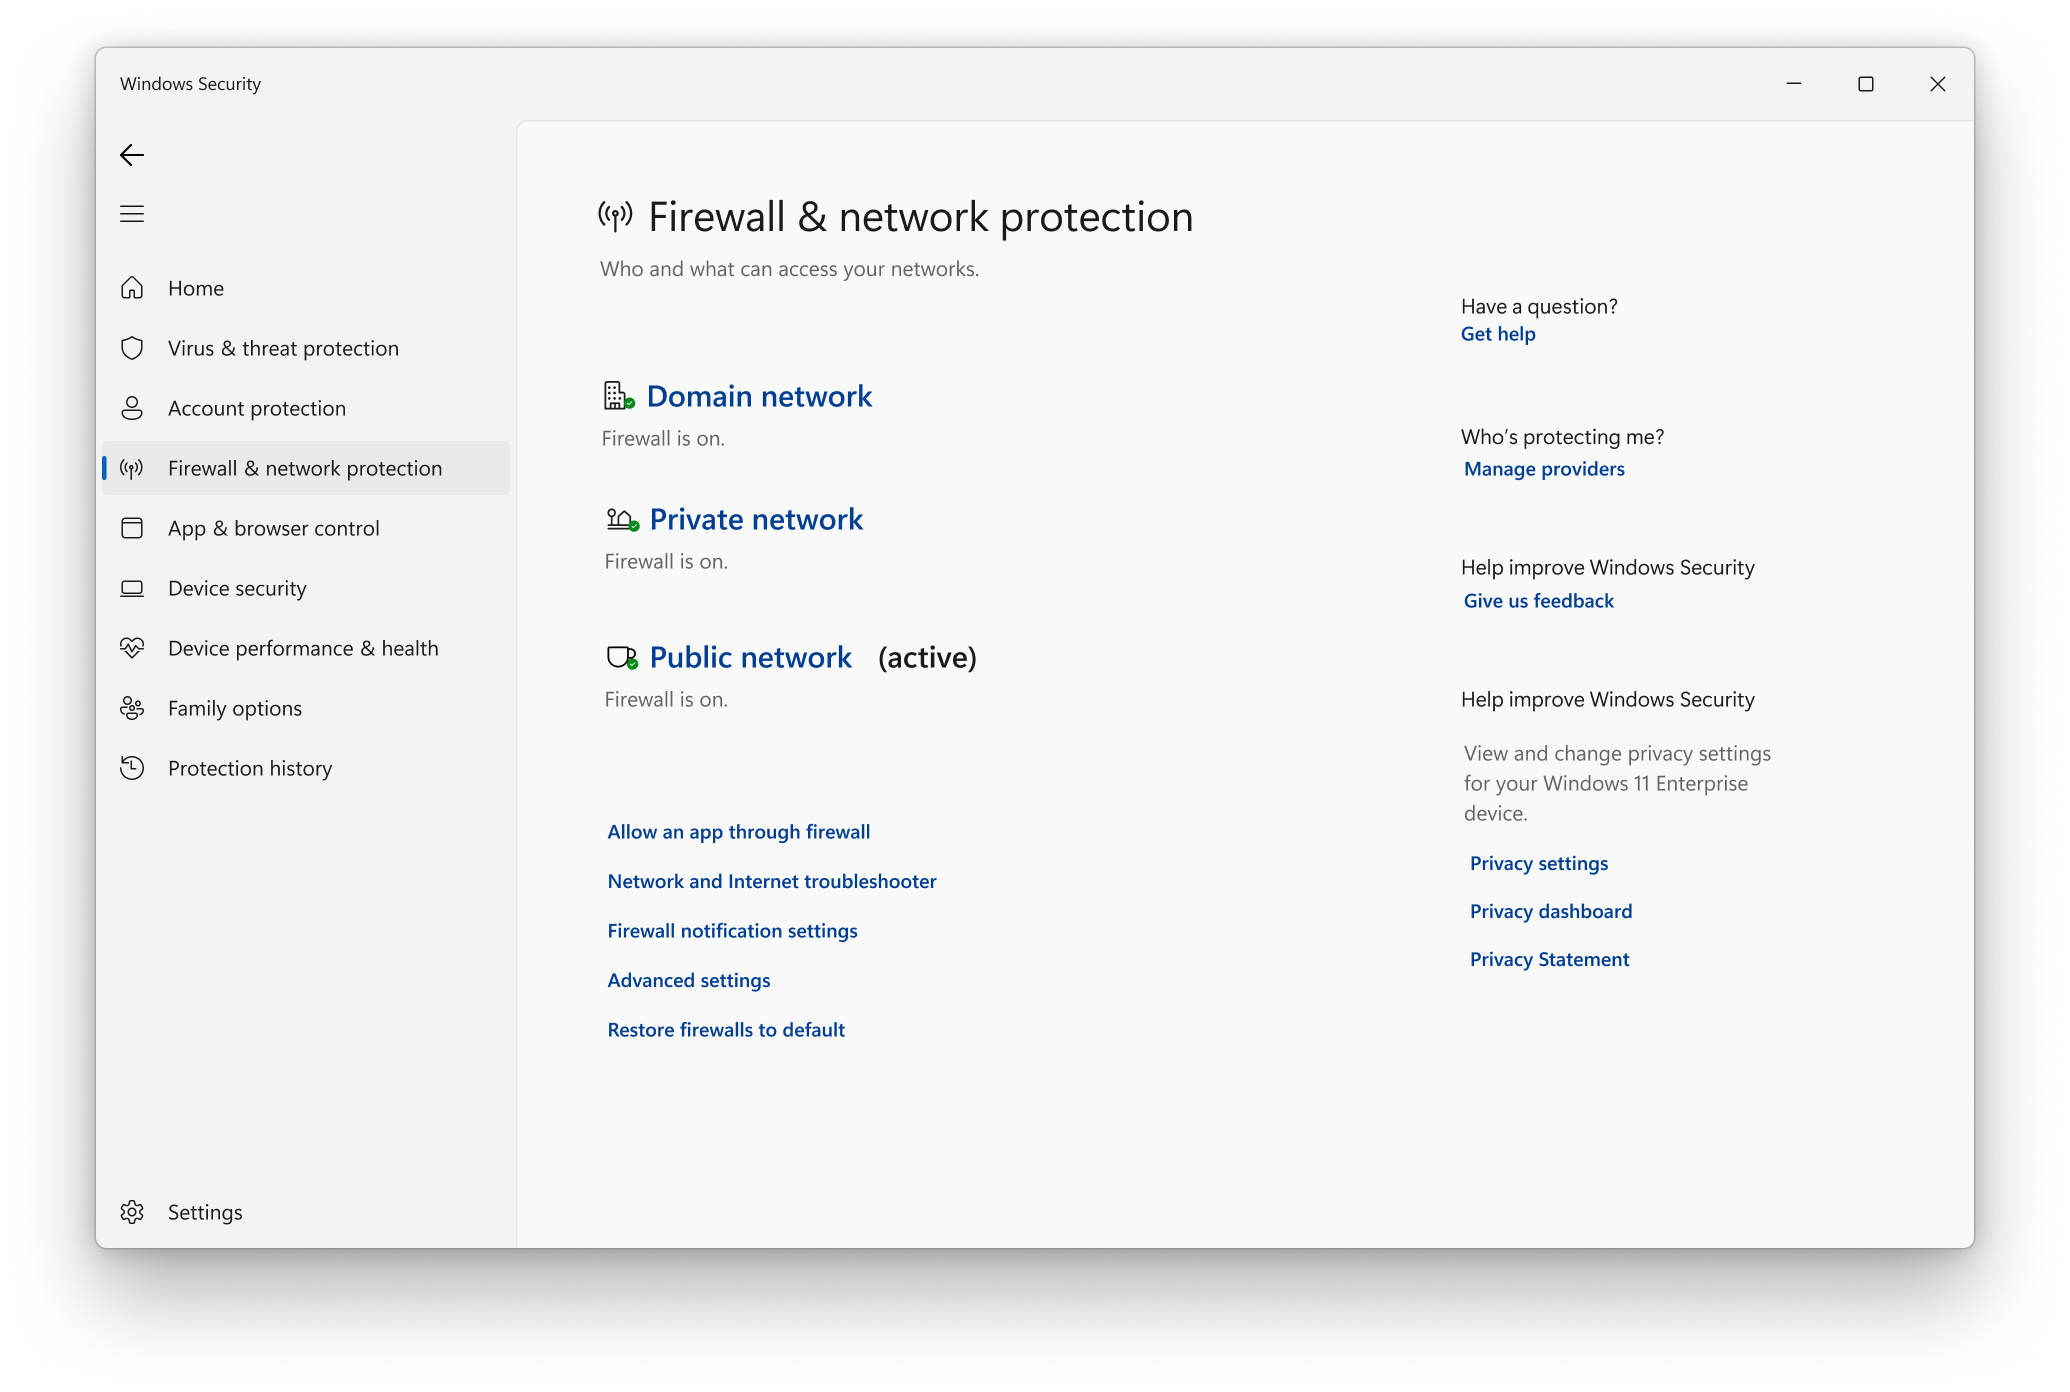
– Check the Windows Firewall settings to ensure that it is not blocking the connection to the domain network. To do this, type “Windows Firewall” into the search bar in the Start menu and click on “Windows Defender Firewall.”
– Make sure that the network configuration settings are correct by checking the IP address and DNS settings. To do this, open the Control Panel, click on “Network and Sharing Center,” and then click on “Change adapter settings.”
– If using a virtual private network, ensure that it is not causing any conflicts with the domain network. Disable the VPN and check if the computer can recognize the domain network.
– Clear the DNS cache by opening the Command Prompt and typing “ipconfig /flushdns” and pressing Enter.
– If the issue persists, consider checking for any third-party firewall or security software that may be interfering with the network connection. Temporarily disable these programs and check if the computer can recognize the domain network.
Step-by-Step Resolution Methods for Network Recognition

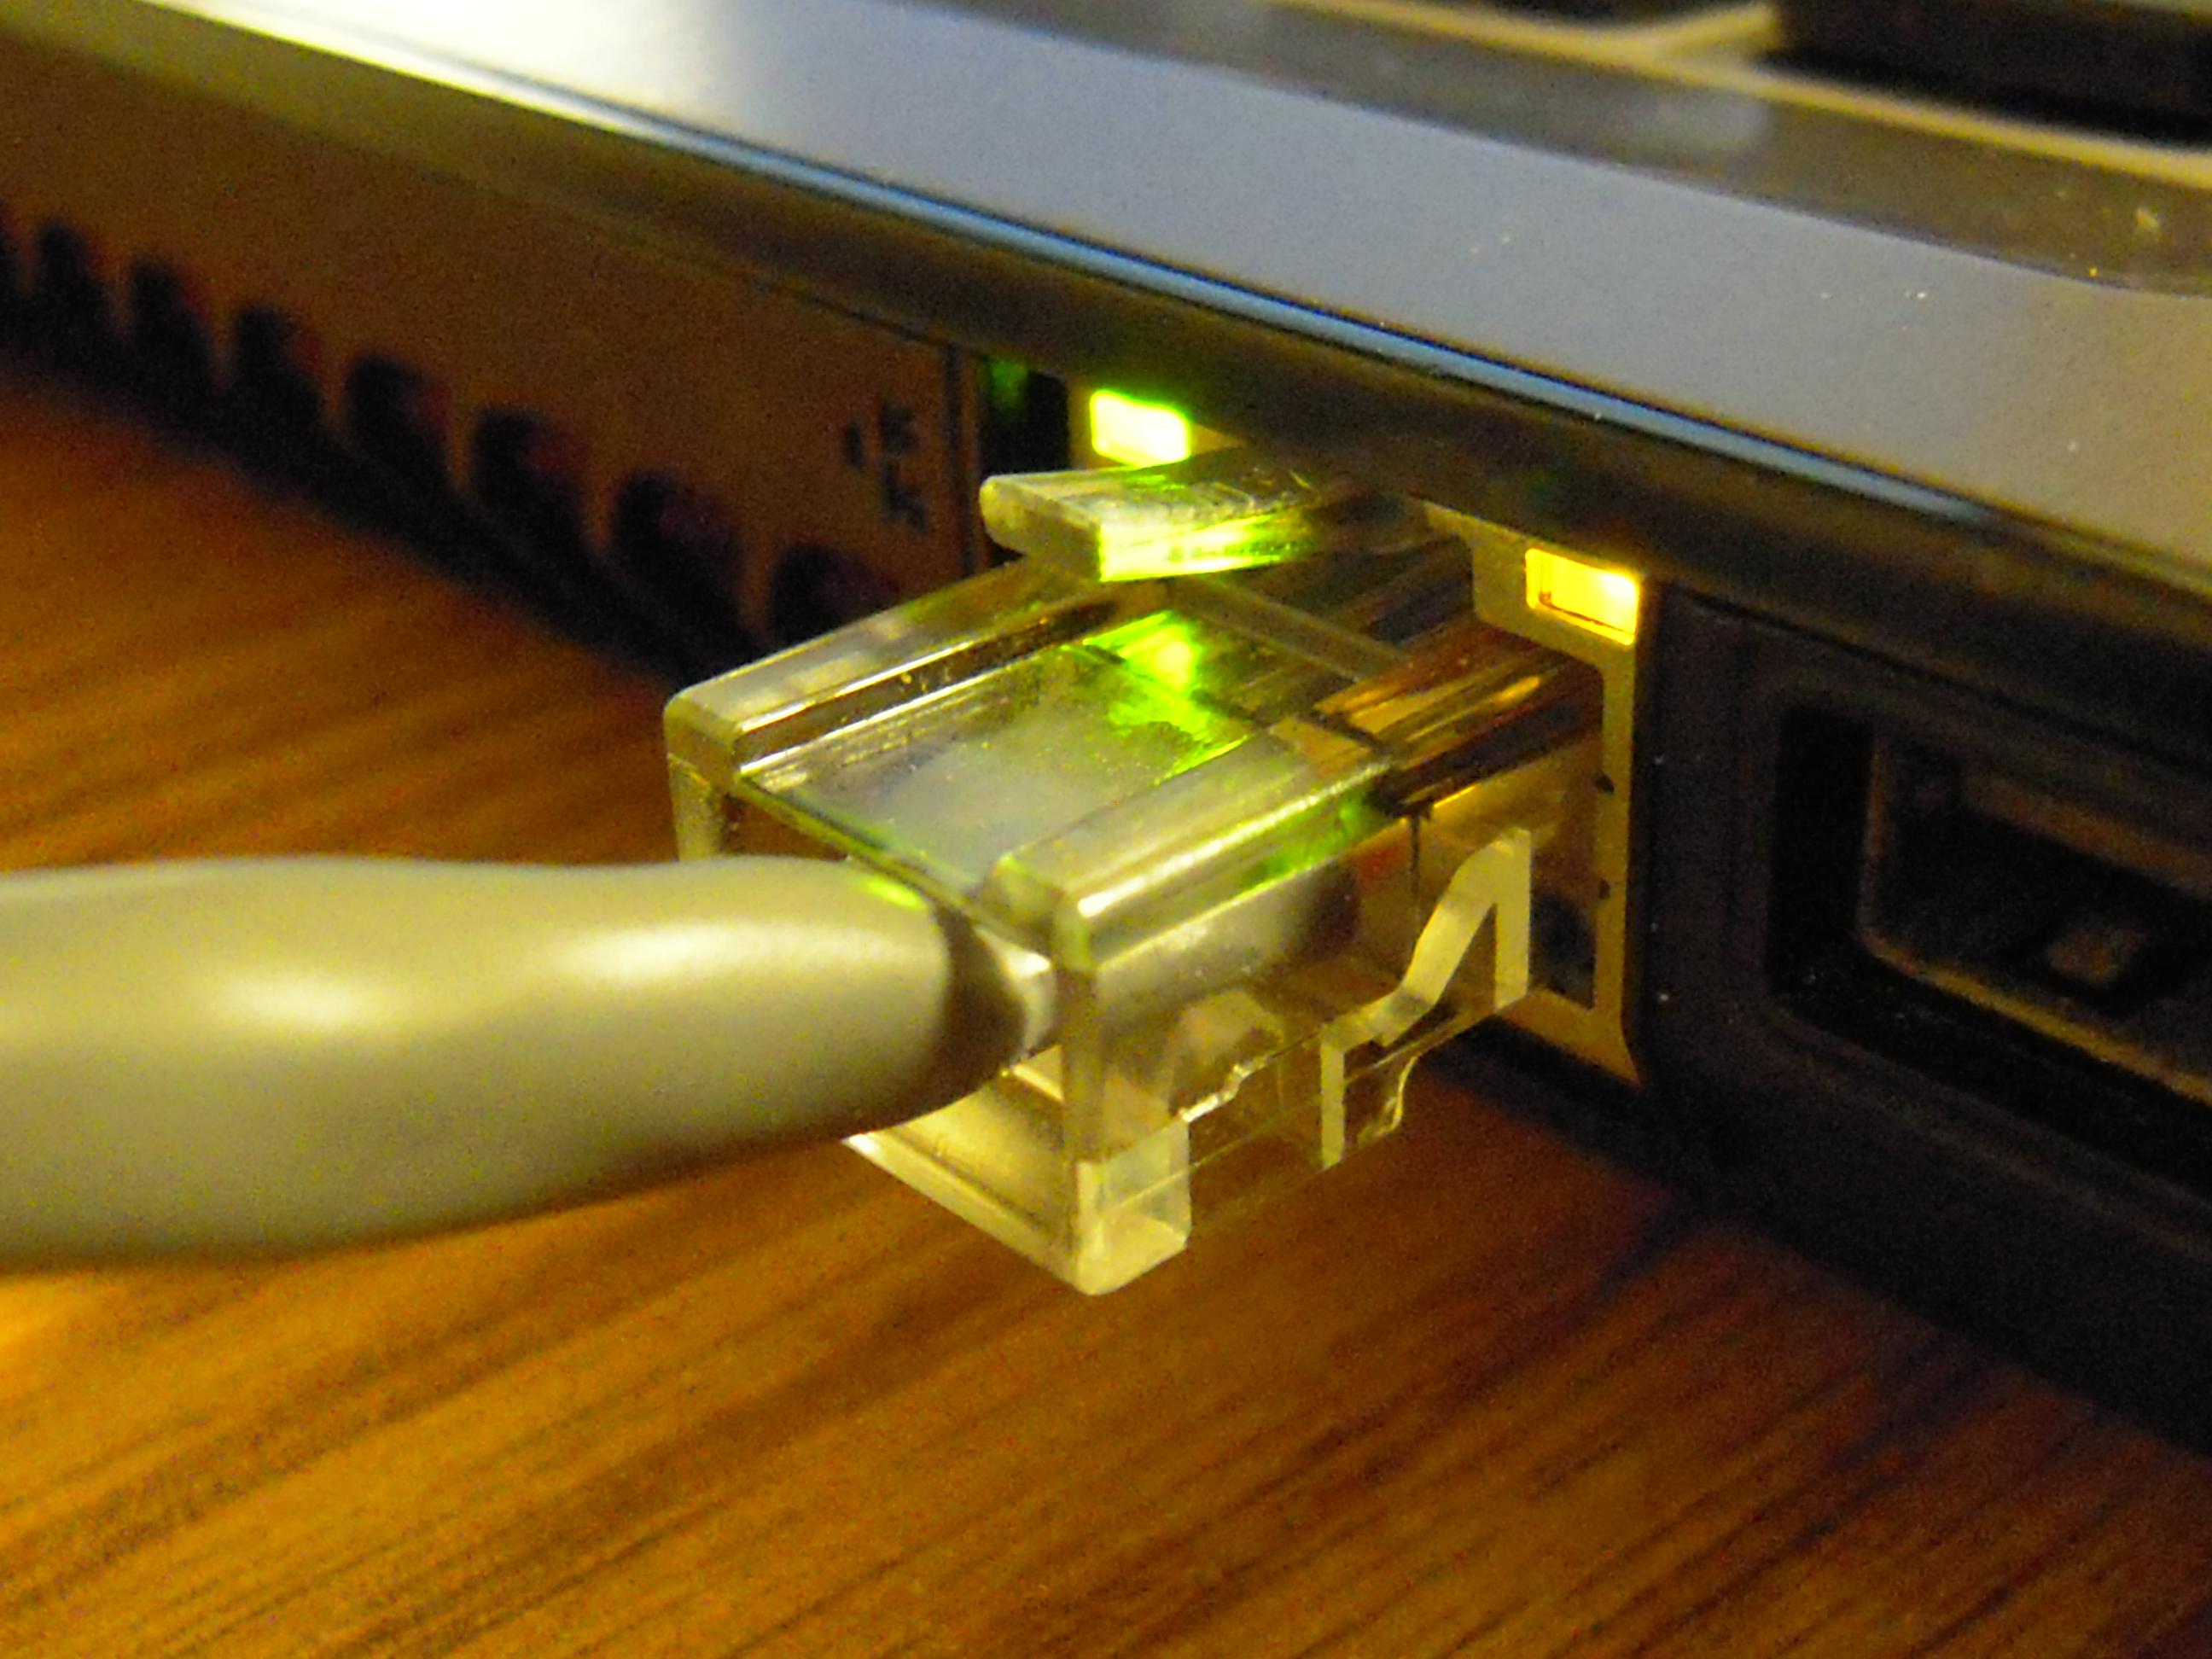
- Check Network Connection
- Ensure that the computer is properly connected to the network with a working Ethernet cable or Wi-Fi connection
- Restart Computer and Network Devices
- Restart the computer and any network devices such as routers or modems to reset the network connection
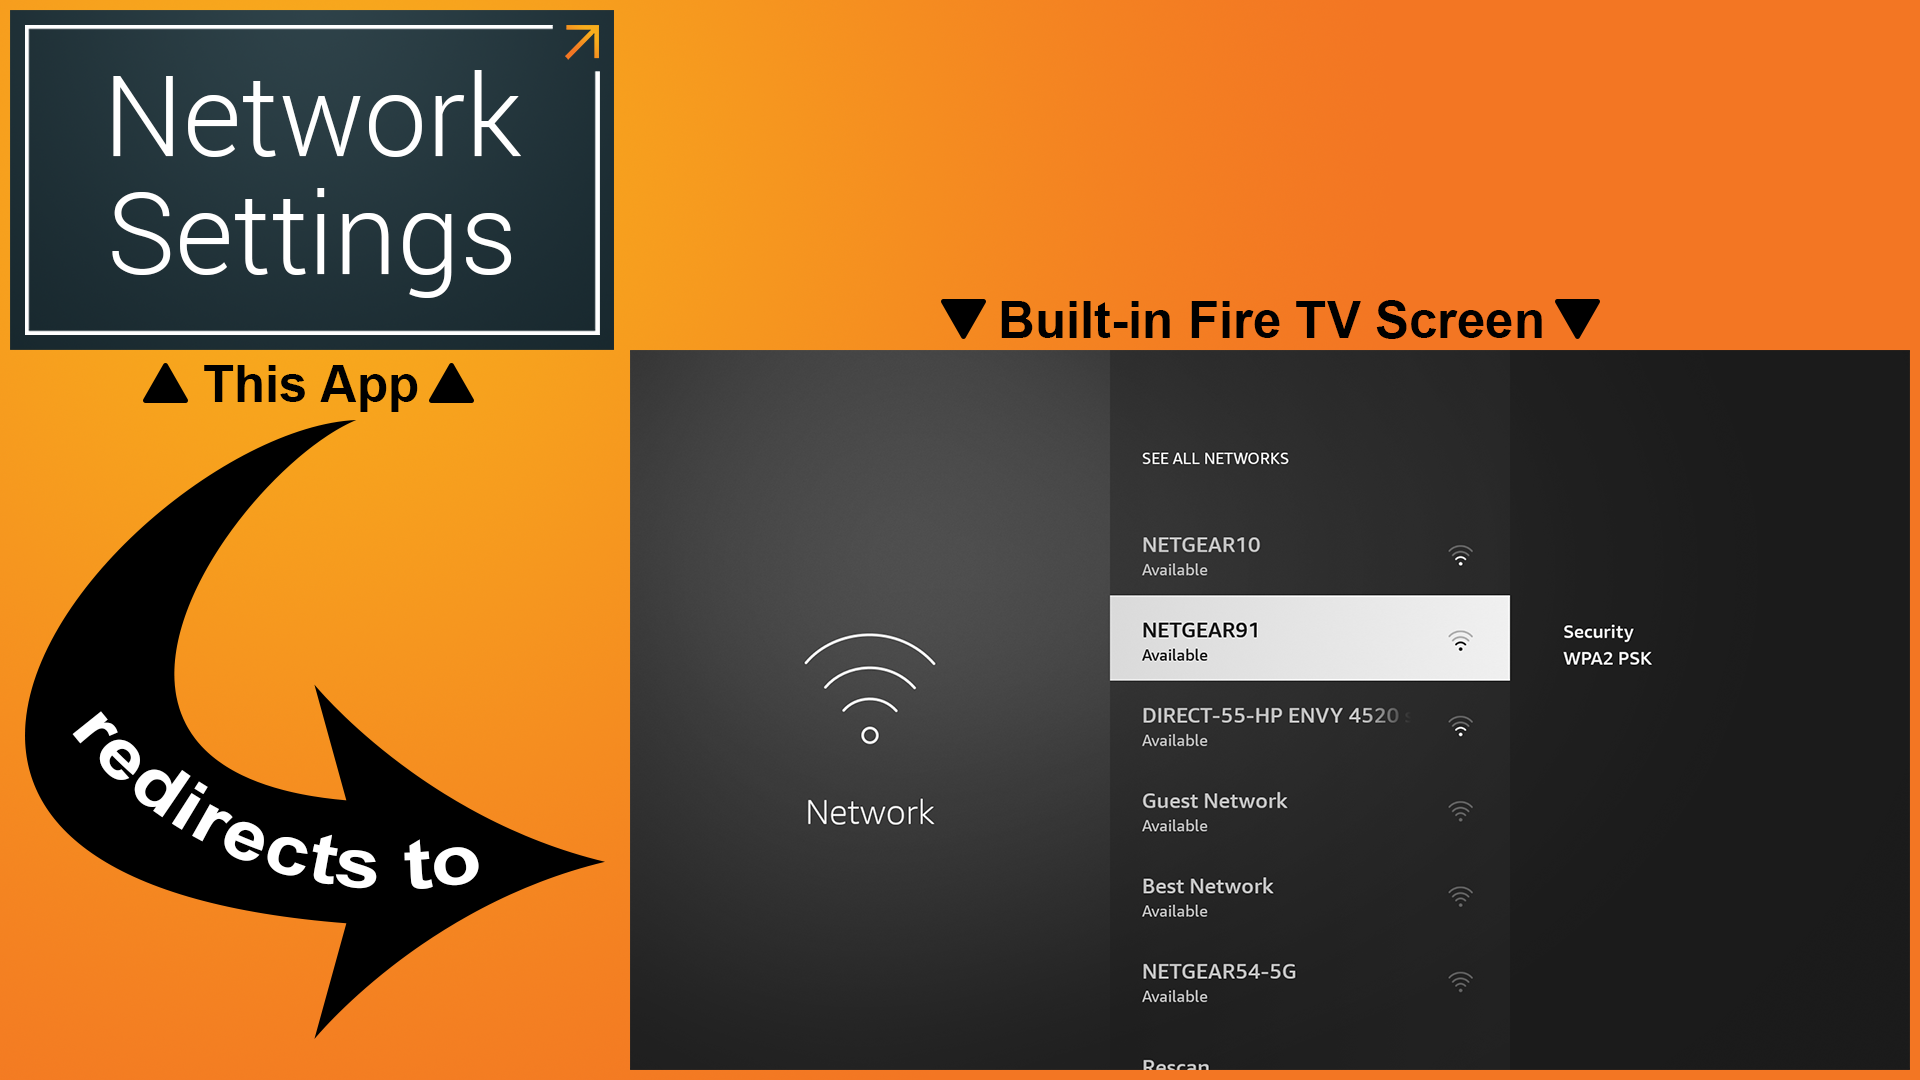
- Check Network Settings
- Go to the Control Panel and navigate to the Network and Sharing Center to verify network settings and ensure the computer is set to recognize the domain network
- Run Network Troubleshooter
- Open Control Panel and select Troubleshooting. Click on Network and Internet then Network Adapter to run the network troubleshooter
- Update Network Drivers
- Open Device Manager by right-clicking on the Start button and selecting Device Manager. Locate the network adapters and right-click to select Update Driver
Verifying DNS and IP Settings for Domain Connectivity
To verify DNS and IP settings for domain connectivity, start by checking the DNS server settings on your computer. Click on the Start menu and type “ncpa.cpl” in the search bar. Press Enter to open the Network Connections window. Right-click on your network connection and select Properties. Double-click on Internet Protocol Version 4 (TCP/IPv4) and ensure that “Obtain DNS server address automatically” is selected.
Next, check your IP address. Open the Command Prompt by typing “cmd” in the Start menu and pressing Enter. Type “ipconfig” and press Enter to see your IP address and DNS server information.
If the DNS and IP settings appear to be correct, try flushing the DNS cache to clear any outdated information. Open the Command Prompt and type “ipconfig /flushdns” before pressing Enter.
After verifying and potentially flushing the DNS cache, restart your computer and attempt to connect to the domain network again.
Ensuring Proper Service Functionality and Server Accessibility
| Issue | Possible Solution |
|---|---|
| Incorrect network settings | Check and update network settings to ensure proper connectivity to the domain network |
| Server accessibility | Verify server availability and accessibility for the computer |
| Firewall restrictions | Review and adjust firewall settings to allow domain network access |
| Domain authentication issues | Reset or rejoin the computer to the domain network to resolve authentication problems |